모바일 폰 화면 수리 방법
목차
요약
기억해야 할 중요 사항
- Understand the screen’s anatomy before deciding on a repair.
- Gather all necessary tools and prepare a clean workspace.
- Assess the damage to decide if DIY repair is feasible.
- Follow a step-by-step guide to replace a cracked screen.
- Consider professional service if the damage is extensive.
- Avoid common mistakes like using incorrect tools or skipping steps.
- Maintain your phone with protective gear post-repair.
Remember, while DIY repairs offer a rewarding challenge, don’t hesitate to seek professional help if needed.
Why Do Phone Screens Break So Easily?
Modern smartphones are marvels of technology, yet their screens seem fragile. Glass screens, while designed to be tough, are still prone to cracking. But why do these screens break so easily? The primary culprit is often the combination of glass and thin design.Smartphones are designed to be sleek and lightweight, which often means less protection around the screen. The glass used in screens is made to be scratch-resistant, not shatterproof. Factors like dropping the phone, sitting on it, or even temperature changes can contribute to screen cracks. Understanding these vulnerabilities can help you take preventive measures to protect your device.These devices undergo rigorous testing, but real-world scenarios can be unpredictable. Investing in a good-quality phone case or screen protector can add an extra layer of protection, reducing the likelihood of screen damage.
Understanding the Anatomy of a Smartphone Screen
Before diving into repair, it’s crucial to understand what makes up a smartphone screen. Most modern phones have a three-part screen structure: the outer glass, the touch-sensitive layer, and the display itself.- Outer Glass: This is what you directly interact with. It’s designed to be tough but can shatter upon impact.
- Touchscreen Layer: Beneath the glass, this layer detects your touch inputs. Damage to this layer can affect screen responsiveness.
- Display: The actual screen that shows images and videos. If this is damaged, you might see black spots or color issues.
Essential Tools for DIY Screen Repair
Repairing a cracked phone screen requires specific tools to ensure a smooth process. Here’s a list of essential items you’ll need:- Precision Screwdrivers: Different phones require different types of screws. A set of precision screwdrivers will cover your bases.
- Plastic Pry Tools: These help in safely opening the phone without damaging internal components.
- Suction Cup: Useful for lifting the screen away from the body of the phone.
- Tweezers: Handy for handling small parts and connectors.
- Adhesive Strips: To secure the new screen in place.
- Replacement Screen: Make sure it’s compatible with your phone model.
Assessing the Damage: Is Repair Possible?
Not all screen damage is the same. Before you start, assess whether a repair is possible. Look for the following:- Cracks: If the cracks are minor and the display is still visible and touch-sensitive, a replacement might not be urgent.
- Color Changes or Black Spots: These indicate damage to the display itself, requiring more extensive repair.
- Touchscreen Responsiveness: If the screen isn’t responding well, the touch layer might be damaged.
Preparing for a Screen Replacement
Once you’ve assessed the damage and gathered your tools, it’s time to prepare for the replacement. Follow these steps:- Power Off the Phone: Always turn off your device before starting any repair to prevent electrical shocks or further damage.
- Create a Clean Workspace: Ensure your work area is clean and well-lit. A clutter-free space helps in keeping track of small parts.
- Organize Your Tools: Lay out your tools and replacement parts for easy access.
- Watch Tutorials: If you’re unsure about any step, watching a video tutorial can provide visual guidance.
Step-by-Step Guide to Replacing a Cracked Screen
Now, let’s walk through the process of replacing a cracked phone screen:- Remove the Screws: Using the precision screwdrivers, remove any screws holding the screen in place.
- Use the Suction Cup: Attach the suction cup to the screen and gently lift until you can insert a pry tool between the screen and the phone body.
- Pry Gently: Carefully use the pry tools to separate the screen from the phone, being cautious of connectors.
- Disconnect the Screen: Gently disconnect any cables or connectors attaching the screen to the phone.
- Remove the Damaged Screen: Once everything is disconnected, remove the old screen.
- Attach the New Screen: Connect the new screen’s cables and place it into position.
- Secure the Screen: Use adhesive strips to secure the new screen to the phone body.
- Reassemble the Phone: Replace any screws and ensure everything is tightly fitted.

Using Packing Tape for Temporary Fixes
Sometimes, you need a quick fix before you can replace your cracked screen. Packing tape can be a temporary solution to prevent further damage.- 화면 청소: Wipe the screen with a clean, dry cloth to remove dust and debris.
- Apply Packing Tape: Cut a piece of packing tape slightly larger than the screen. Carefully place it over the cracked area to hold it together.
Pros and Cons of DIY Repair vs. Professional Service
Deciding between DIY repair and professional service can be challenging. Here are some pros and cons to consider:DIY Repair:- 장점: Cost-effective, immediate solution, learning experience.
- 단점: Risk of further damage, potential voiding of warranty, requires time and effort.
- 장점: Expertise and experience, warranty on the repair, high-quality parts.
- 단점: More expensive, longer downtime if the phone needs to be sent away.
Common Mistakes to Avoid in Screen Replacement
When performing a DIY repair, it’s easy to make mistakes. Here are some to watch out for:- Using Incorrect Tools: Make sure you use the right tools to avoid damaging the phone.
- Applying Too Much Force: Be gentle when prying open the phone to prevent damage to internal components.
- 단계 건너뛰기: Follow the repair process step-by-step to avoid missing critical connections.

Maintaining Your Phone After a Repair
Once your phone is repaired, it’s important to maintain its condition to prevent future damage. Here are some tips:- Invest in a Quality Case: A sturdy case can absorb shocks from drops, protecting the screen.
- Use a Screen Protector: These can prevent scratches and minor cracks.
- Handle with Care: Be mindful of where you place your phone to avoid accidental drops.
댓글
태그


최신 화면 보호기 공장에서 혁신의 역할
혁신은 현대 화면 보호기 산업에서 핵심적인 역할을 하며, 업계 성장과 경쟁력을 견인하고 소비자의 다양한 요구를 충족하기 위해 제품 기능을 지속적으로 개선할 수 있도록 합니다.
무광택 UV 스크린 보호기
커브드 엣지 스크린에 완벽하게 적합
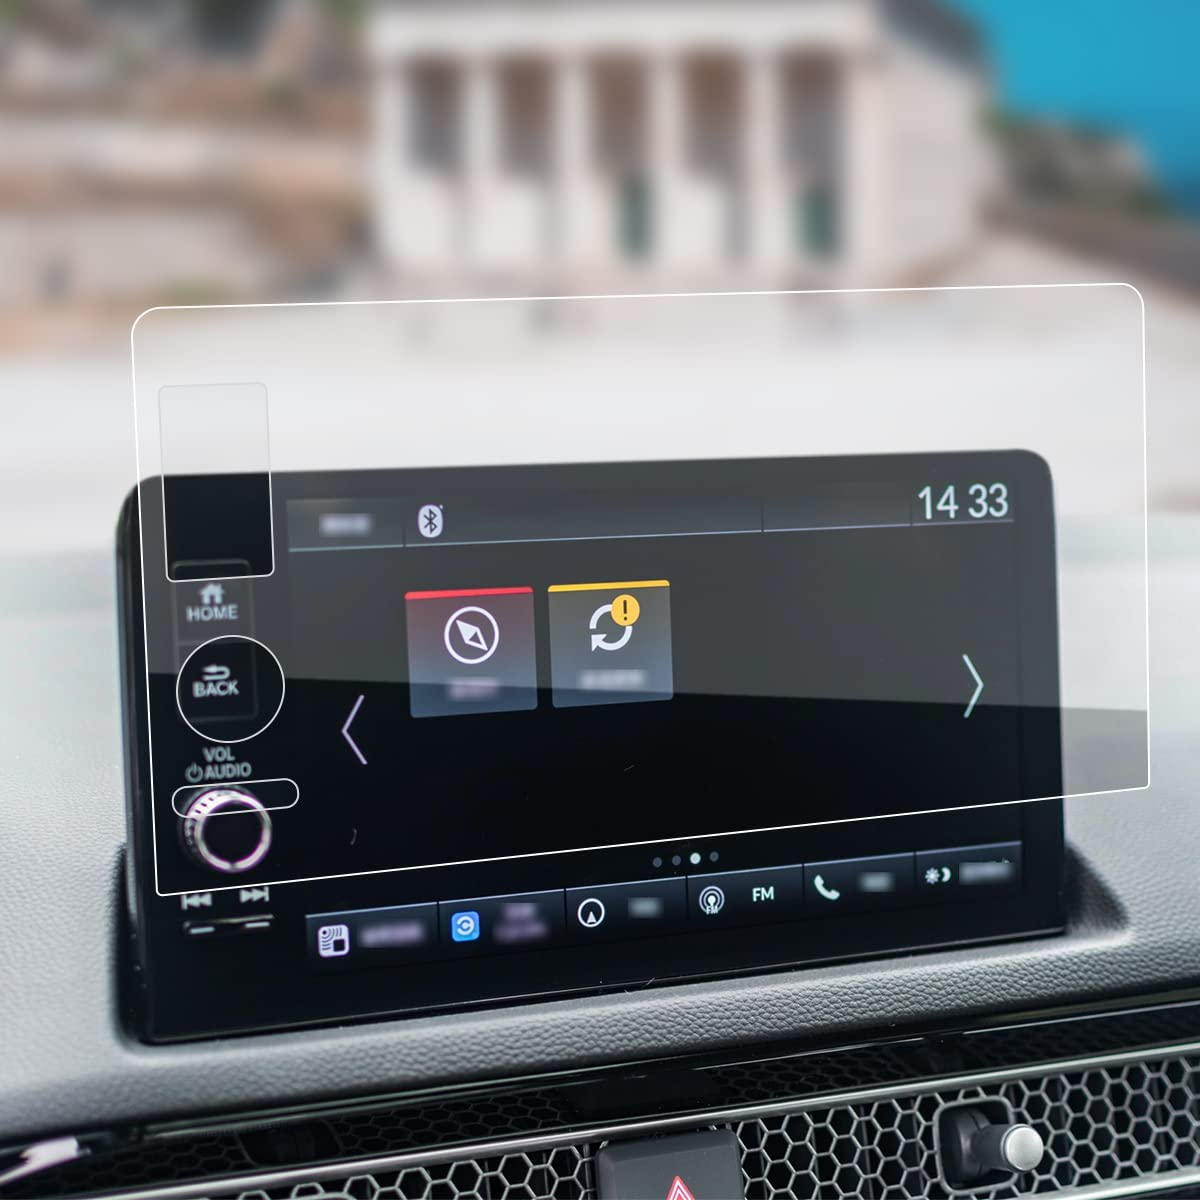
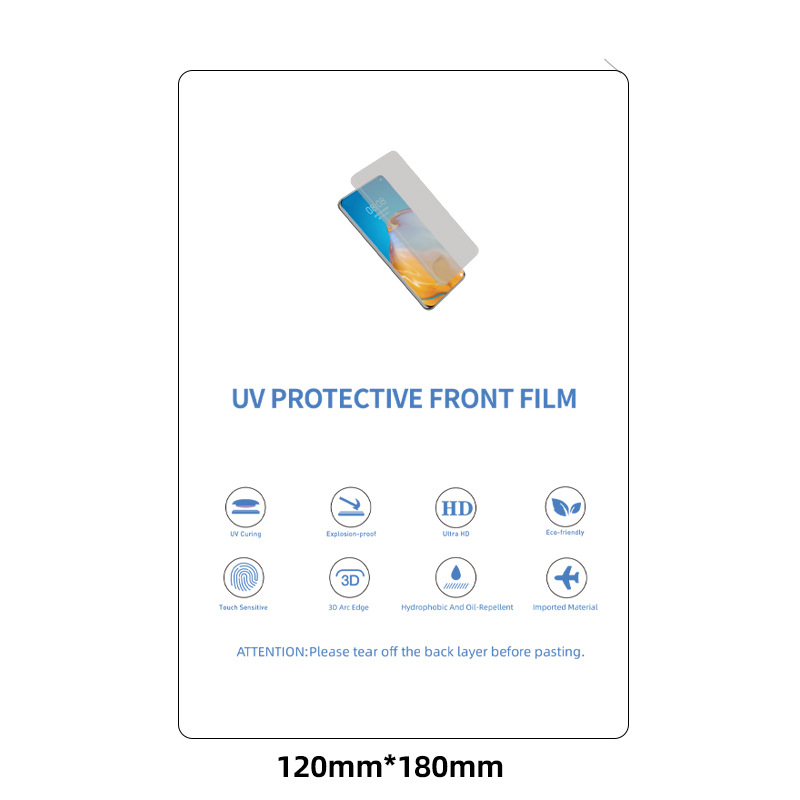
많은 최신 화면의 곡선형 디자인으로 인해 적합한 보호기를 찾기가 어렵고 가장자리에 틈이 남는 경우가 많습니다. 그러나 UV 스크린 보호기는 기기 화면의 원래 곡률을 반영하도록 미세하게 연마되어 있습니다. 라미네이션에 사용되는 액상 UV 접착제는 화면과 보호기 사이의 매끄러운 결합을 보장하여 틈새를 없애줍니다.
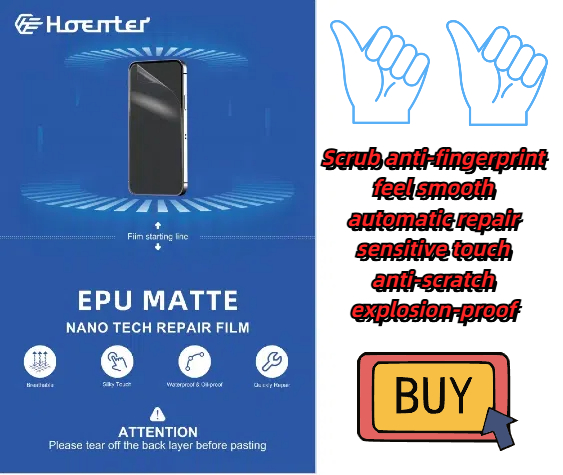
Hoemter EPU: Clear, Self-Healing, Custom
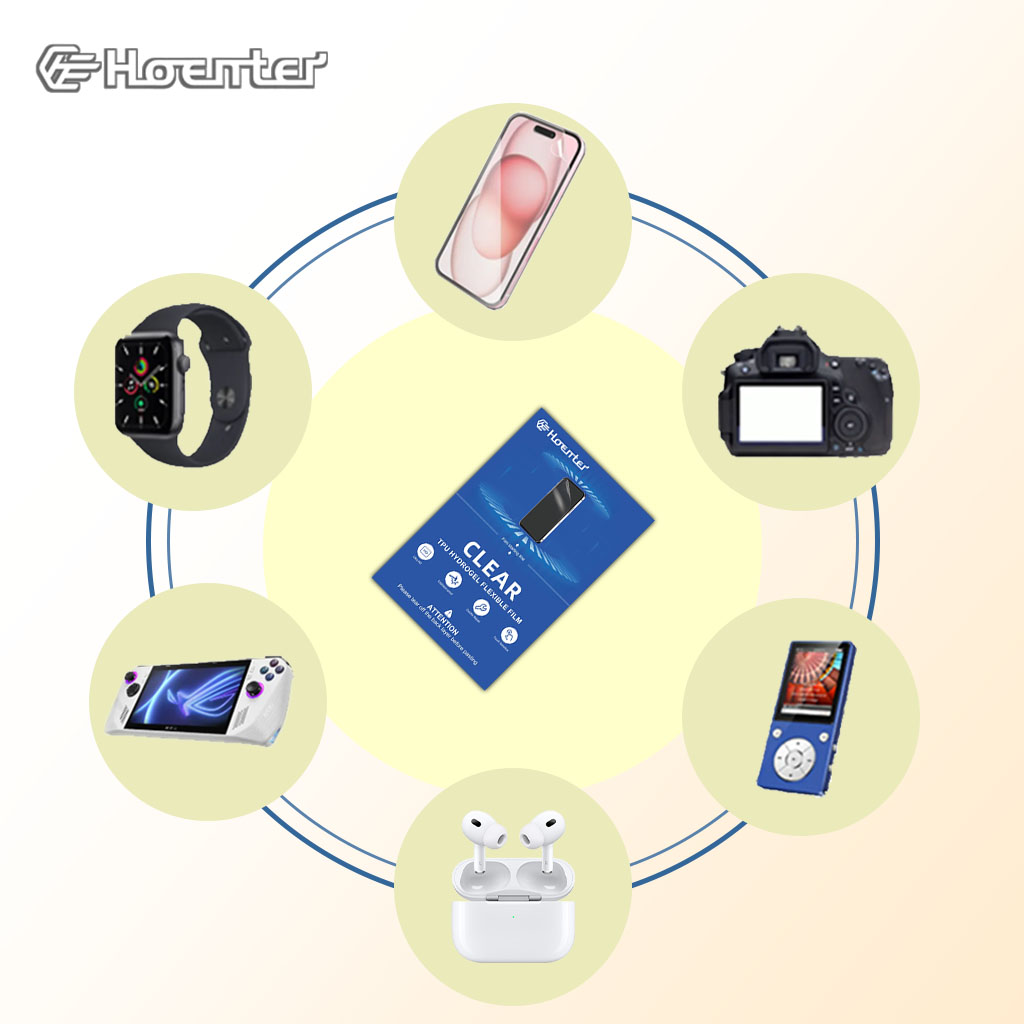
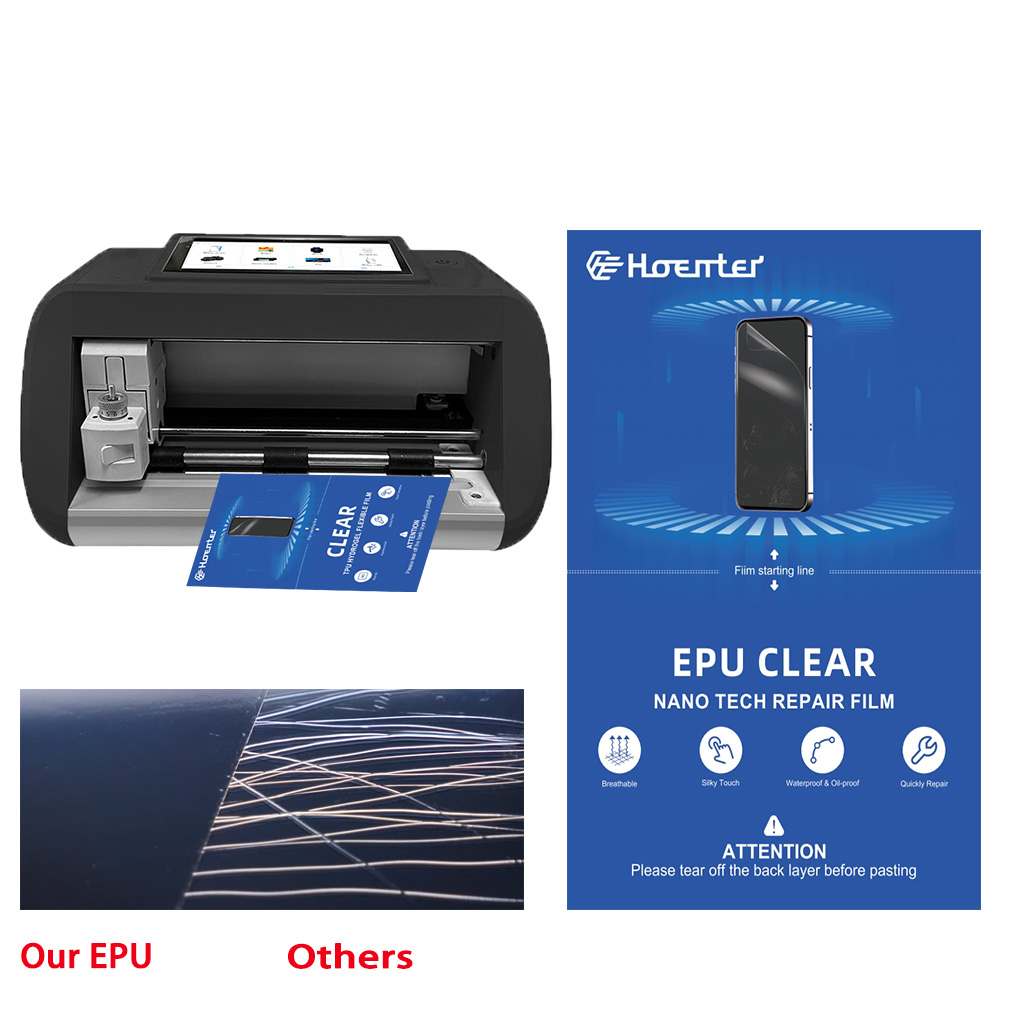
Hoemter EPU screen protectors combine clarity, self-healing, and custom-fit capabilities. Protect your screen from scratches with our advanced EPU film.

블로그에서 모든 지식과 트렌드를 찾고, 공장에서 도매 가격과 최고의 품질을 얻으십시오.
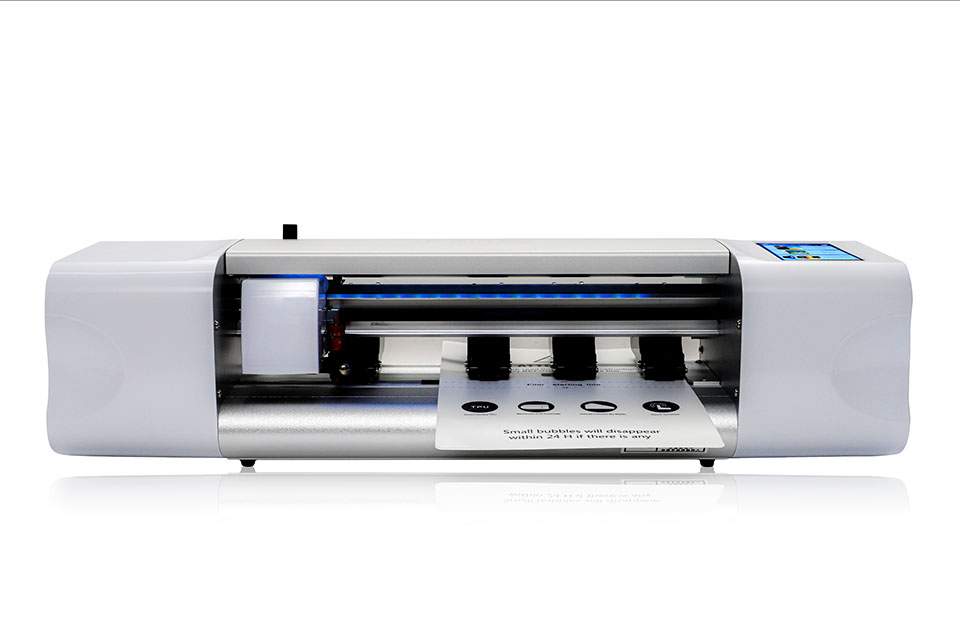
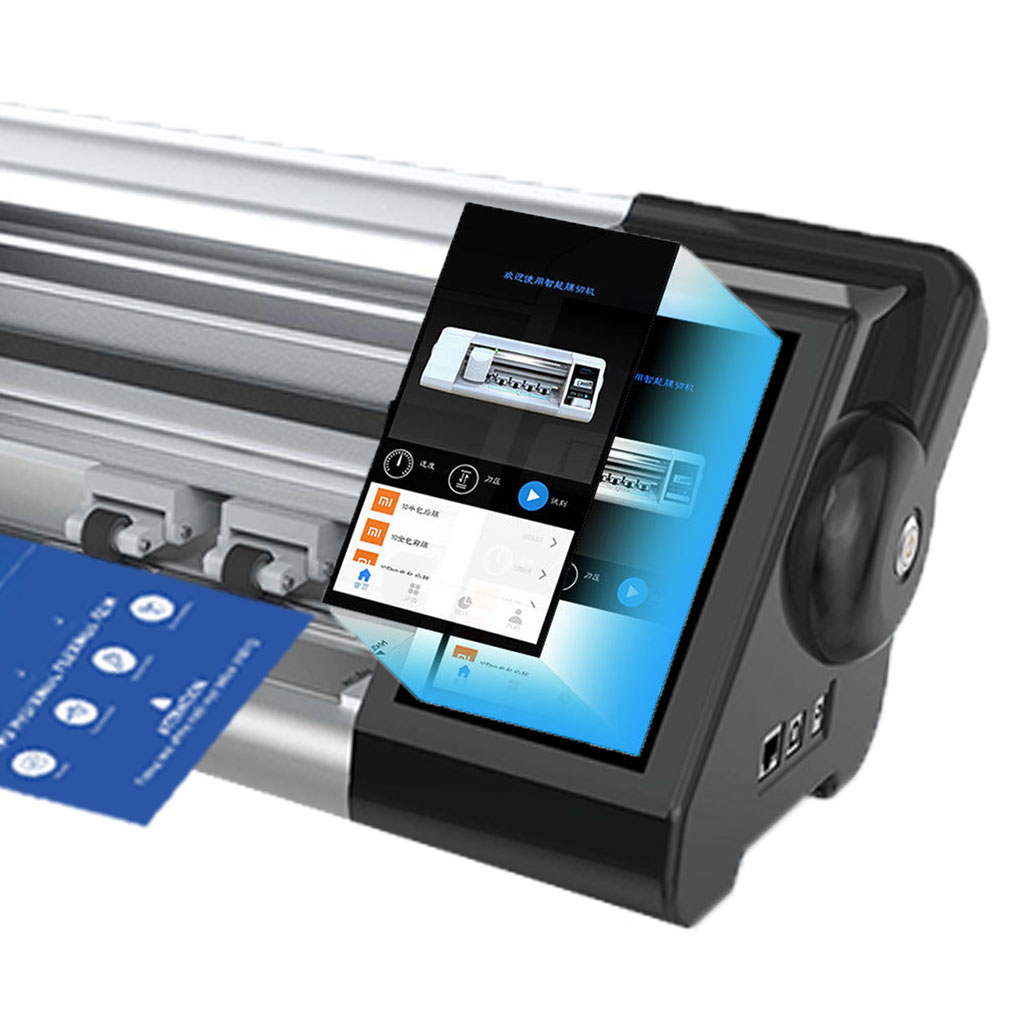
화면 보호기 커팅기란 무엇인가요?
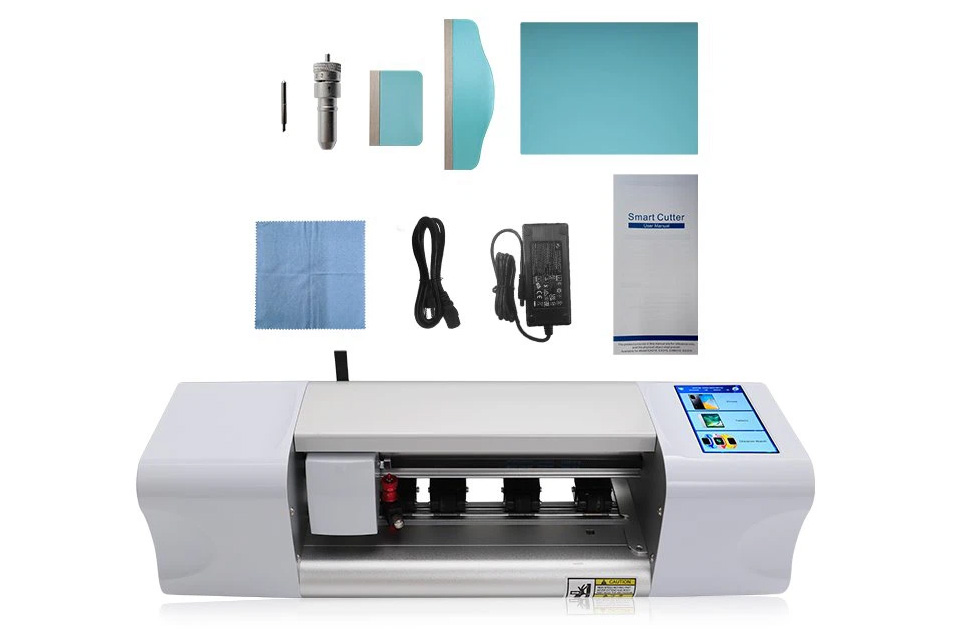
화면 보호기 커팅기는 스마트폰, 태블릿, 스마트워치, 노트북, 모니터 등 다양한 전자기기에 맞는 맞춤형 화면 보호기를 제작하기 위해 고안된 전문 장비입니다.
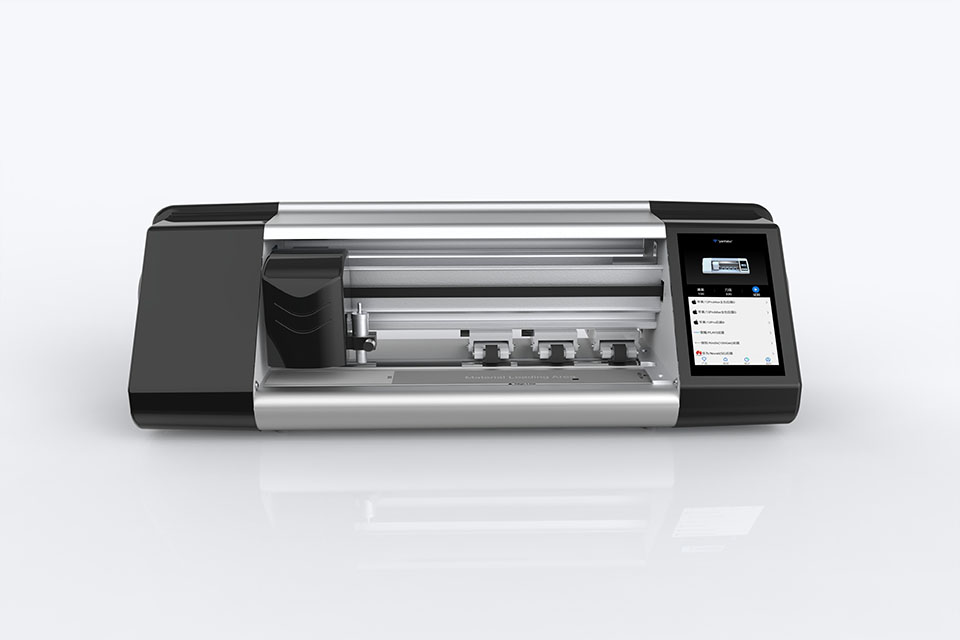
휴대폰 화면 보호기 절단기는 어떻게 작동합니까?
휴대폰 화면 보호기 절단기는 다음과 같이 설계된 정교한 장치입니다.
고가의 다양한 디지털 기기를 위한 맞춤형 화면 보호기를 생산합니다.
효율성.
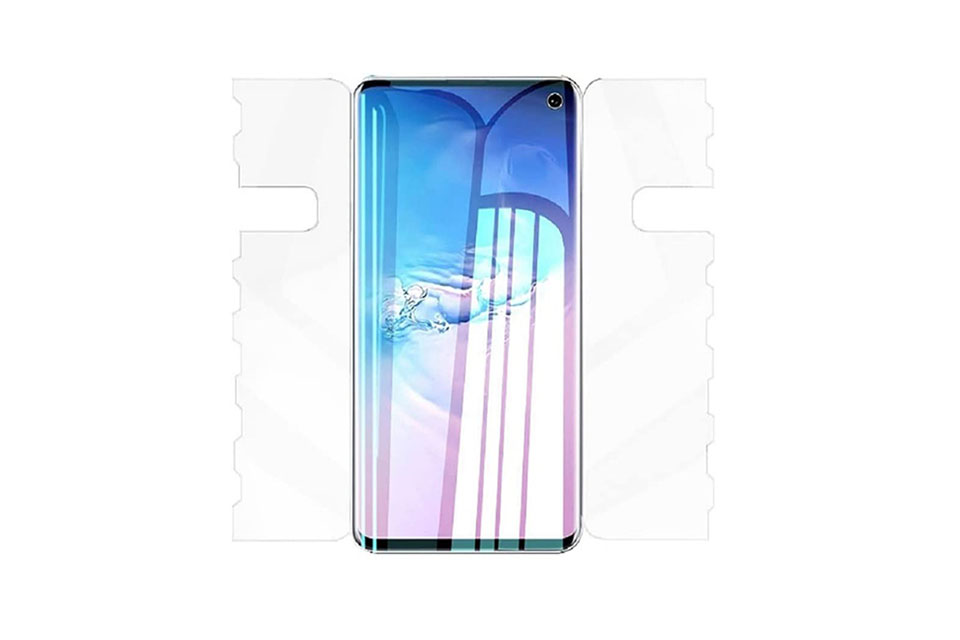
휴대폰 강화 유리 및 휴대폰 TPU 화면 보호기의 특성
열가소성 폴리우레탄(TPU) 화면 보호기는 유연하고 내구성이 뛰어나며
전자 기기 화면을 보호하도록 설계된 자가 치유 플라스틱 필름은 다음과 같습니다.
긁힘, 충격 및 기타 잠재적 손상.
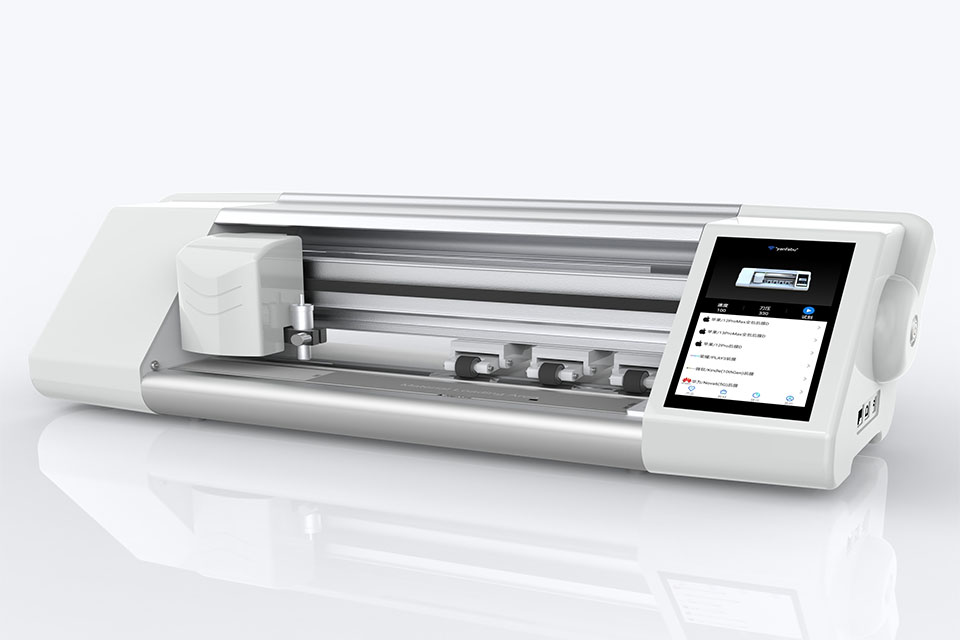
스크린 가드 절단기로 디바이스 보호 혁신
스마트폰, 태블릿, 스마트워치 등 다양한 기기를 사용할 수 있는 다목적 기기입니다. 기기의 크기에 맞춰 매끄럽게 조정되어 일반 보호기는 따라잡을 수 없는 맞춤형 핏을 제공합니다.

화면 보호기 평생 보증
화면 보호기 평생 보증은 제조업체에서 제공하는 보증입니다.
는 특정 이용 약관에 따라 제품 수명 기간 동안 화면 보호기를 수리 또는 교체할 것을 약속합니다.

