Why is Removing a Screen Protector Properly Important?
Before we dive into the removal process, let’s understand why it’s crucial to remove a screen protector correctly:
- Prevent damage to your device’s screen
- Avoid leaving residue that can affect touch sensitivity
- Ensure a clean surface for applying a new screen protector
- Maintain the aesthetic appeal of your device
Now, let’s explore the various methods and techniques for removing different types of screen protectors.
What Tools Do You Need to Remove a Screen Protector?
Before starting the removal process, gather these essential tools:
- Microfiber cloth
- Credit card or plastic card
- Toothpick or plastic pry tool
- Hairdryer (optional)
- Isopropyl alcohol (optional)
- Cotton swabs (optional)
Having these items on hand will make the removal process smoother and more efficient.
How to Remove a Tempered Glass Screen Protector?
Tempered glass screen protectors are popular due to their durability and feel. Here’s a step-by-step guide to remove them safely:
- Clean your hands and work area: Ensure your hands and the surface you’re working on are clean and free from dirt or oils.
- Locate a corner: Find a corner of the screen protector that’s slightly raised or easier to access.
- Use a plastic card: Gently slide a credit card or plastic card under the corner of the screen protector. Be patient and avoid using excessive force.
- Lift the corner: Once the card is under the corner, slowly lift it to create a small gap between the protector and the screen.
- Continue lifting: Gradually work your way around the edges of the screen protector, using the card to separate it from the screen.
- Remove completely: Once you’ve loosened most of the edges, carefully lift the screen protector off the device.
- Clean the screen: Use a microfiber cloth to remove any residue or fingerprints left on the screen.
Remember, if you encounter resistance, don’t force it. Instead, try using a hairdryer to warm the adhesive slightly, making it easier to remove.
What’s the Best Way to Remove a Plastic Screen Protector?
Plastic screen protectors can be trickier to remove due to their flexibility. Follow these steps:
- Start at a corner: Use your fingernail or a toothpick to gently lift a corner of the protector.
- Peel slowly: Once you’ve lifted a corner, slowly peel the protector back, keeping it as close to the screen as possible to avoid creating air bubbles.
- Use steady pressure: Apply consistent, gentle pressure as you peel to avoid tearing the protector.
- Clean the screen: After removal, use a microfiber cloth to clean any residue from the screen.
If the protector is stubborn, you can use a hairdryer on low heat to soften the adhesive, making it easier to peel off.
How to Remove a Cracked Screen Protector Without Damaging Your Phone?
Removing a cracked screen protector requires extra care to avoid damaging your device’s screen. Here’s how to do it safely:
- Apply tape: Place clear packing tape over the cracked areas to hold the pieces together.
- Start at a corner: Use a plastic card or pry tool to lift a corner of the protector.
- Peel carefully: Slowly peel back the protector, keeping the cracked pieces together with the tape.
- Clean thoroughly: After removal, clean the screen carefully to remove any small glass particles.
Always wear gloves when handling cracked glass to protect your hands from cuts.
What Should You Do If the Screen Protector Won’t Come Off?
Sometimes, screen protectors can be stubborn. If you’re having trouble, try these methods:
- Use heat: Apply gentle heat with a hairdryer to soften the adhesive. Be careful not to overheat the device.
- Try dental floss: Carefully work a piece of dental floss under the edge of the protector and slide it across to separate the protector from the screen.
- Use isopropyl alcohol: Apply a small amount of isopropyl alcohol around the edges of the protector to dissolve the adhesive. Be cautious not to let any liquid enter the device.
- Seek professional help: If all else fails, consider taking your device to a professional for safe removal.
How to Clean Your Phone Screen After Removing the Protector?
After removing the screen protector, it’s essential to clean your device’s screen properly:
- Power off your device.
- Use a microfiber cloth to gently wipe away any dust or debris.
- If needed, slightly dampen the cloth with distilled water or a specialized screen cleaner.
- Gently wipe the screen in circular motions.
- Use a dry part of the cloth to remove any remaining moisture.
- Allow the screen to air dry completely before turning on the device or applying a new protector.
Can You Reuse a Screen Protector After Removing It?
Generally, it’s not recommended to reuse a screen protector after removal. Here’s why:
- The adhesive may have lost its effectiveness.
- The protector might have accumulated micro-scratches or debris.
- Reapplying can lead to air bubbles and reduced touch sensitivity.
It’s best to apply a new screen protector for optimal protection and clarity.
How Often Should You Replace Your Screen Protector?
The frequency of screen protector replacement depends on several factors:
- Visible damage (cracks, chips, or deep scratches)
- Reduced touch sensitivity
- Yellowing or discoloration
- Loss of oleophobic coating (fingerprint resistance)
On average, it’s a good idea to replace your screen protector every 6-12 months, or sooner if you notice any of the above issues.
What Are the Benefits of Using a Screen Protector?
Using a screen protector offers several advantages:
- Protection from scratches: Screen protectors act as a sacrificial layer, taking damage instead of your device’s screen.
- Impact resistance: Tempered glass protectors can help absorb shock from drops and impacts.
- Reduced glare: Some screen protectors feature anti-glare properties, improving visibility in bright conditions.
- Privacy: Certain protectors offer privacy filters, making it difficult for others to view your screen from an angle.
- Resale value: Keeping your device’s screen in pristine condition can help maintain its resale value.
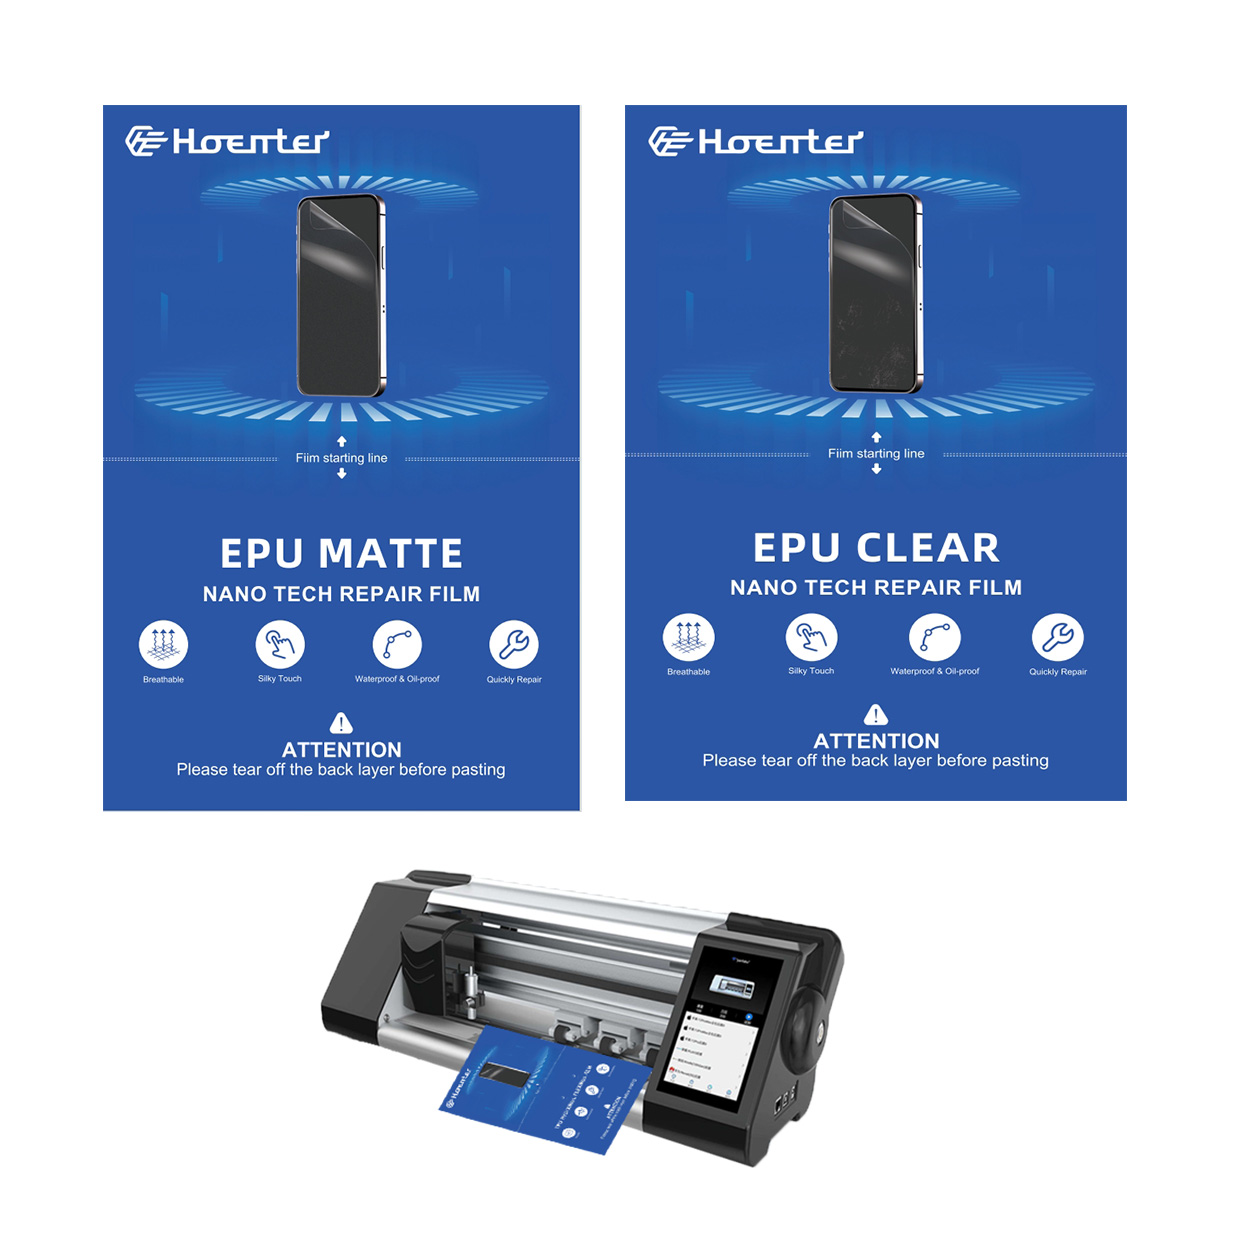
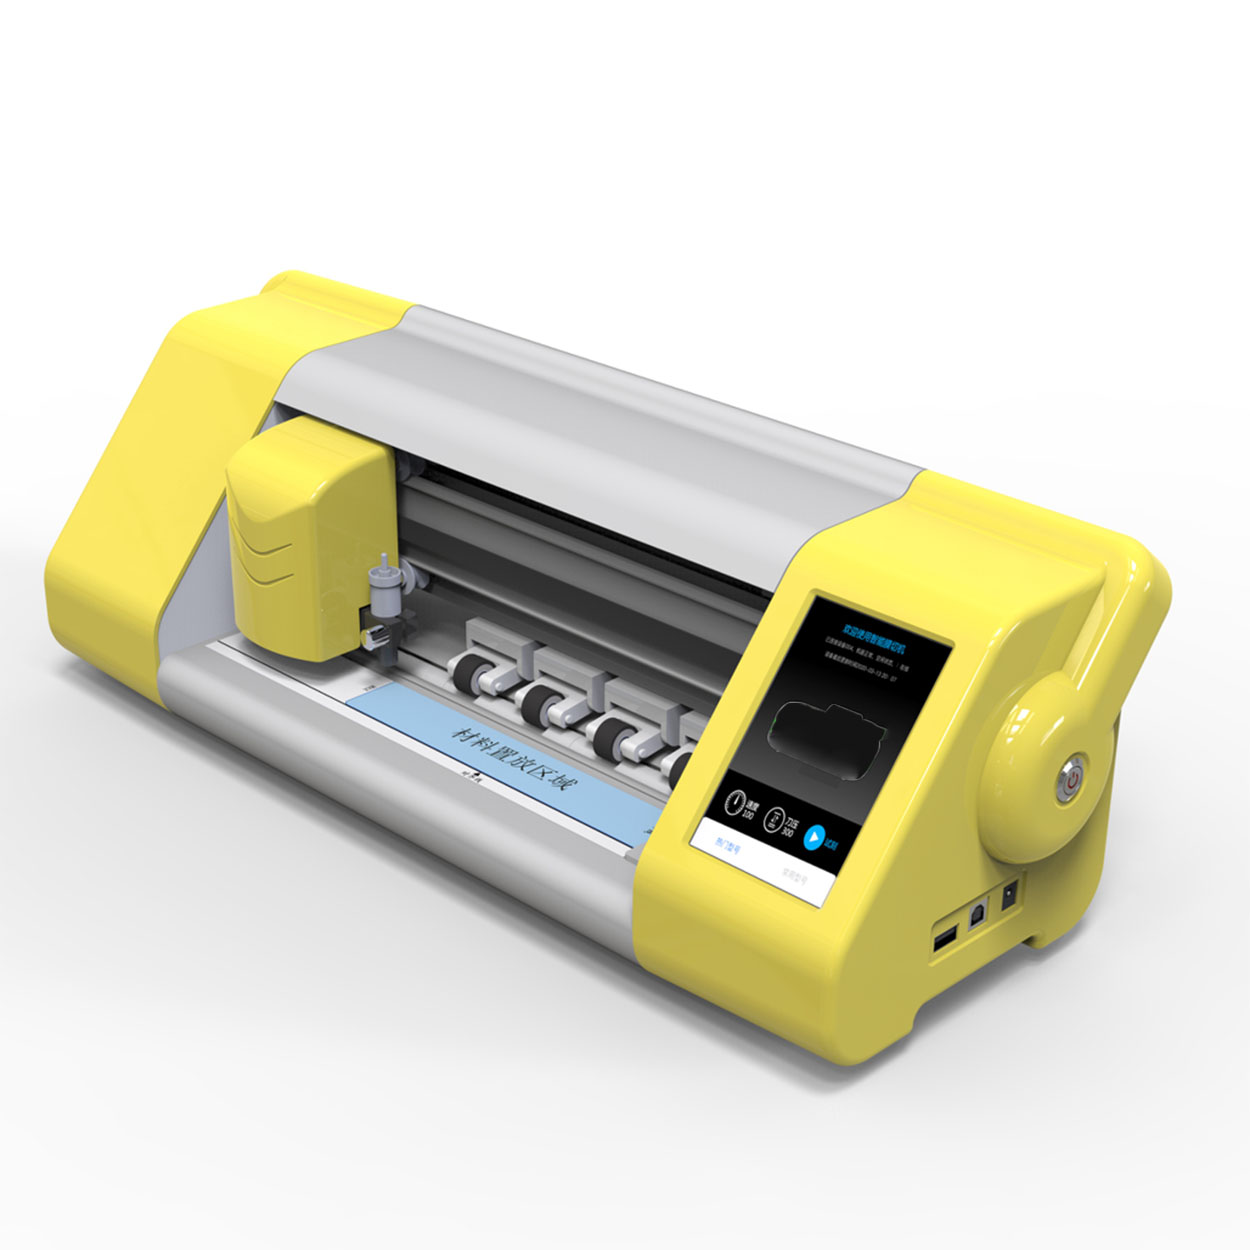
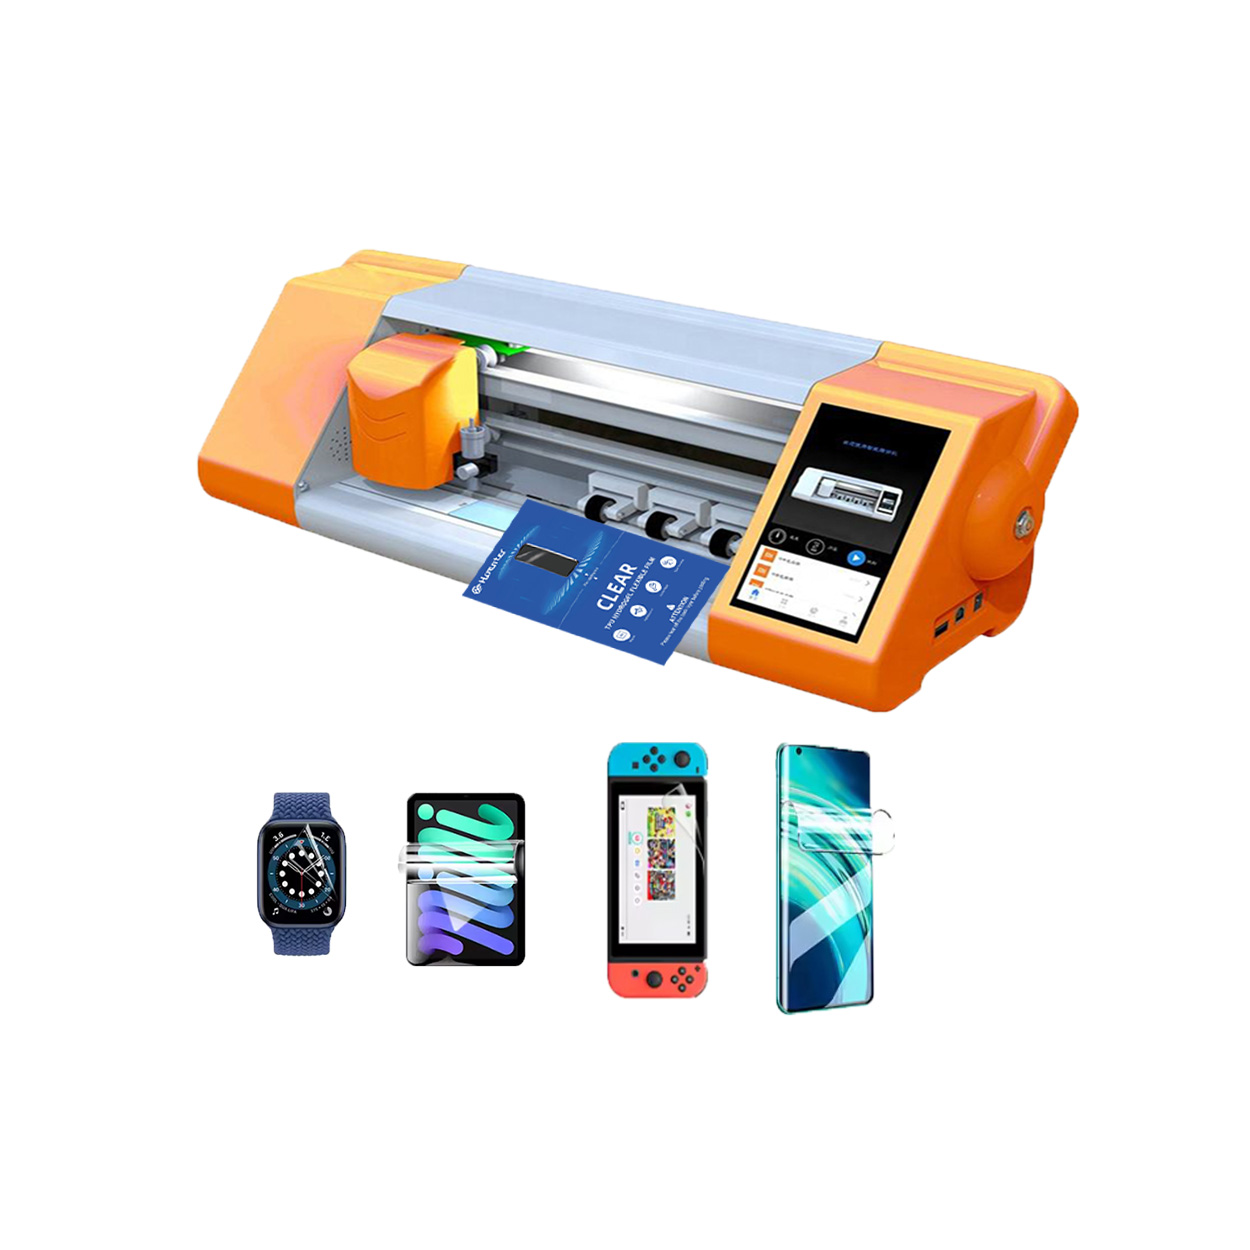
For those interested in screen protection technology, screen protector cutting machines offer a fascinating look into how these protective layers are manufactured and customized for various devices.
How to Choose the Right Screen Protector for Your Device?
Selecting the appropriate screen protector is crucial for optimal protection. Consider these factors:
- Material: Choose between tempered glass (more durable) or plastic (more flexible).
- Compatibility: Ensure the protector is designed specifically for your device model.
- Features: Look for additional benefits like anti-glare, anti-fingerprint, or privacy filters.
- Thickness: Thicker protectors offer more protection but may affect touch sensitivity.
- Installation method: Some protectors come with alignment tools for easier application.
For those interested in custom screen protectors, film cutting machines can create perfectly sized protectors for any device.
Key Takeaways: Removing and Replacing Screen Protectors
To summarize, here are the most important points to remember:
- Always start by lifting a corner of the screen protector
- Use gentle, steady pressure when removing the protector
- Clean your device’s screen thoroughly after removal
- Consider using heat or isopropyl alcohol for stubborn protectors
- Replace your screen protector every 6-12 months or when damaged
- Choose a screen protector that fits your device and needs perfectly
By following these guidelines, you can safely remove and replace your screen protector, ensuring your device remains protected and in pristine condition. Remember, patience is key when removing a screen protector – take your time to avoid damaging your device’s screen.Screen guard cutting machines have revolutionized the way we protect our devices, allowing for precise and custom-fit screen protectors. As technology advances, we can expect even more innovative solutions for keeping our screens safe and scratch-free.
