Jak naprawić ekran telefonu komórkowego
Spis treści
Podsumowanie
Ważne punkty do zapamiętania
- Understand the screen’s anatomy before deciding on a repair.
- Gather all necessary tools and prepare a clean workspace.
- Assess the damage to decide if DIY repair is feasible.
- Follow a step-by-step guide to replace a cracked screen.
- Consider professional service if the damage is extensive.
- Avoid common mistakes like using incorrect tools or skipping steps.
- Maintain your phone with protective gear post-repair.
Remember, while DIY repairs offer a rewarding challenge, don’t hesitate to seek professional help if needed.
Why Do Phone Screens Break So Easily?
Modern smartphones are marvels of technology, yet their screens seem fragile. Glass screens, while designed to be tough, are still prone to cracking. But why do these screens break so easily? The primary culprit is often the combination of glass and thin design.Smartphones are designed to be sleek and lightweight, which often means less protection around the screen. The glass used in screens is made to be scratch-resistant, not shatterproof. Factors like dropping the phone, sitting on it, or even temperature changes can contribute to screen cracks. Understanding these vulnerabilities can help you take preventive measures to protect your device.These devices undergo rigorous testing, but real-world scenarios can be unpredictable. Investing in a good-quality phone case or screen protector can add an extra layer of protection, reducing the likelihood of screen damage.
Understanding the Anatomy of a Smartphone Screen
Before diving into repair, it’s crucial to understand what makes up a smartphone screen. Most modern phones have a three-part screen structure: the outer glass, the touch-sensitive layer, and the display itself.- Outer Glass: This is what you directly interact with. It’s designed to be tough but can shatter upon impact.
- Touchscreen Layer: Beneath the glass, this layer detects your touch inputs. Damage to this layer can affect screen responsiveness.
- Display: The actual screen that shows images and videos. If this is damaged, you might see black spots or color issues.
Essential Tools for DIY Screen Repair
Repairing a cracked phone screen requires specific tools to ensure a smooth process. Here’s a list of essential items you’ll need:- Precision Screwdrivers: Different phones require different types of screws. A set of precision screwdrivers will cover your bases.
- Plastic Pry Tools: These help in safely opening the phone without damaging internal components.
- Suction Cup: Useful for lifting the screen away from the body of the phone.
- Tweezers: Handy for handling small parts and connectors.
- Adhesive Strips: To secure the new screen in place.
- Replacement Screen: Make sure it’s compatible with your phone model.
Assessing the Damage: Is Repair Possible?
Not all screen damage is the same. Before you start, assess whether a repair is possible. Look for the following:- Cracks: If the cracks are minor and the display is still visible and touch-sensitive, a replacement might not be urgent.
- Color Changes or Black Spots: These indicate damage to the display itself, requiring more extensive repair.
- Touchscreen Responsiveness: If the screen isn’t responding well, the touch layer might be damaged.
Preparing for a Screen Replacement
Once you’ve assessed the damage and gathered your tools, it’s time to prepare for the replacement. Follow these steps:- Power Off the Phone: Always turn off your device before starting any repair to prevent electrical shocks or further damage.
- Create a Clean Workspace: Ensure your work area is clean and well-lit. A clutter-free space helps in keeping track of small parts.
- Organize Your Tools: Lay out your tools and replacement parts for easy access.
- Watch Tutorials: If you’re unsure about any step, watching a video tutorial can provide visual guidance.
Step-by-Step Guide to Replacing a Cracked Screen
Now, let’s walk through the process of replacing a cracked phone screen:- Remove the Screws: Using the precision screwdrivers, remove any screws holding the screen in place.
- Use the Suction Cup: Attach the suction cup to the screen and gently lift until you can insert a pry tool between the screen and the phone body.
- Pry Gently: Carefully use the pry tools to separate the screen from the phone, being cautious of connectors.
- Disconnect the Screen: Gently disconnect any cables or connectors attaching the screen to the phone.
- Remove the Damaged Screen: Once everything is disconnected, remove the old screen.
- Attach the New Screen: Connect the new screen’s cables and place it into position.
- Secure the Screen: Use adhesive strips to secure the new screen to the phone body.
- Reassemble the Phone: Replace any screws and ensure everything is tightly fitted.

Using Packing Tape for Temporary Fixes
Sometimes, you need a quick fix before you can replace your cracked screen. Packing tape can be a temporary solution to prevent further damage.- Czyszczenie ekranu: Wipe the screen with a clean, dry cloth to remove dust and debris.
- Apply Packing Tape: Cut a piece of packing tape slightly larger than the screen. Carefully place it over the cracked area to hold it together.
Pros and Cons of DIY Repair vs. Professional Service
Deciding between DIY repair and professional service can be challenging. Here are some pros and cons to consider:DIY Repair:- Plusy: Cost-effective, immediate solution, learning experience.
- Wady: Risk of further damage, potential voiding of warranty, requires time and effort.
- Plusy: Expertise and experience, warranty on the repair, high-quality parts.
- Wady: More expensive, longer downtime if the phone needs to be sent away.
Common Mistakes to Avoid in Screen Replacement
When performing a DIY repair, it’s easy to make mistakes. Here are some to watch out for:- Using Incorrect Tools: Make sure you use the right tools to avoid damaging the phone.
- Applying Too Much Force: Be gentle when prying open the phone to prevent damage to internal components.
- Pomijanie kroków: Follow the repair process step-by-step to avoid missing critical connections.

Maintaining Your Phone After a Repair
Once your phone is repaired, it’s important to maintain its condition to prevent future damage. Here are some tips:- Invest in a Quality Case: A sturdy case can absorb shocks from drops, protecting the screen.
- Użyj folii ochronnej na ekran: These can prevent scratches and minor cracks.
- Handle with Care: Be mindful of where you place your phone to avoid accidental drops.
Komentarze
Tagi

Jak wybrać najlepszy ochraniacz ekranu dla swojego smartfona?
Wybór najlepszego ochraniacza ekranu do telefonu jest kluczowym krokiem w zapewnieniu długowieczności i doskonałego stanu wyświetlacza urządzenia. Różne rodzaje ochraniaczy ekranu oferują różne poziomy ochrony i dodatkowe funkcje, pomagając użytkownikom dokonać świadomego wyboru w oparciu o ich potrzeby.
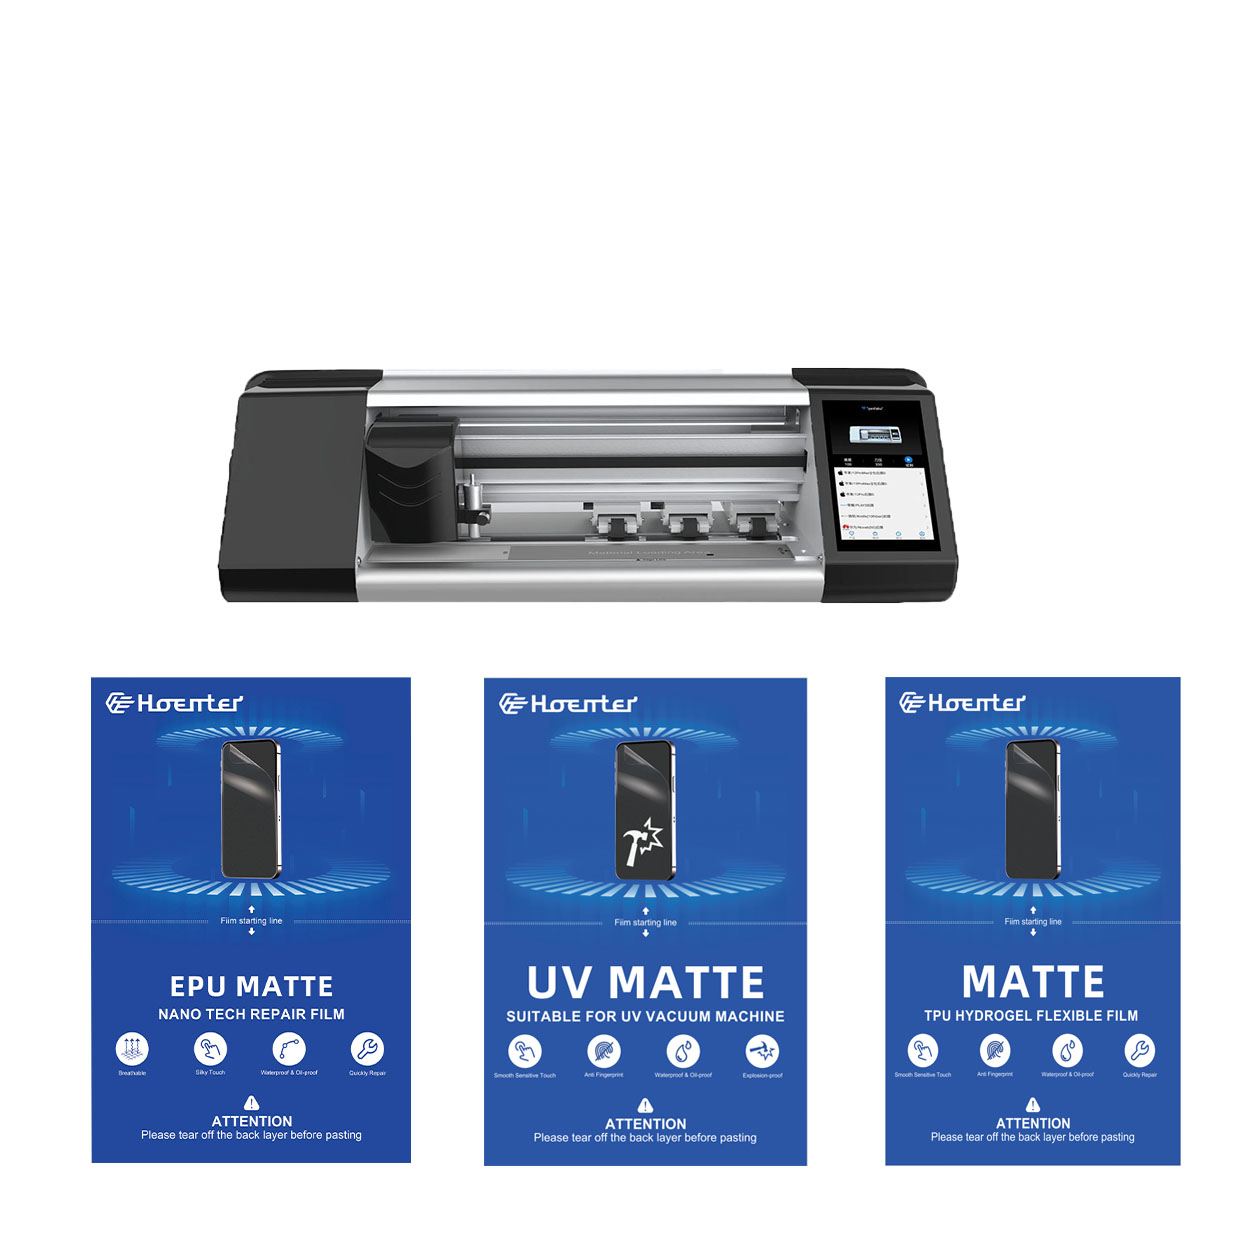
EPU Matowa folia hydrożelowa chroniąca ekran przed odciskami palców
EPU Hydrogel Film Screen Protector oferuje wszechstronną, wysokowydajną ochronę dla szerokiej gamy urządzeń, w tym smartfonów, tabletów i smartwatchów. Jego uniwersalna kompatybilność z maszynami do cięcia folii do telefonów sprawia, że jest to idealny wybór dla różnych modeli, zapewniając bezproblemową aplikację i pełne pokrycie krawędzi. Dzięki zaawansowanym funkcjom, takim jak ochrona przed odciskami palców, wodoodporność i technologia samoregeneracji, ten ochraniacz ekranu nie tylko utrzymuje nieskazitelny wyświetlacz, ale także zapewnia trwałą ochronę przed zadrapaniami, odblaskami i codziennym zużyciem. Zarówno do użytku osobistego, jak i profesjonalnych maszyn do cięcia, ta hydrożelowa folia zapewnia niezawodną wydajność i długotrwałą przejrzystość ekranu.

Modernizacja maszyny do cięcia ochraniaczy ekranu: Kiedy i dlaczego?
W szybko zmieniającym się świecie akcesoriów mobilnych utrzymanie konkurencyjności wymaga aktualizowania sprzętu.

Dostosowywanie ekranów prywatności: Dlaczego potrzebujesz inteligentnej maszyny do cięcia ekranów prywatności
Smart Privacy Screen Cutting Machine stanowi znaczący postęp w technologii prywatności, oferując precyzyjne, konfigurowalne rozwiązania, które zwiększają bezpieczeństwo danych i komfort użytkownika w różnych ustawieniach.
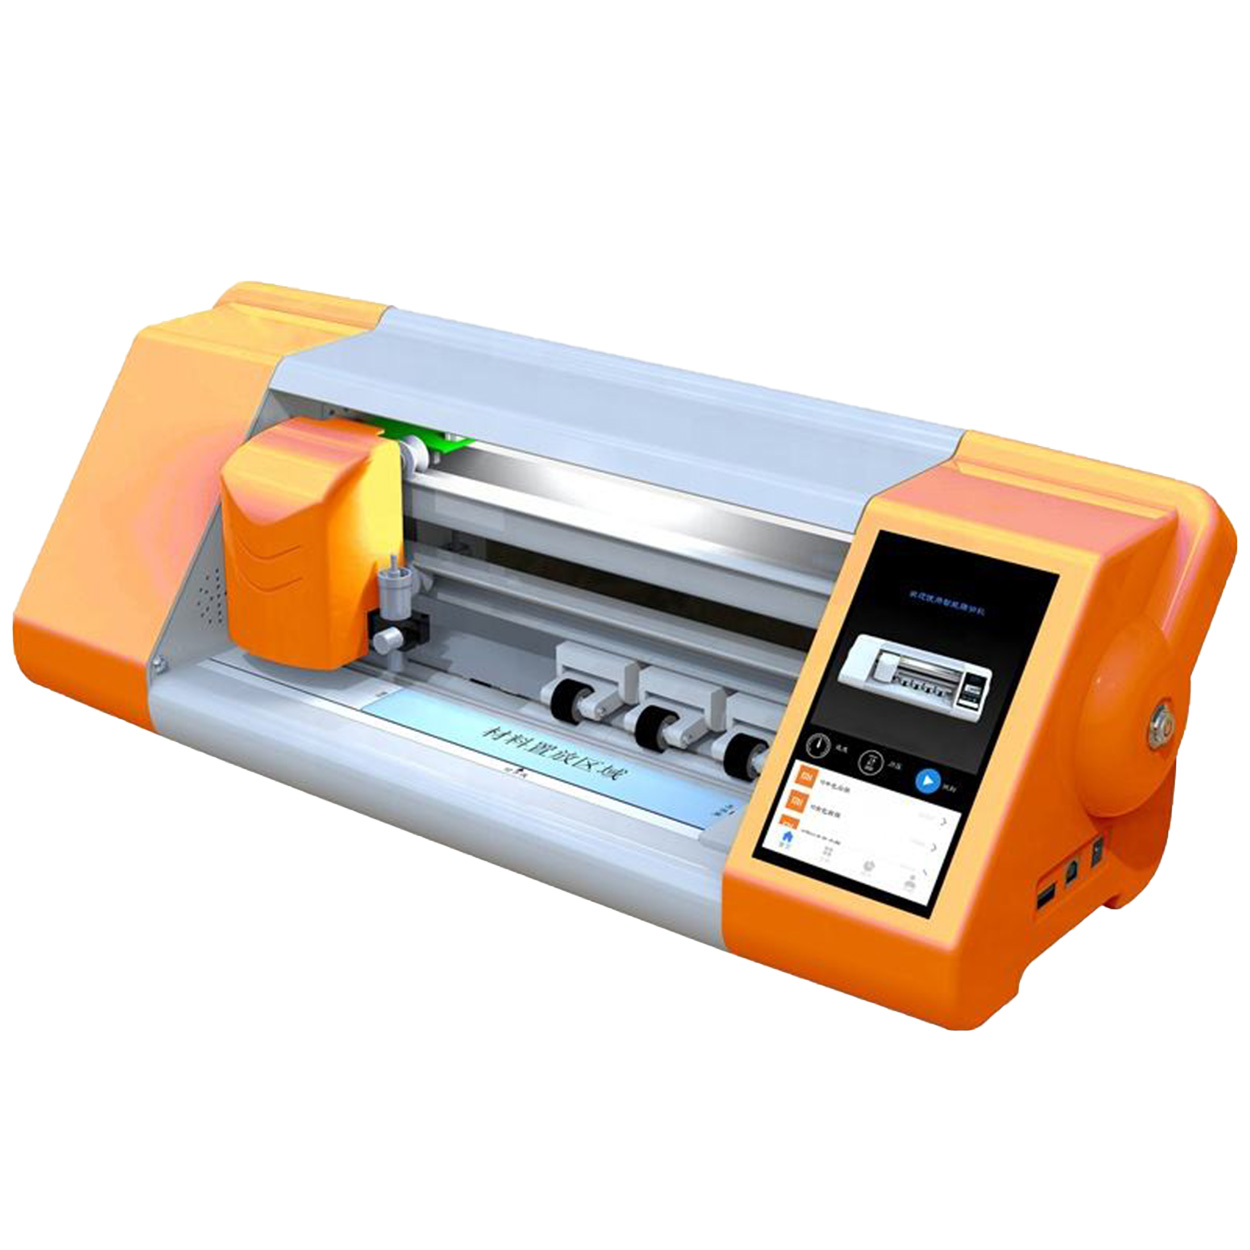
Zaawansowana automatyczna maszyna do cięcia ochraniaczy ekranu
Odkryj, jak maszyny do cięcia ochraniaczy ekranu rewolucjonizują ochronę urządzeń mobilnych dzięki inteligentnym obcinarkom folii do precyzyjnego, automatycznego cięcia ekranów wszystkich urządzeń.
Znajdź całą wiedzę i trendy z naszego bloga, uzyskaj hurtową cenę i najlepszą jakość z naszej fabryki.
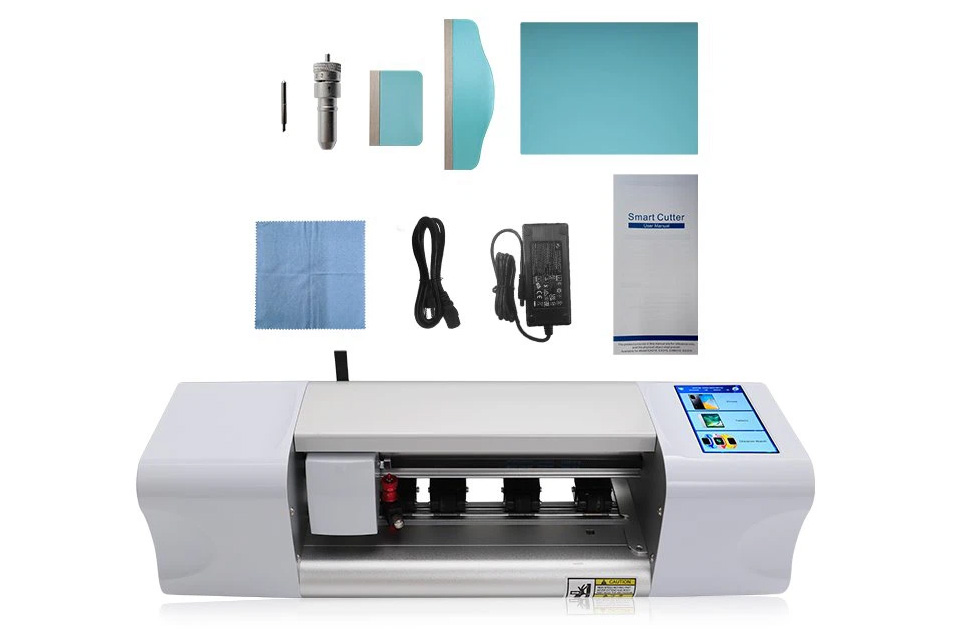
Jaka maszyna do cięcia folii i jej zastosowanie
Maszyny do cięcia folii odegrały kluczową rolę w ewolucji produkcji filmowej i różnych procesów przemysłowych, umożliwiając precyzyjne cięcie i łączenie materiałów filmowych.
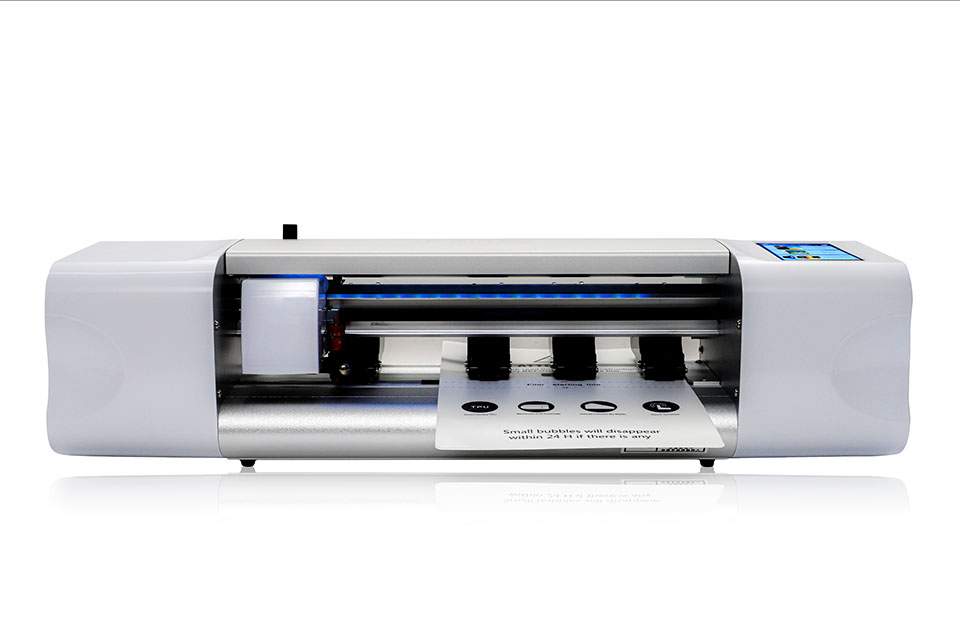
Co to jest maszyna do cięcia ochraniaczy ekranu?
Maszyna do cięcia ochraniaczy ekranu to specjalistyczne urządzenie zaprojektowane do produkcji niestandardowych ochraniaczy ekranu dla różnych urządzeń elektronicznych, w tym smartfonów, tabletów, smartwatchy, laptopów i monitorów.
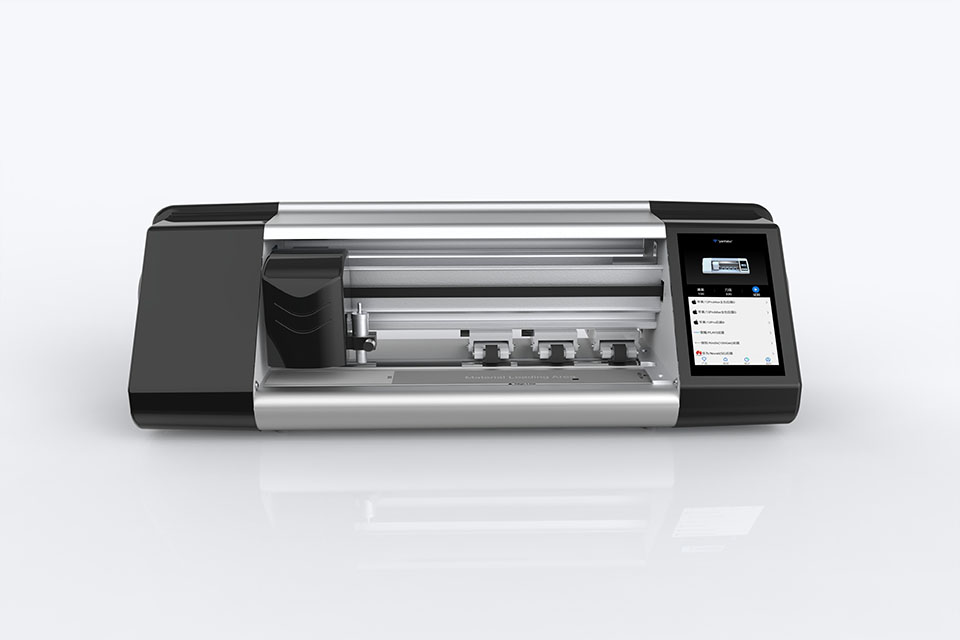
Jak działa maszyna do cięcia ochraniaczy ekranu telefonu komórkowego?
Maszyna do cięcia ochraniaczy ekranu telefonu komórkowego jest zaawansowanym urządzeniem zaprojektowanym
do produkcji niestandardowych ochraniaczy ekranu dla różnych urządzeń cyfrowych z wysoką ceną
i wydajność.
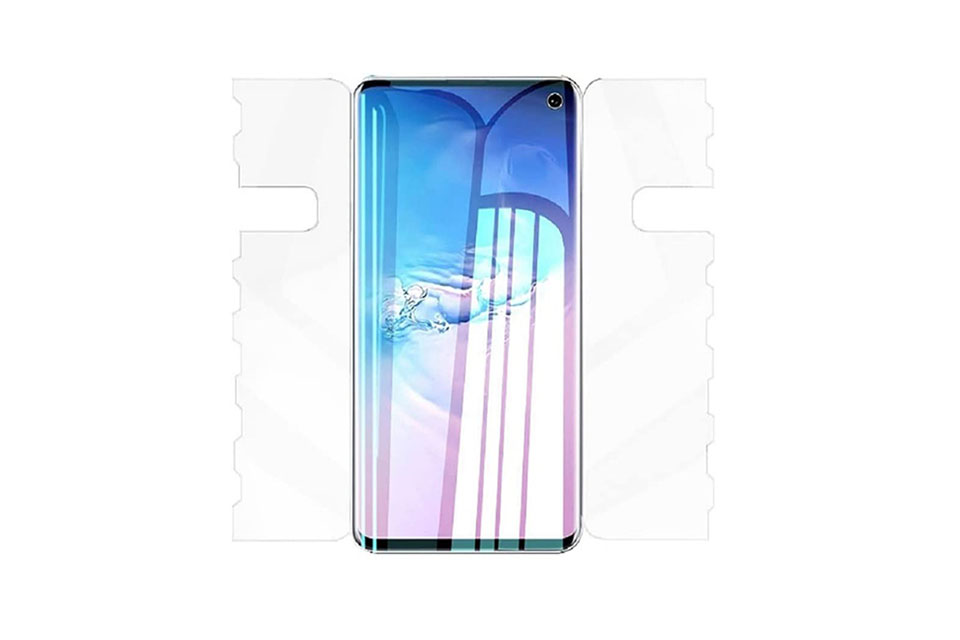
Charakterystyka szkła hartowanego na telefon komórkowy i ochraniacza ekranu TPU na telefon komórkowy
Ochraniacze ekranu z termoplastycznego poliuretanu (TPU) są elastyczne, trwałe i wytrzymałe.
samoregenerujące się folie z tworzyw sztucznych przeznaczone do ochrony ekranów urządzeń elektronicznych przed
zadrapania, uderzenia i inne potencjalne uszkodzenia.
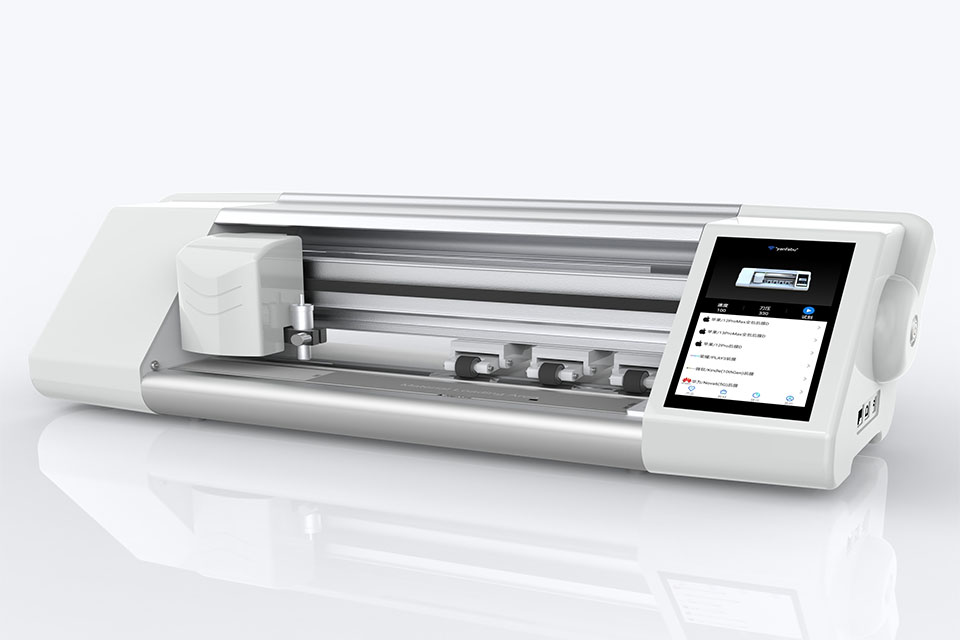
Rewolucja w ochronie urządzeń dzięki maszynie do cięcia osłon ekranu
Niezależnie od tego, czy posiadasz smartfon, tablet czy smartwatch, to wszechstronne urządzenie obsługuje szeroką gamę urządzeń. Płynnie dostosowuje się do wymiarów gadżetu, oferując niestandardowe dopasowanie, którego nie można dopasować do ogólnych ochraniaczy.

Dożywotnia gwarancja na osłonę ekranu
Dożywotnia gwarancja na ochraniacz ekranu to gwarancja udzielana przez producentów, która
obiecuje naprawę lub wymianę osłony ekranu przez cały okres użytkowania produktu, na określonych warunkach.

