Comment réparer un écran de téléphone fissuré
Table des matières
Résumé
- Understand Why Screens Break: Preventative care is the best defense.
- Assess Before Repairing: Know the extent of the damage.
- Gather Essential Tools: Preparation is key.
- Follow a Step-by-Step Guide: Patience and precision pay off.
- Consider Temporary Fixes: Packing tape can buy you time.
- Know When to Replace: Some screens need more than a repair.
- Avoid Common Mistakes: Learn from the experiences of others.
- Choose Between DIY and Professional: Weigh the pros and cons to make an informed decision.
Why Do Phone Screens Break So Easily?
Smartphones are designed to be sleek and stylish, but this often makes them fragile. Screens are made of glass, and while they are engineered to withstand pressure, a drop at the wrong angle can lead to cracks. The combination of thinness and large surface area makes them vulnerable.Moreover, the materials used, like Gorilla Glass, while strong, are not unbreakable. The impact from falls or pressure can exceed what the glass can handle, leading to a cracked screen. Understanding why screens break can help you take preventive measures.Assessing the Damage: Is It Just a Crack?
Before jumping into repair, it’s crucial to assess the extent of the damage. Is it just a crack, or is the phone unresponsive? A simple crack might just affect the aesthetic, but deeper damage can impair functionality.- Check for Touch Functionality: Does the touchscreen still respond?
- Inspect for Additional Damage: Look for signs of water damage or internal issues.

Can You Fix a Cracked Phone Screen Yourself?
Yes, you can! DIY repair is not only cost-effective but also satisfying. However, it requires patience and precision.Pros of DIY Repair:- Économies de coûts: Avoid expensive repair shops.
- Commodité: Fix at your own pace and place.
- Risk of Further Damage: Incorrect steps can worsen the damage.
- Time-Consuming: Requires time and attention to detail.
Essential Tools for DIY Phone Screen Repair
Before starting, gather the necessary tools. Having the right equipment is crucial for a successful repair.- Small Screwdriver Set: For removing tiny screws.
- Plastic Pry Tools: To open the phone without scratching.
- Adhesive: To secure the new screen.
- Replacement Screen: Make sure it’s compatible with your phone model.
Step-by-Step Guide to Fixing a Cracked Phone Screen
- Power Off Your Device: Safety first.
- Remove the Screws: Use the screwdriver to carefully remove screws.
- Pry Open the Phone: Gently use pry tools.
- Disconnect the Old Screen: Carefully detach connectors.
- Attach the New Screen: Securely connect and test.
- Reassemble: Put everything back in place.
Using Packing Tape for Temporary Fixes
If you’re not ready for a full repair, packing tape can be a temporary solution. Here’s how to use it effectively:- Nettoyer l'écran: Wipe away dust and debris.
- Cut Tape to Size: Cover the crack with precision.
- Apply Gently: Smooth out bubbles for a clear view.
When to Use a Screen Protector
Screen protectors are not just for preventing cracks. They can also be useful post-repair:- Protection supplémentaire: Shields against future drops.
- Smooth Surface: Covers any rough edges left by cracks.

Replacing the Screen: When and How?
Sometimes, screen repair isn’t enough, and replacement is necessary. Here’s when to consider it:- Severe Damage: Multiple cracks or non-functional screen.
- Poor Display Quality: Discoloration or dead pixels.
- Purchase Compatible Screen: Ensure it matches your device.
- Follow Repair Steps: Refer to previous guide.
- Test Thoroughly: Ensure all functions are operational.
Common Mistakes in DIY Screen Repair
Learning from others can save you time and frustration. Avoid these common blunders:- Sauter des étapes: Follow instructions carefully.
- Applying Too Much Force: Gentle pressure is key.
- Using Wrong Tools: Invest in a good repair kit.
Professional Repair vs. DIY: Which is Better?
There’s a constant debate between professional repair and DIY. Here’s a comparison:- Professional Repair:
- Pour: Expertise and warranty.
- Cons: Higher cost, waiting time.
- DIY:
- Pour: Cost-effective, immediate.
- Cons: Risk of mistakes, no warranty.

Commentaires
Tags
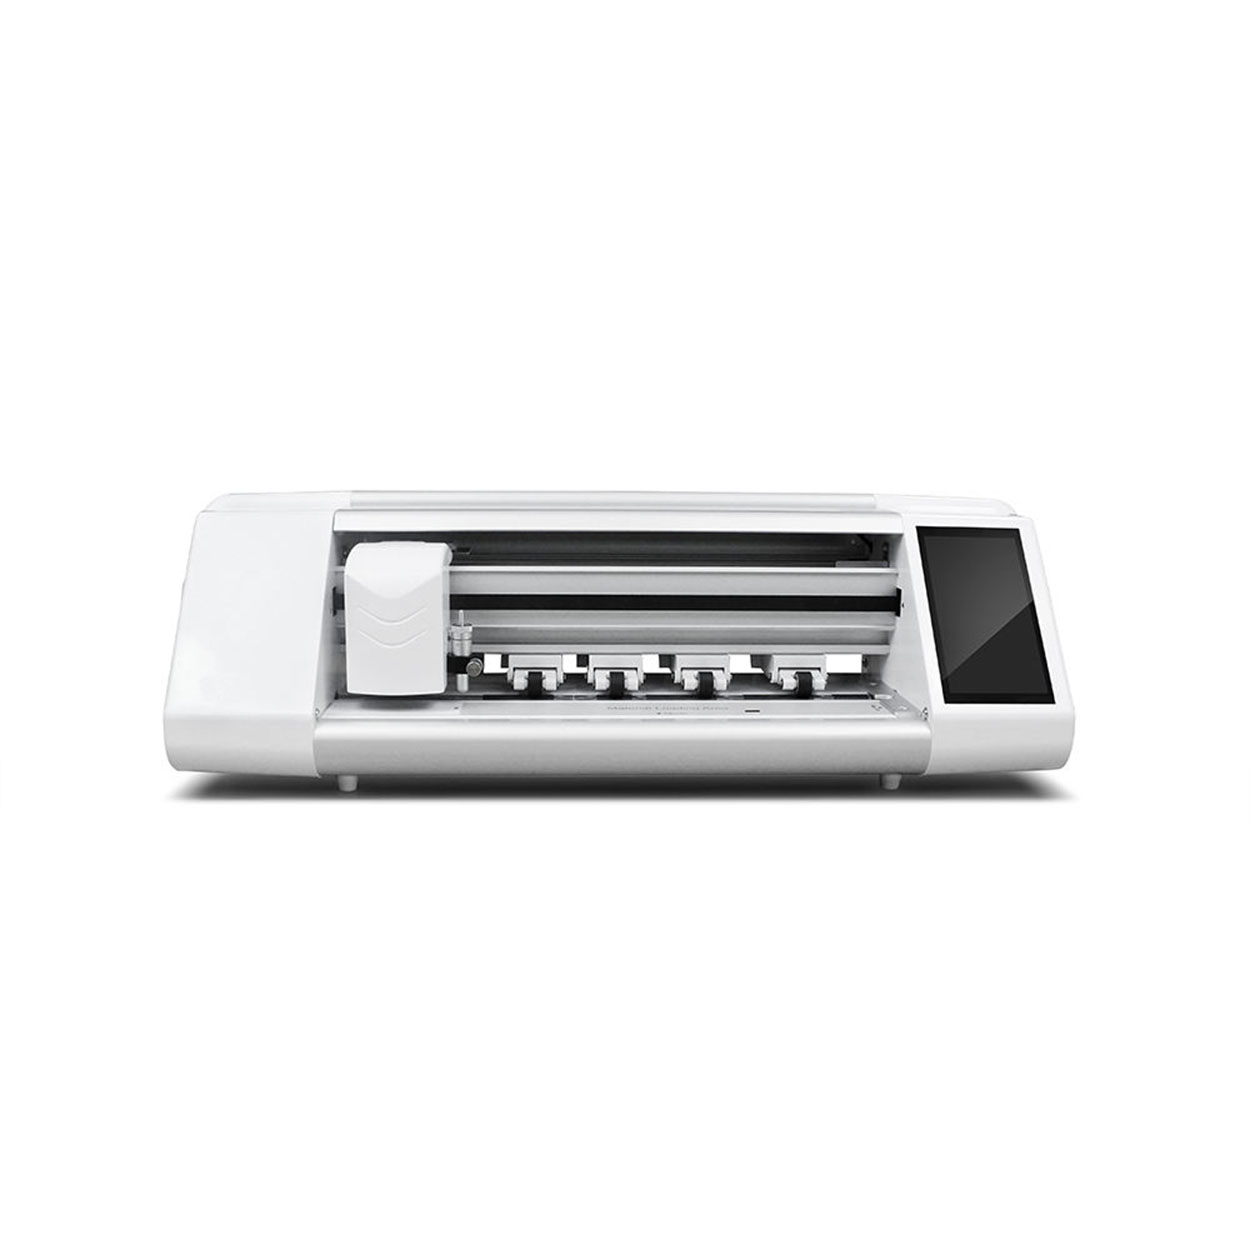
Qu'est-ce qu'une machine à découper les protections d'écran ?
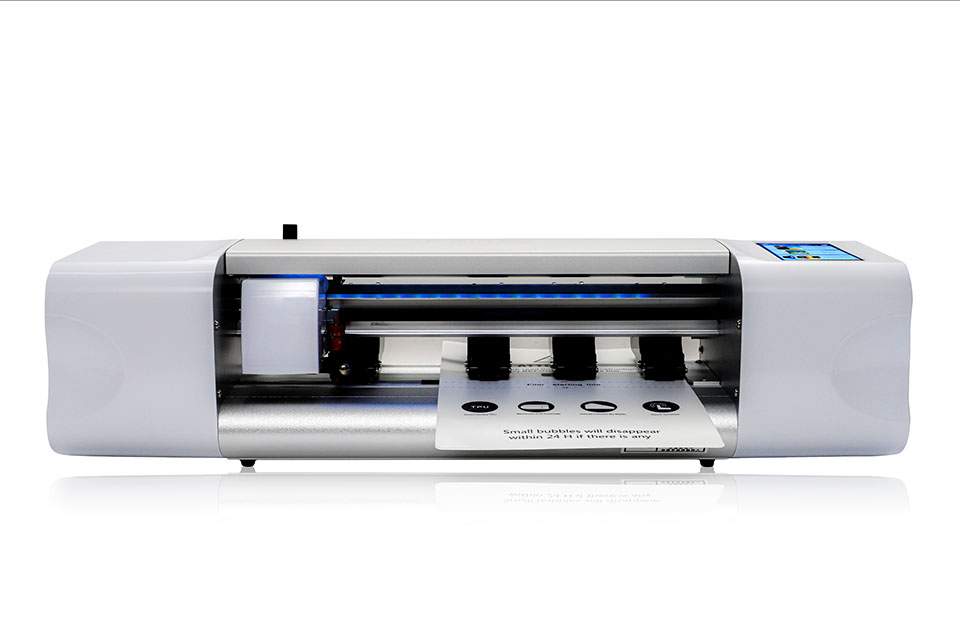
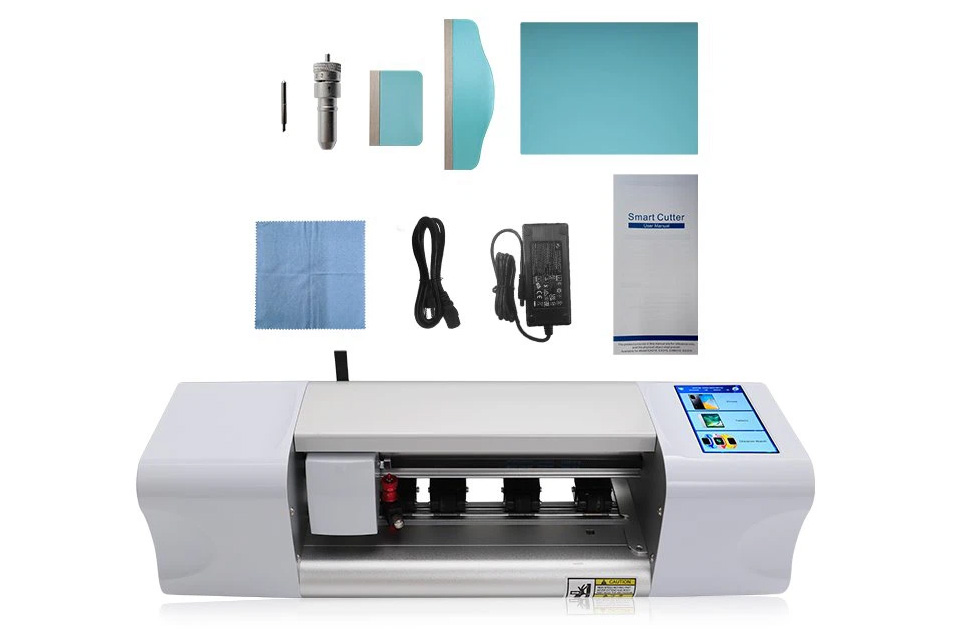
Une machine à découper les protections d'écran est un appareil spécialisé conçu pour produire des protections d'écran sur mesure pour divers appareils électroniques, notamment les smartphones, les tablettes, les smartwatches, les ordinateurs portables et les moniteurs.

Machine de découpe de protection d'écran
La machine de découpe de protection d'écran offre une découpe précise, rapide et personnalisable pour les protecteurs d'écran en hydrogel, idéale pour les magasins d'accessoires mobiles.

L'impact des machines à découper les écrans intelligents sur la sécurité des données
Les découpes d'écran intelligentes jouent un rôle essentiel dans l'amélioration de la sécurité des données, en particulier dans la prévention des menaces de plus en plus répandues telles que les violations de données et le vol visuel.

Comment une machine à fabriquer des protections d'écran peut vous faire économiser de l'argent
Une machine à protéger les écrans est un dispositif conçu pour produire des protections d'écran personnalisées à la demande pour une variété d'appareils électroniques, tels que les smartphones, les tablettes et les smartwatches.

Audi A6 GPS Navigation Tempered Glass
Enhance your Audi A6 inventory with our premium accessories. We offer wholesale options on Audi A6 screen protectors and other interior upgrades.
Découvrez toutes les connaissances et tendances de notre blog, obtenez le prix de gros et la meilleure qualité de notre usine.
Quelles sont les machines de découpe de films et leurs applications ?
Les machines de découpe de films ont joué un rôle crucial dans l'évolution de la production cinématographique et de divers processus industriels en permettant une découpe et une jonction précises des matériaux cinématographiques.

Qu'est-ce qu'une machine à découper les protections d'écran ?
Une machine à découper les protections d'écran est un appareil spécialisé conçu pour produire des protections d'écran sur mesure pour divers appareils électroniques, notamment les smartphones, les tablettes, les smartwatches, les ordinateurs portables et les moniteurs.
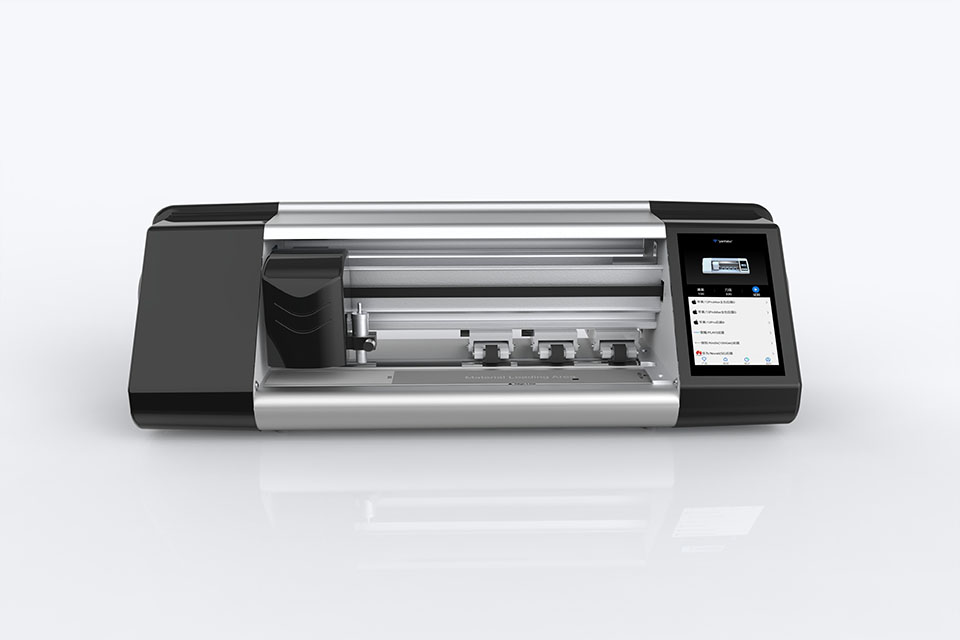
Comment fonctionne la machine à découper les protections d'écran de téléphone portable?
Une machine à découper les protections d'écran de téléphone portable est un appareil sophistiqué conçu pour
produire des protections d'écran personnalisées pour divers appareils numériques avec un haut degré de précision.
et l'efficacité.

Caractéristiques du verre trempé et du protecteur d'écran TPU pour téléphones portables
Les protections d'écran en polyuréthane thermoplastique (TPU) sont flexibles, durables et
films plastiques auto-cicatrisants conçus pour protéger les écrans d'appareils électroniques contre la corrosion.
les rayures, les impacts et autres dommages potentiels.
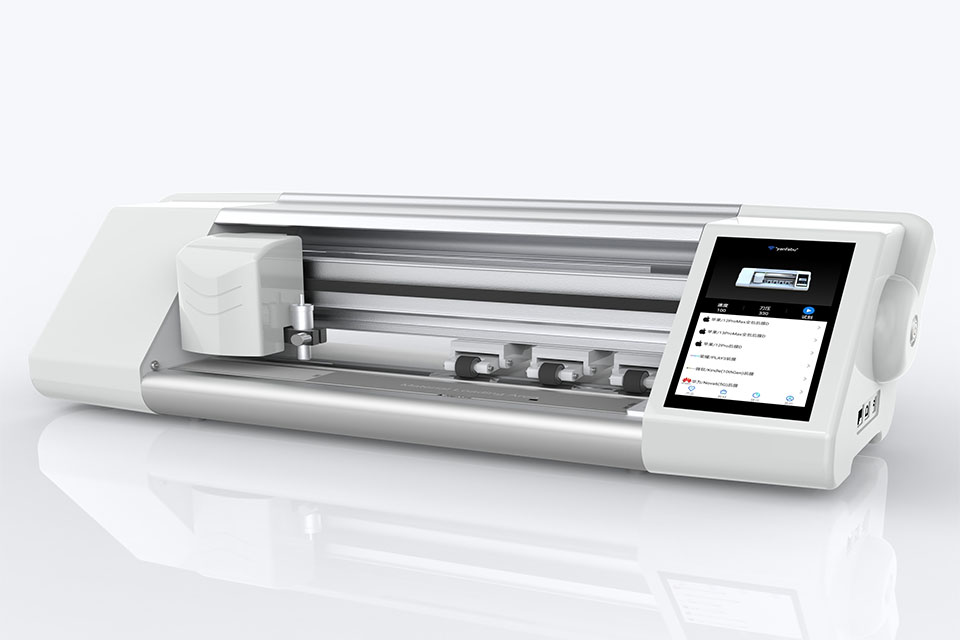
Révolutionner la protection des appareils grâce à la machine à découper les écrans de protection
Que vous possédiez un smartphone, une tablette ou une smartwatch, cette machine polyvalente s'adapte à un large éventail d'appareils. Il s'adapte parfaitement aux dimensions de votre gadget, offrant un ajustement personnalisé que les protecteurs génériques ne peuvent égaler.

Garantie à vie du protecteur d'écran
La garantie à vie d'un protecteur d'écran est une garantie fournie par les fabricants.
s'engage à réparer ou à remplacer un protecteur d'écran pendant toute la durée de vie du produit, selon des conditions spécifiques.


