
Why Do Phone Screens Break So Easily?
Smartphones are designed to be sleek and stylish, but this often makes them fragile. Screens are made of glass, and while they are engineered to withstand pressure, a drop at the wrong angle can lead to cracks. The combination of thinness and large surface area makes them vulnerable.Moreover, the materials used, like Gorilla Glass, while strong, are not unbreakable. The impact from falls or pressure can exceed what the glass can handle, leading to a cracked screen. Understanding why screens break can help you take preventive measures.Assessing the Damage: Is It Just a Crack?
Before jumping into repair, it’s crucial to assess the extent of the damage. Is it just a crack, or is the phone unresponsive? A simple crack might just affect the aesthetic, but deeper damage can impair functionality.- Check for Touch Functionality: Does the touchscreen still respond?
- Inspect for Additional Damage: Look for signs of water damage or internal issues.

Can You Fix a Cracked Phone Screen Yourself?
Yes, you can! DIY repair is not only cost-effective but also satisfying. However, it requires patience and precision.Pros of DIY Repair:- 비용 절감: Avoid expensive repair shops.
- 편의성: Fix at your own pace and place.
- Risk of Further Damage: Incorrect steps can worsen the damage.
- Time-Consuming: Requires time and attention to detail.
Essential Tools for DIY Phone Screen Repair
Before starting, gather the necessary tools. Having the right equipment is crucial for a successful repair.- Small Screwdriver Set: For removing tiny screws.
- Plastic Pry Tools: To open the phone without scratching.
- Adhesive: To secure the new screen.
- Replacement Screen: Make sure it’s compatible with your phone model.
Step-by-Step Guide to Fixing a Cracked Phone Screen
- Power Off Your Device: Safety first.
- Remove the Screws: Use the screwdriver to carefully remove screws.
- Pry Open the Phone: Gently use pry tools.
- Disconnect the Old Screen: Carefully detach connectors.
- Attach the New Screen: Securely connect and test.
- Reassemble: Put everything back in place.
Using Packing Tape for Temporary Fixes
If you’re not ready for a full repair, packing tape can be a temporary solution. Here’s how to use it effectively:- 화면 청소: Wipe away dust and debris.
- Cut Tape to Size: Cover the crack with precision.
- Apply Gently: Smooth out bubbles for a clear view.
When to Use a Screen Protector
Screen protectors are not just for preventing cracks. They can also be useful post-repair:- 추가 보호: Shields against future drops.
- Smooth Surface: Covers any rough edges left by cracks.
Replacing the Screen: When and How?
Sometimes, screen repair isn’t enough, and replacement is necessary. Here’s when to consider it:- Severe Damage: Multiple cracks or non-functional screen.
- Poor Display Quality: Discoloration or dead pixels.
- Purchase Compatible Screen: Ensure it matches your device.
- Follow Repair Steps: Refer to previous guide.
- Test Thoroughly: Ensure all functions are operational.
Common Mistakes in DIY Screen Repair
Learning from others can save you time and frustration. Avoid these common blunders:- 단계 건너뛰기: Follow instructions carefully.
- Applying Too Much Force: Gentle pressure is key.
- Using Wrong Tools: Invest in a good repair kit.
Professional Repair vs. DIY: Which is Better?
There’s a constant debate between professional repair and DIY. Here’s a comparison:- Professional Repair:
- 장점: Expertise and warranty.
- 단점: Higher cost, waiting time.
- DIY:
- 장점: Cost-effective, immediate.
- 단점: Risk of mistakes, no warranty.

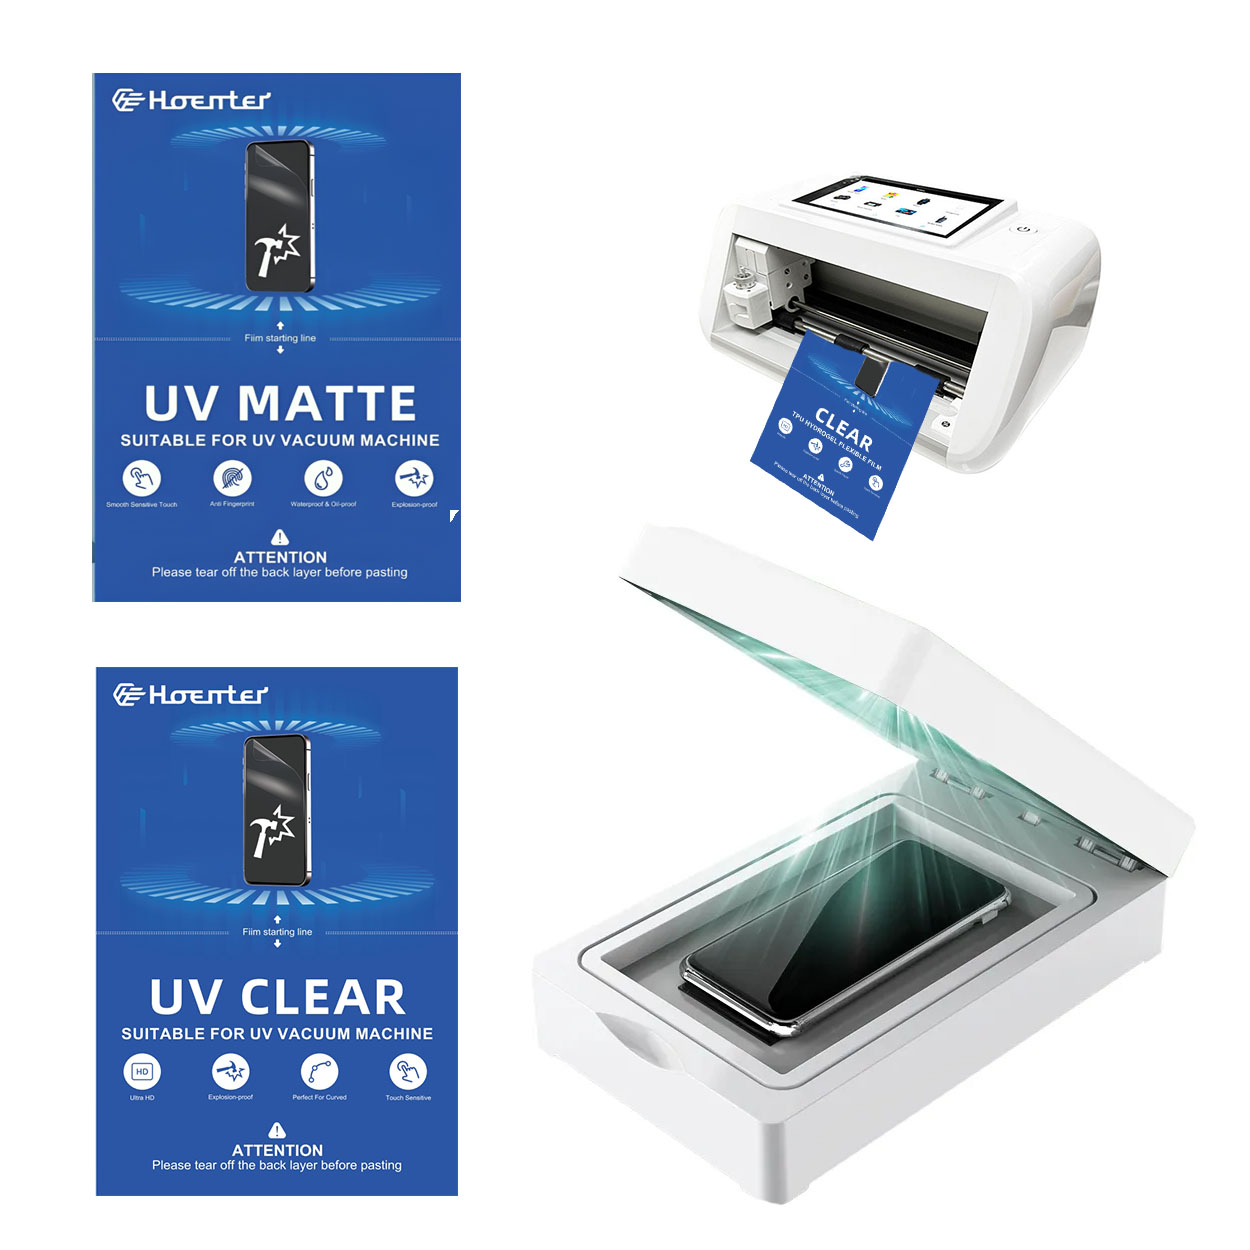
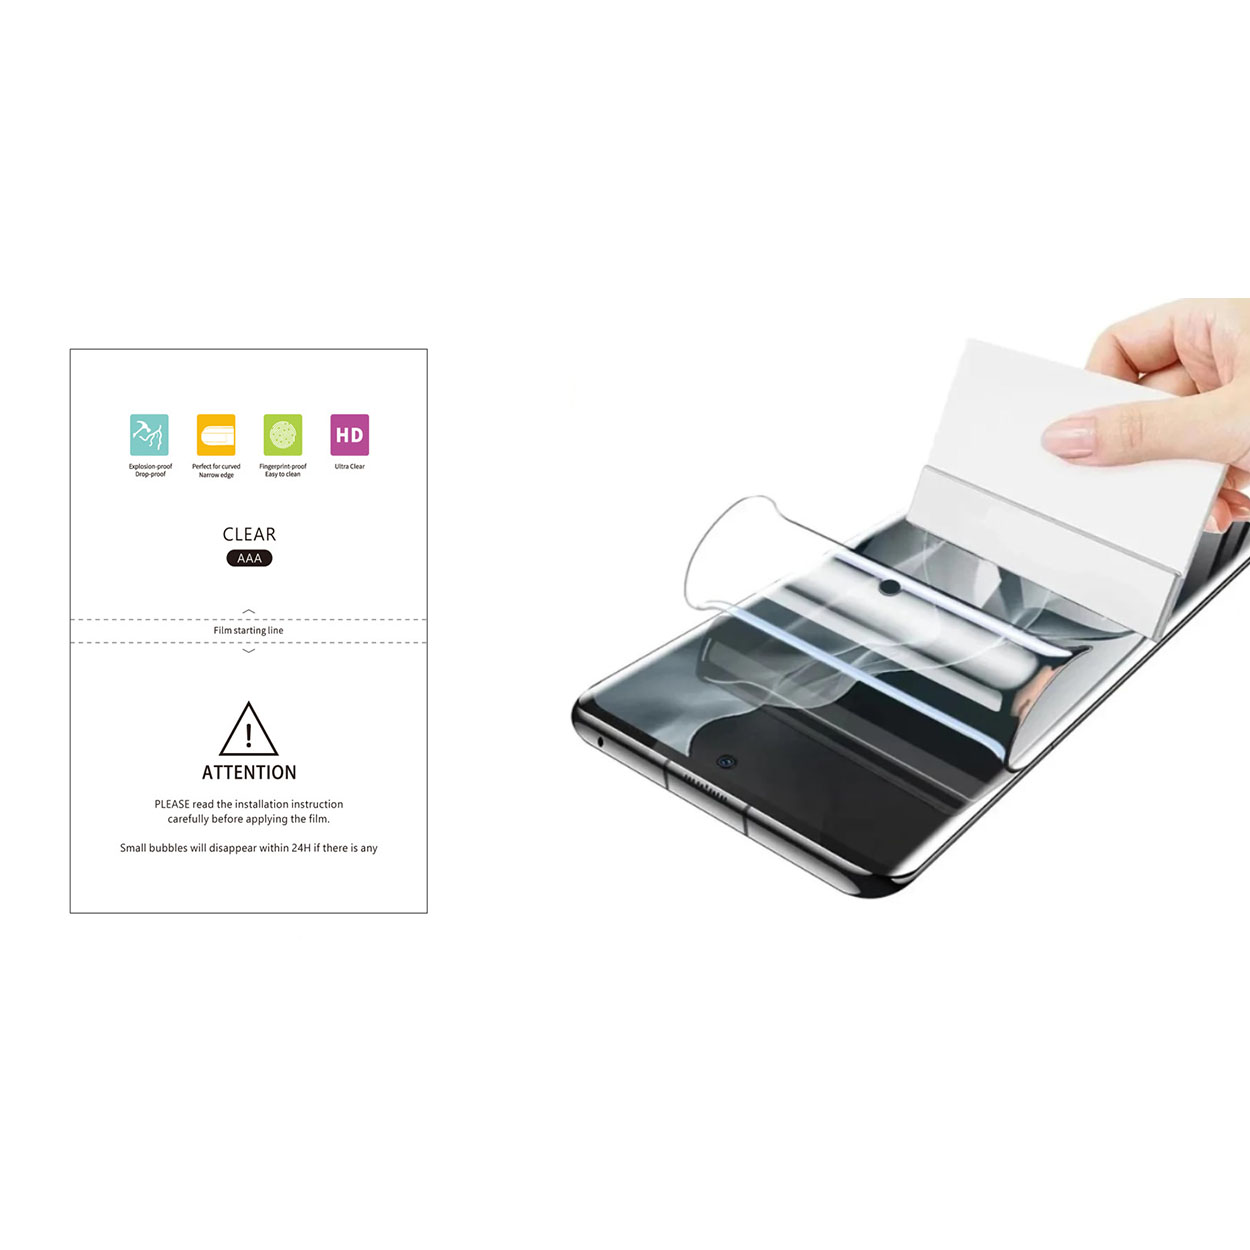
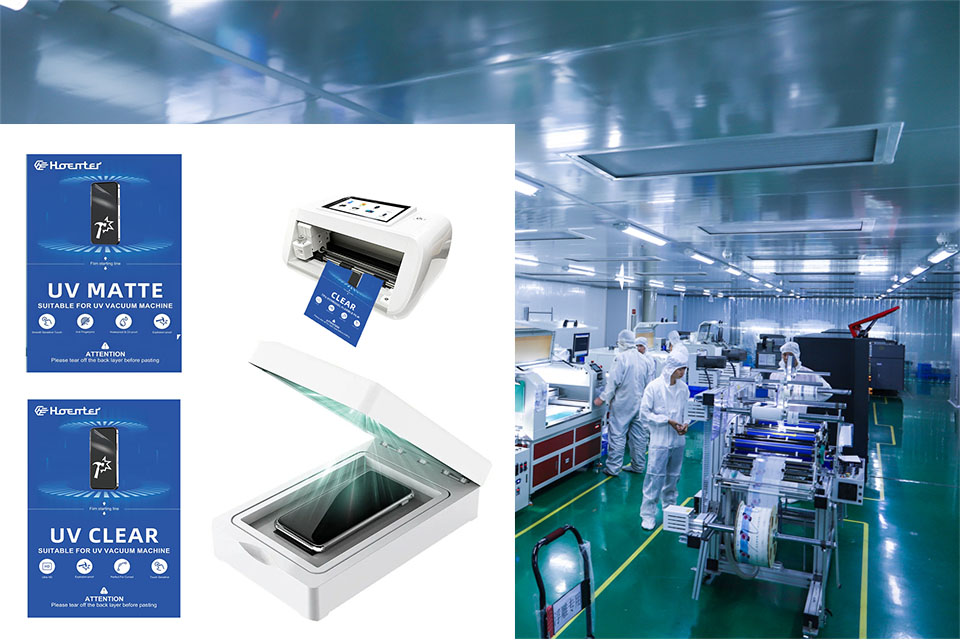
자외선 차단제와 강화 유리: 어떤 것이 휴대폰을 더 잘 보호할까요?
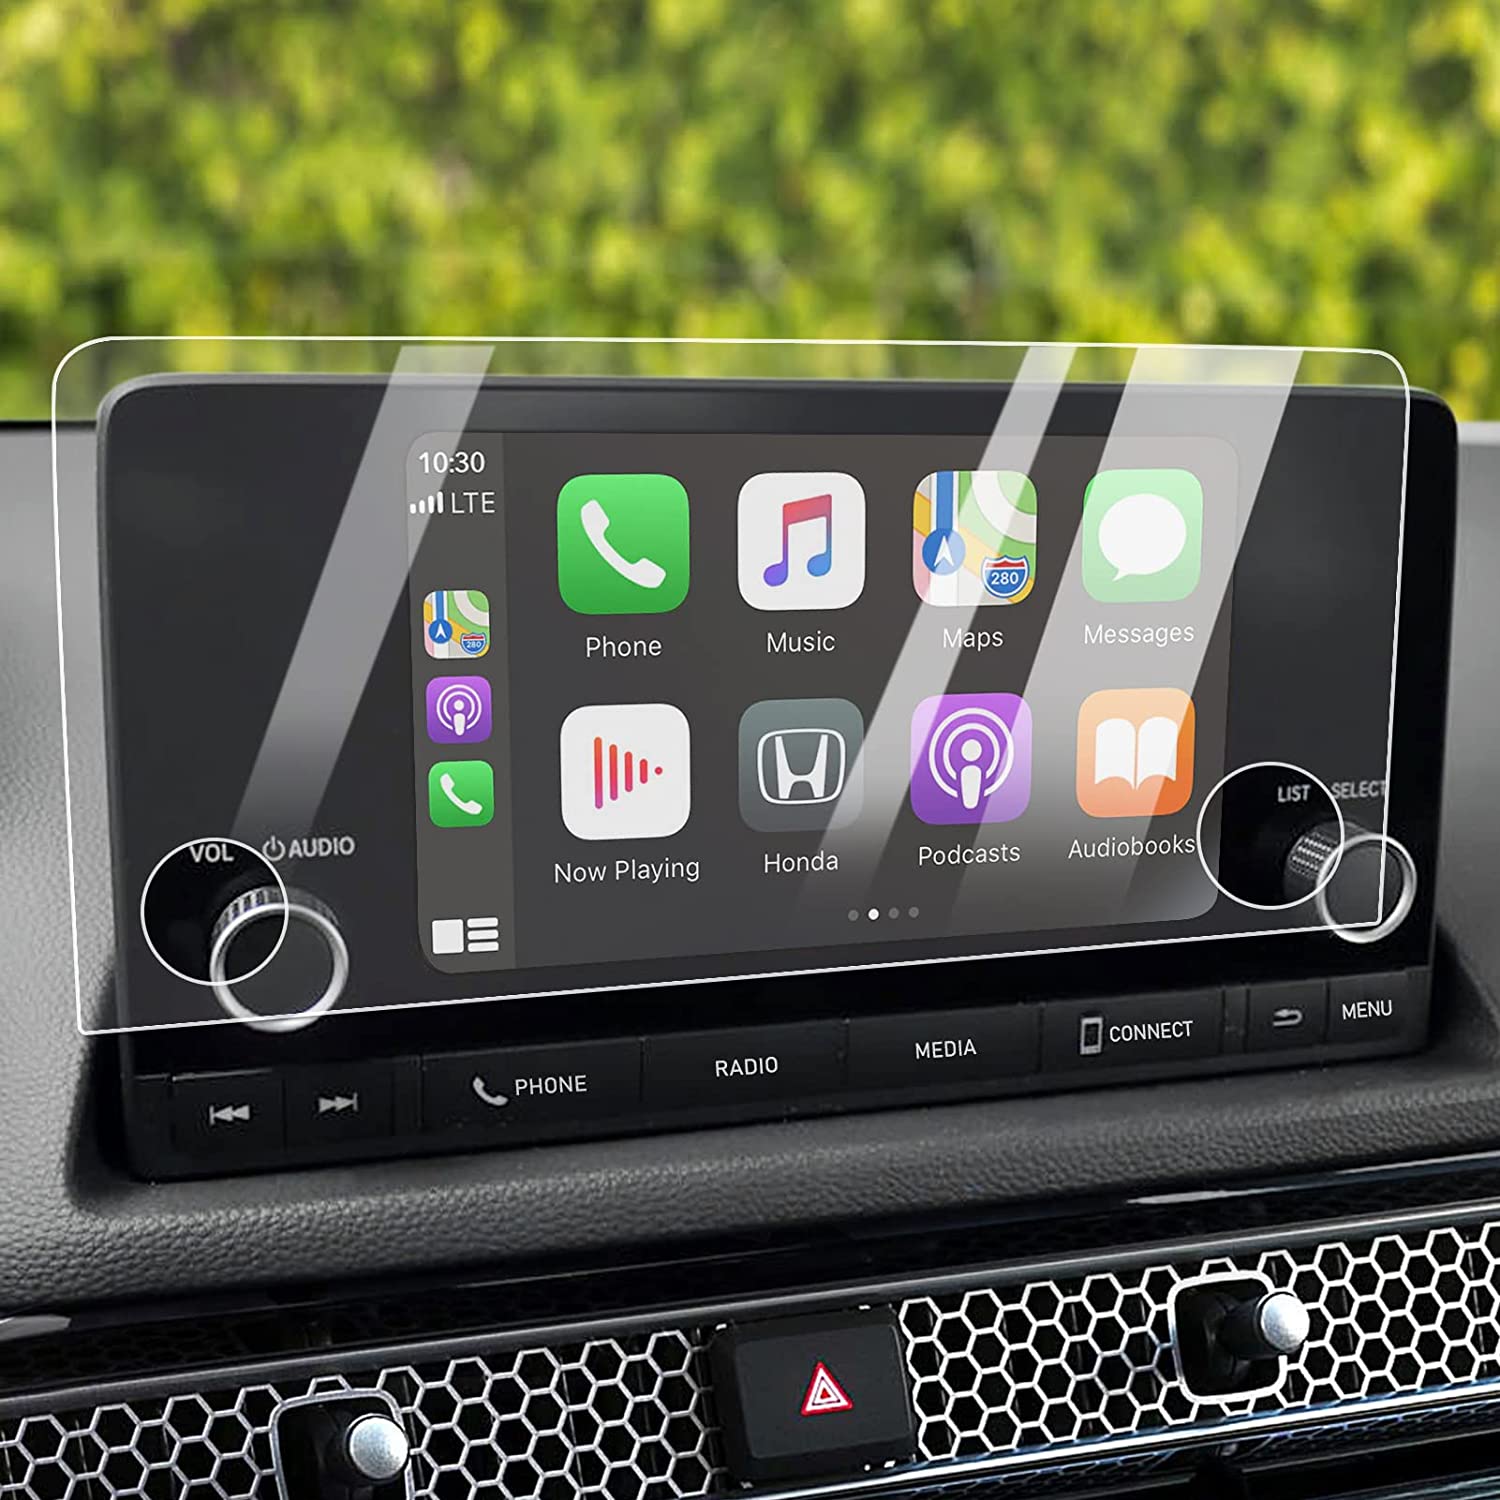
휴대폰 액세서리 분야에서 화면 보호기는 긁힘, 균열, 일상적인 마모로부터 기기를 보호하는 데 중요한 역할을 합니다. 자주 논의되는 두 가지 인기 있는 옵션은 자외선 차단제와 강화 유리 화면 보호기입니다. 하지만 어떤 것이 정말 더 우수할까요? 이 종합 가이드에서는 두 가지의 장단점을 자세히 살펴보고 소중한 스마트폰을 위해 현명한 결정을 내릴 수 있도록 도와드립니다.
How to Apply a Screen Protector to a Camera?
By following these steps and tips, you’ll ensure your camera lens remains protected and ready to capture stunning images. Happy shooting!
How to Put on Screen Protector?
By following these steps, you can confidently apply a screen protector to your smartphone, ensuring it remains protected and looking great.
How to Take Air Bubbles Out of Screen Protector?
By following these tips, you’ll not only remove air bubbles but also become a pro at applying screen protectors without frustration. A little patience and the right techniques go a long way toward achieving a flawless, bubble-free screen!
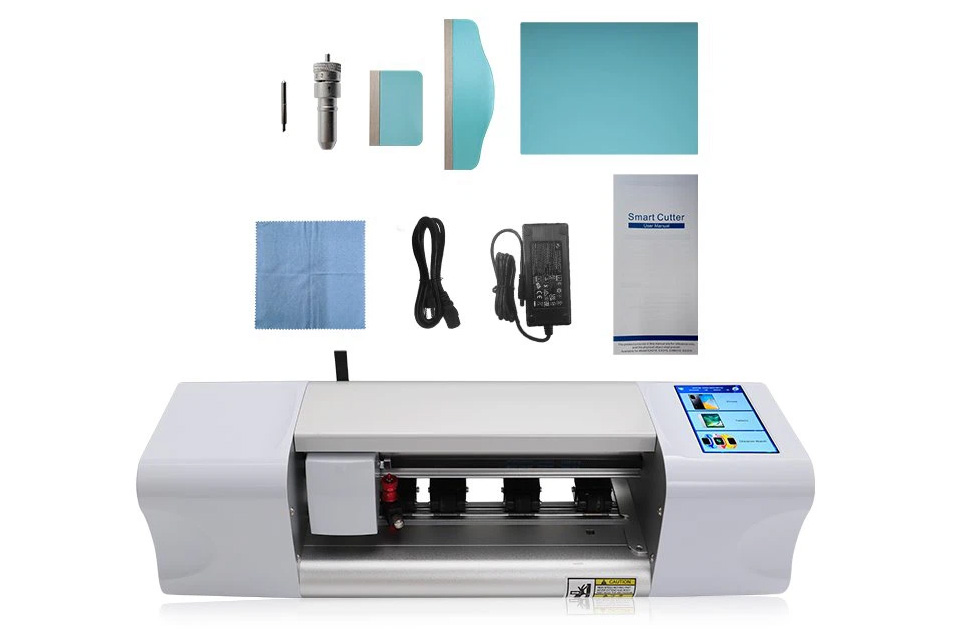
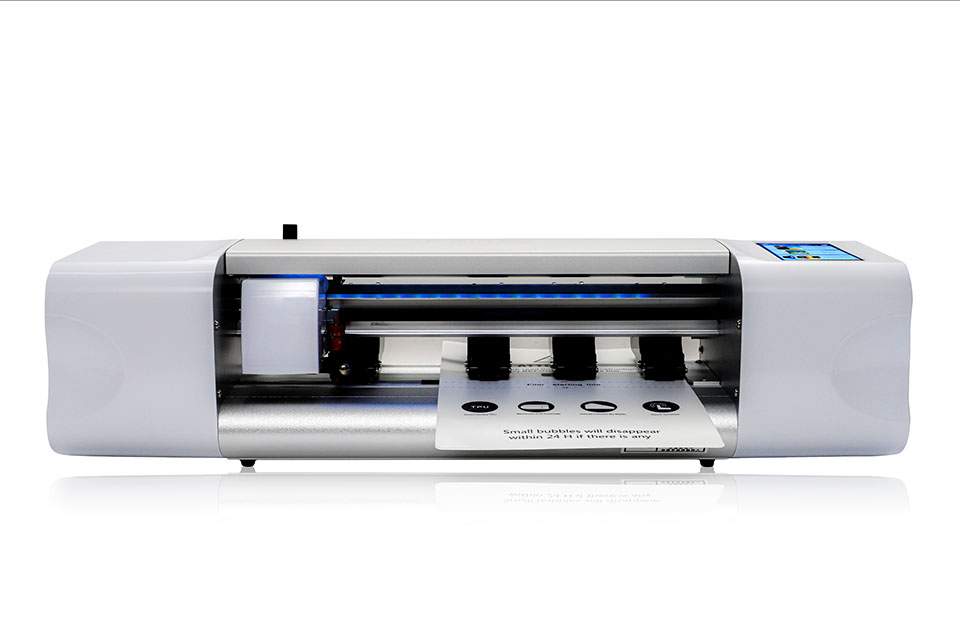
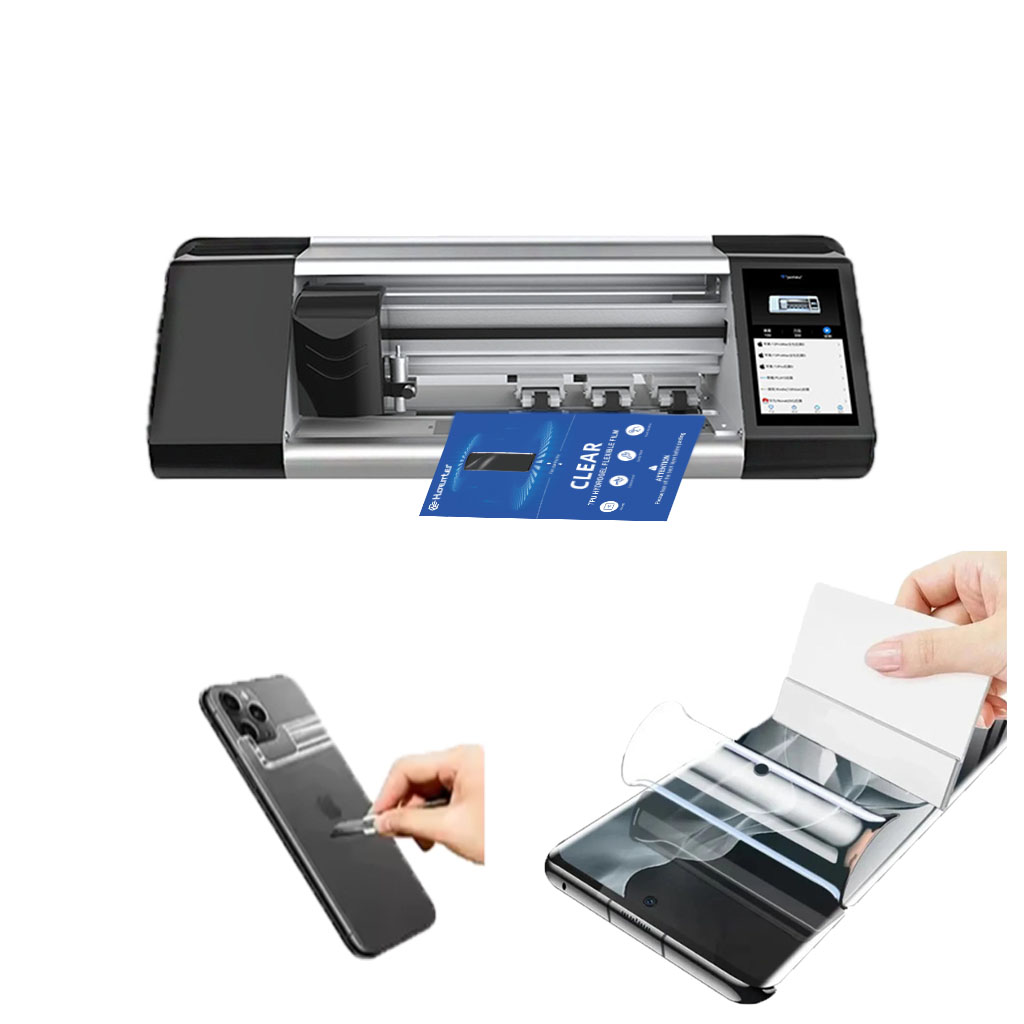
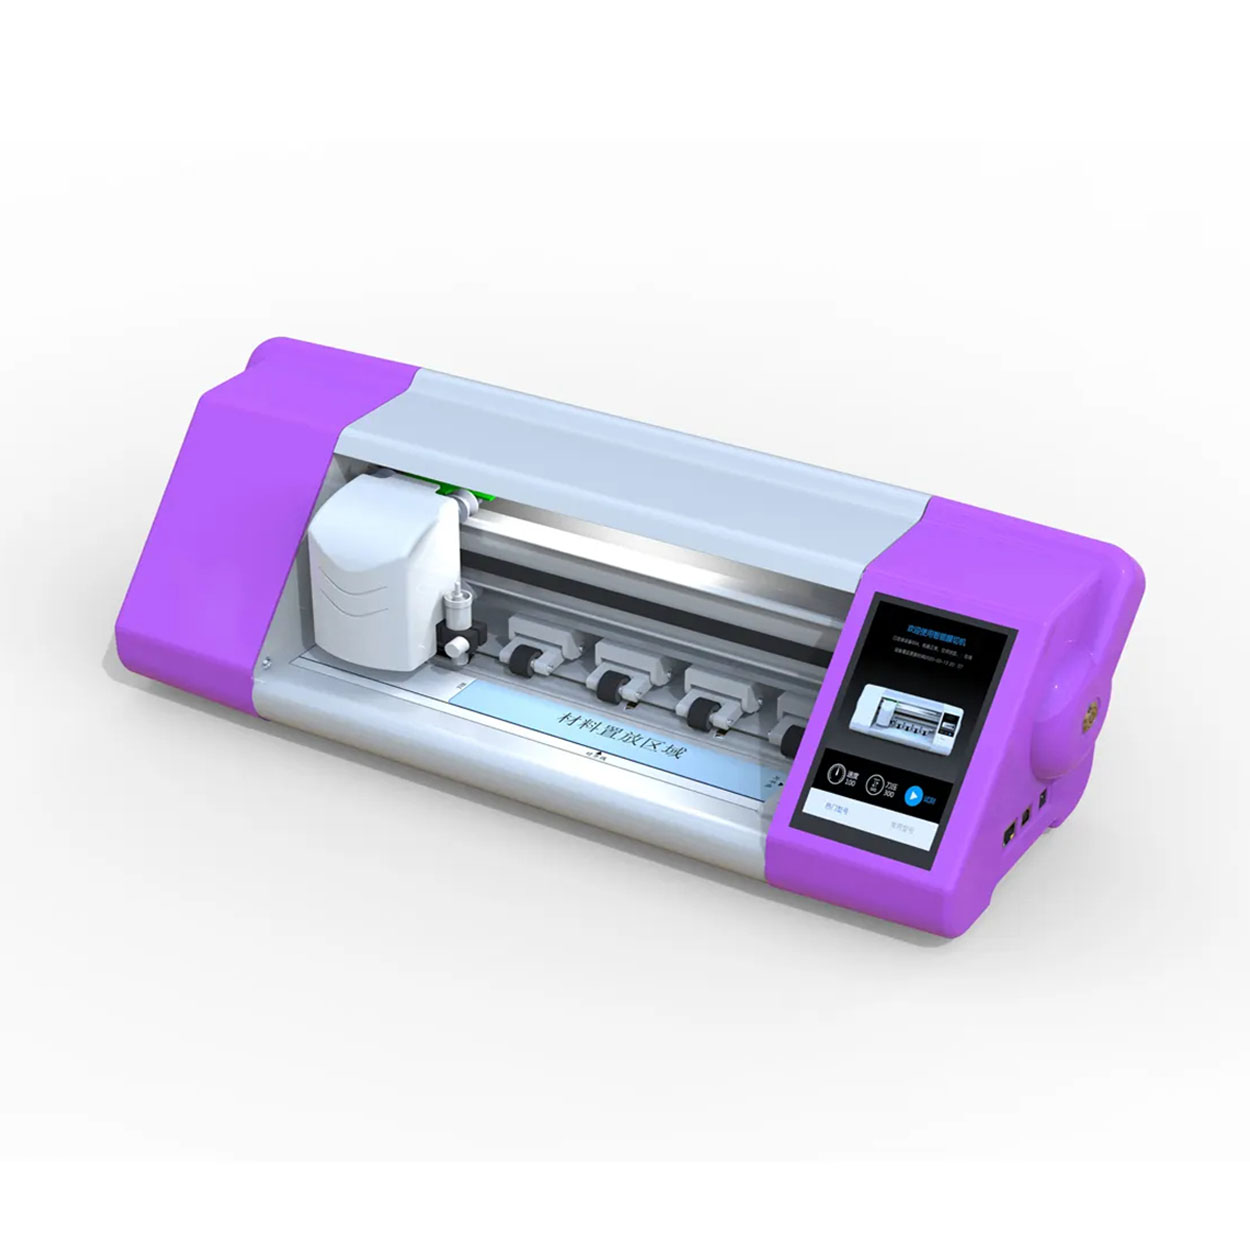
화면 보호기 커팅기란 무엇인가요?
화면 보호기 커팅기는 스마트폰, 태블릿, 스마트워치, 노트북, 모니터 등 다양한 전자기기에 맞는 맞춤형 화면 보호기를 제작하기 위해 고안된 전문 장비입니다.
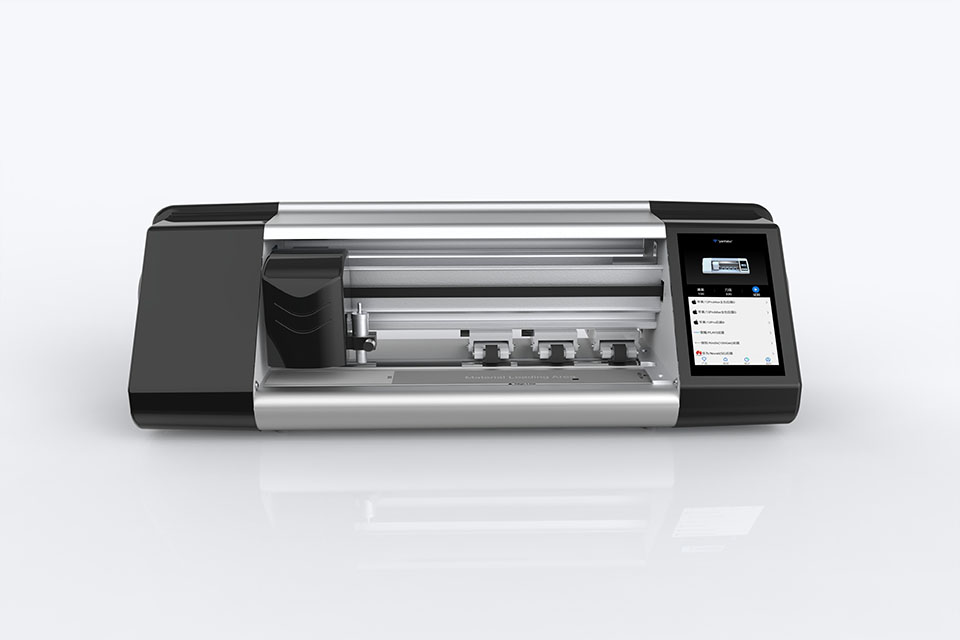
휴대폰 화면 보호기 절단기는 어떻게 작동합니까?
휴대폰 화면 보호기 절단기는 다음과 같이 설계된 정교한 장치입니다.
고가의 다양한 디지털 기기를 위한 맞춤형 화면 보호기를 생산합니다.
효율성.
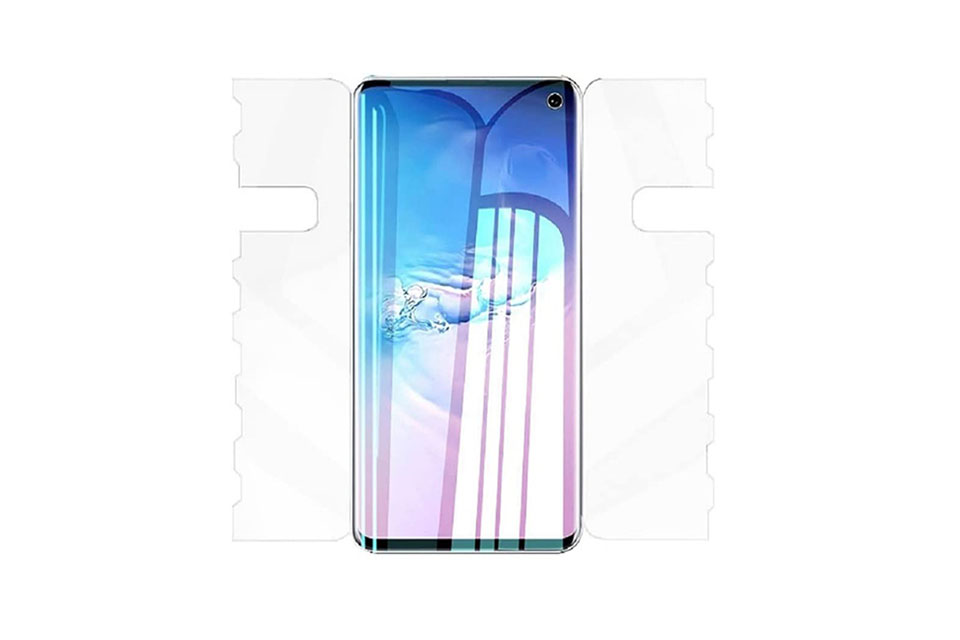
휴대폰 강화 유리 및 휴대폰 TPU 화면 보호기의 특성
열가소성 폴리우레탄(TPU) 화면 보호기는 유연하고 내구성이 뛰어나며
전자 기기 화면을 보호하도록 설계된 자가 치유 플라스틱 필름은 다음과 같습니다.
긁힘, 충격 및 기타 잠재적 손상.
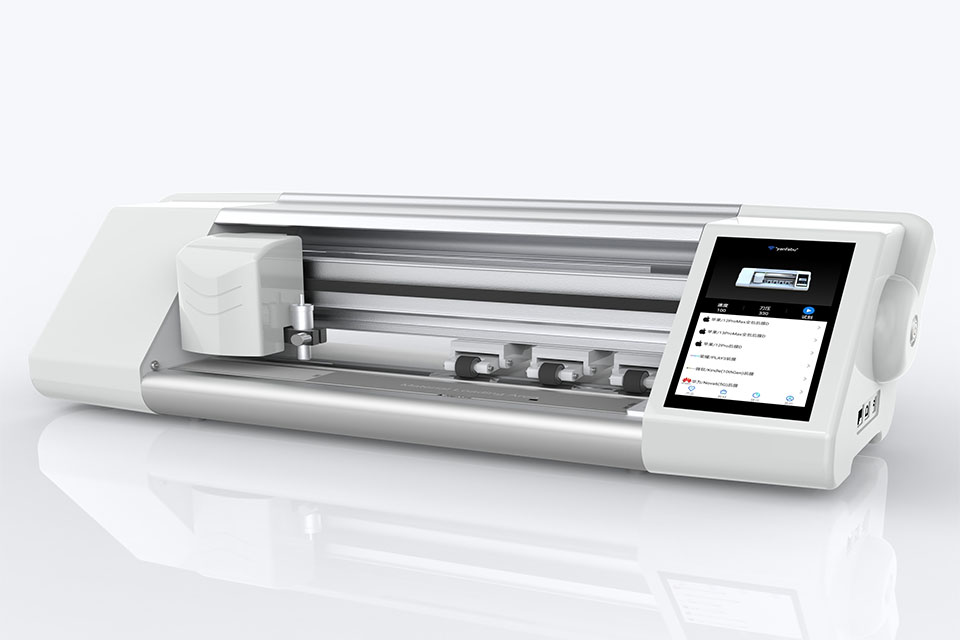
스크린 가드 절단기로 디바이스 보호 혁신
스마트폰, 태블릿, 스마트워치 등 다양한 기기를 사용할 수 있는 다목적 기기입니다. 기기의 크기에 맞춰 매끄럽게 조정되어 일반 보호기는 따라잡을 수 없는 맞춤형 핏을 제공합니다.
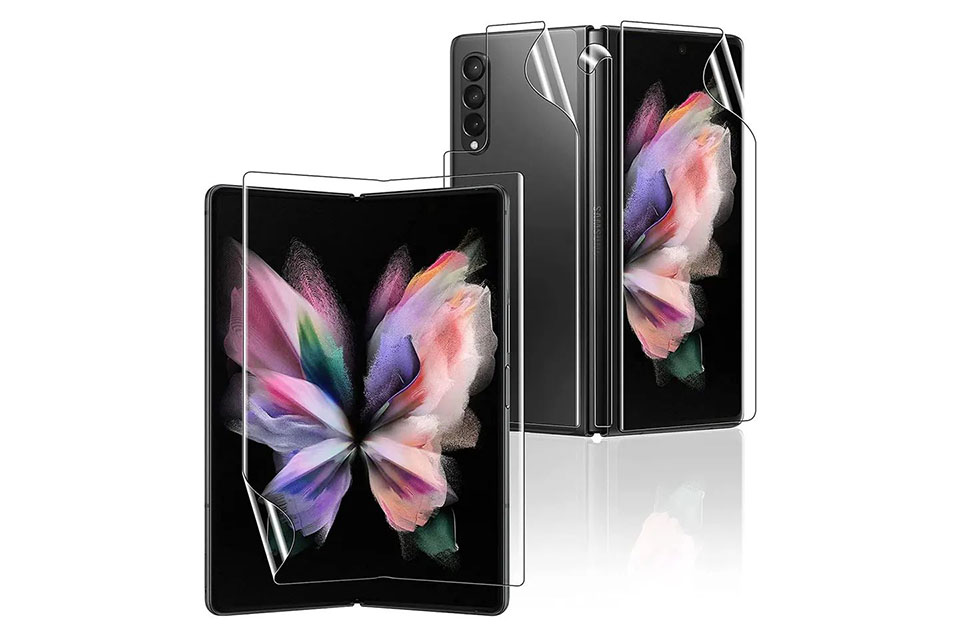
화면 보호기 평생 보증
화면 보호기 평생 보증은 제조업체에서 제공하는 보증입니다.
는 특정 이용 약관에 따라 제품 수명 기간 동안 화면 보호기를 수리 또는 교체할 것을 약속합니다.