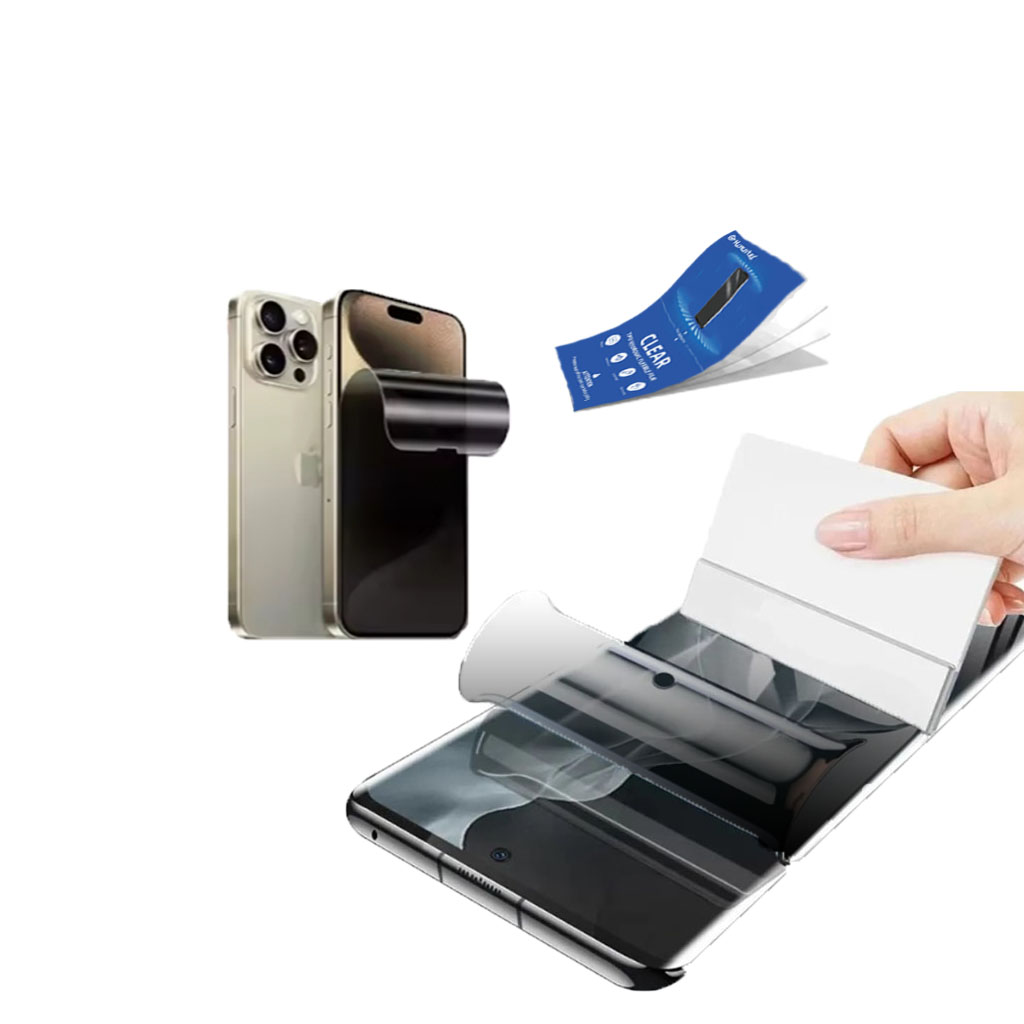
How to Apply a Screen Protector Without Bubbles: The Ultimate Guide
Table of Contents
Extract
Why is a bubble-free application important?
Before we dive into the how-to, let’s understand why it’s crucial to apply your screen protector without bubbles:
- Improved visibility: Bubbles can distort your screen’s display, making it harder to read or view content.
- Better touch sensitivity: A smooth application ensures your device responds accurately to your touch.
- Enhanced durability: Bubbles can weaken the protector’s adhesive, potentially leading to peeling or reduced protection.
- Aesthetic appeal: Let’s face it – a bubble-free screen just looks better!
Now that we know why it matters, let’s get into the nitty-gritty of achieving that perfect application.
What tools do you need for applying a screen protector?
To set yourself up for success, gather these essential tools:
- Screen protector kit (usually includes the protector, cleaning cloth, and dust removal stickers)
- Microfiber cloth
- Isopropyl alcohol (70% or higher)
- Credit card or squeegee tool
- Well-lit, dust-free environment
Having these items on hand will make the process much smoother and increase your chances of a bubble-free application.
 How do you prepare your device for screen protector installation?
Preparation is key when it comes to installing a screen protector without bubbles. Follow these steps:
- Clean your hands: Wash and dry your hands thoroughly to avoid transferring oils or dirt.
- Remove any existing protector: If you’re replacing an old screen protector, carefully remove it and clean off any residue.
- Power off your device: This prevents accidental taps or swipes during the application process.
- Clean the screen: Use the microfiber cloth and isopropyl alcohol to remove any dust, fingerprints, or oils from the screen.
Remember, a clean screen is the foundation for a bubble-free application.
What’s the best technique for aligning your screen protector?
Proper alignment is crucial for a successful application. Here’s how to get it right:
- Identify the top of the screen protector (often indicated by a tab or notch).
- Line up the protector with your device’s screen, paying attention to edges and cutouts.
- Use small pieces of tape at the top edge to create a hinge, allowing you to lift and reposition if needed.
- Double-check the alignment before proceeding to the next step.
Taking your time during this stage can save you from frustration later on.
How do you peel and apply the screen protector to minimize bubbles?
Now for the moment of truth – applying the protector:
- Carefully peel back the protective film, starting from the hinged end.
- Hold the protector at a 45-degree angle to your device.
- Slowly lower the protector onto the screen, using your fingers to guide it.
- As you lower, use a credit card or squeegee tool to push out any air bubbles.
- Work from the center outwards in smooth, firm strokes.
Remember, slow and steady wins the race when it comes to bubble-free application.
What should you do if bubbles appear during application?
Don’t panic if you see bubbles forming – there’s still hope! Try these techniques:
- Use the squeegee tool to gently push bubbles towards the edges of the screen.
- For stubborn bubbles, lift the protector slightly and use a dust removal sticker to clean underneath.
- Reapply pressure with the squeegee tool after addressing the bubble.
With patience and these techniques, you can often salvage what seems like a botched application.
Are there any special considerations for curved screens?
Applying a screen protector to a curved screen presents unique challenges:
- Look for protectors specifically designed for curved screens.
- Use a wet application method if recommended by the manufacturer.
- Be extra careful with alignment, as curved screens leave less room for error.
- Apply pressure along the curves to ensure full adhesion.
With curved screens, taking your time and following manufacturer instructions is crucial.
How can you remove dust particles during the application process?
Dust is the enemy of a smooth application. Here’s how to combat it:
- Work in a steam-filled bathroom to reduce airborne dust.
- Use dust removal stickers provided in your kit to pick up any visible particles.
- If you spot dust after starting the application, carefully lift the protector and use the sticker to remove it.
Remember, it’s better to take the time to remove dust than to seal it under your protector.
What are some common mistakes to avoid when applying a screen protector?
Learn from others’ errors to improve your chances of success:
- Rushing the process
- Applying in a dusty environment
- Touching the adhesive side of the protector
- Using too much pressure when squeegeeing
- Ignoring manufacturer instructions
By avoiding these pitfalls, you’ll be well on your way to a bubble-free application.
How do you care for your newly applied screen protector?
After successfully applying your protector, proper care is essential:
- Wait at least an hour before using your device to allow the adhesive to set.
- Avoid exposing your device to extreme temperatures for the first 24 hours.
- Clean your screen protector regularly with a microfiber cloth.
- Avoid using harsh chemicals or abrasive materials when cleaning.
With proper care, your bubble-free screen protector will continue to serve you well.In conclusion, applying a screen protector without bubbles is an achievable goal with the right preparation, tools, and techniques. By following this guide, you’ll be equipped to tackle this task with confidence. Remember these key points:
- Preparation is crucial – clean your device and work in a dust-free environment.
- Take your time with alignment and application.
- Use proper tools and techniques to minimize and remove bubbles.
- Don’t be discouraged if you encounter bubbles – they can often be fixed.
- Care for your screen protector after application to ensure longevity.
With these tips in mind, you’re ready to enjoy a crystal-clear, bubble-free screen protector on your device. Happy applying!
Comments
Are Paperlike Screen Protectors Good?
If you’re looking to elevate your iPad experience, a Paperlike screen protector might just be the upgrade you need!
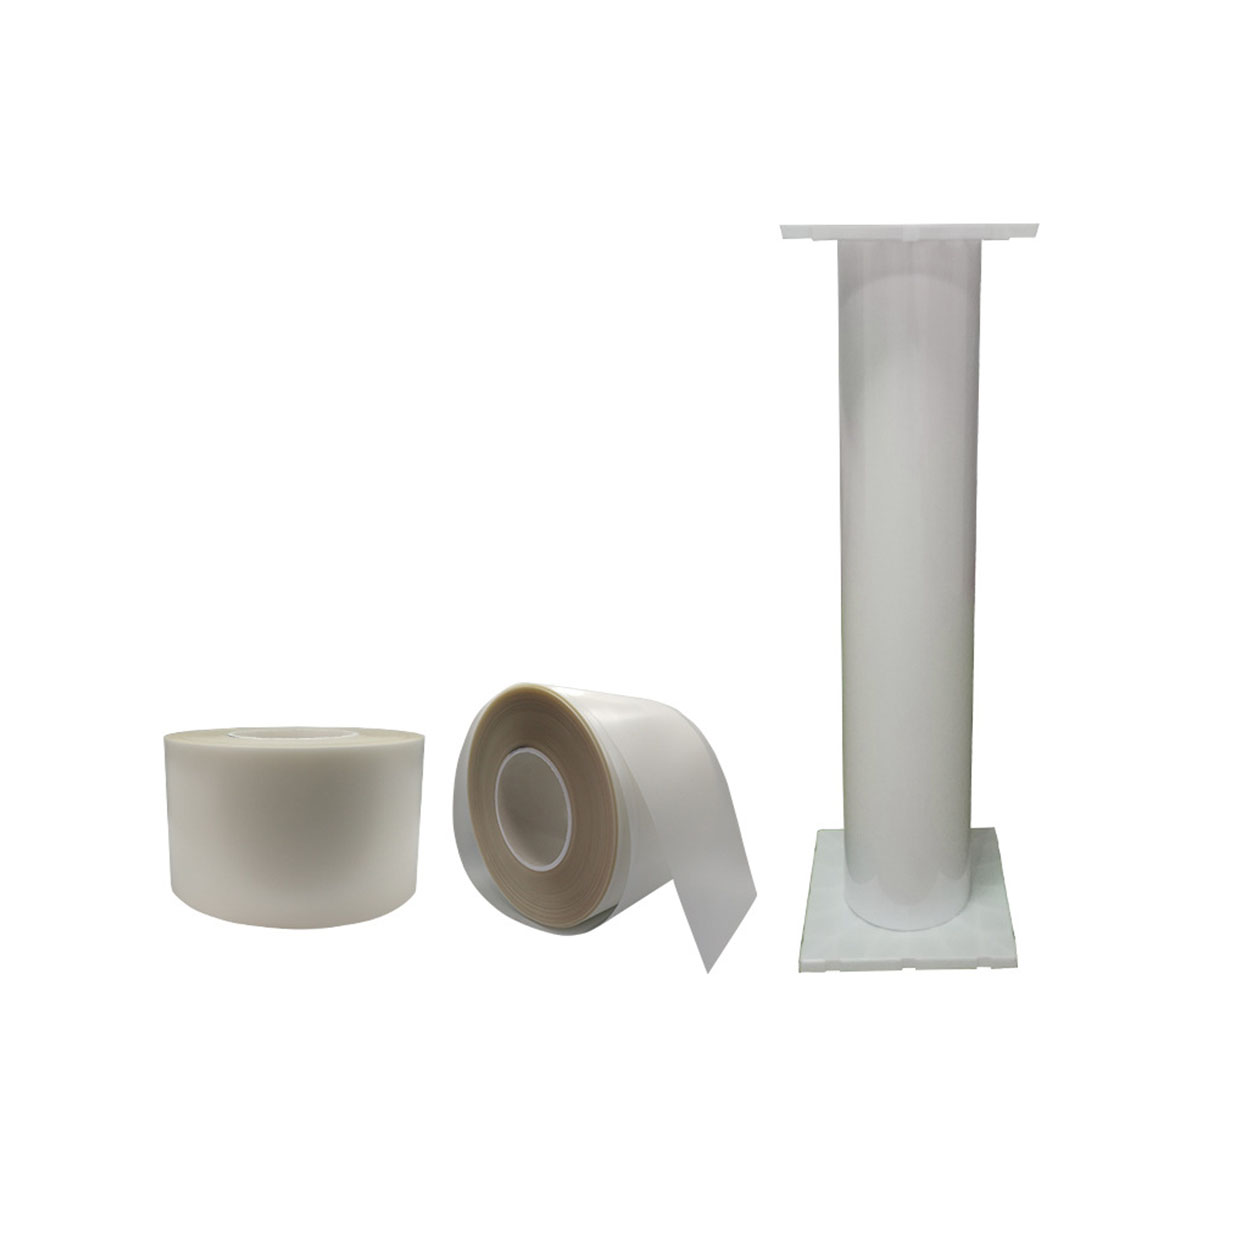
Wholesale Screen Protector Flexible Hydrogel TPU Film Roll
Thermoplastic Polyurethane (TPU) film has emerged as a highly versatile material, offering distinct benefits over conventional plastic films like Polyvinyl Chloride (PVC). Its exceptional characteristics have positioned TPU as a go-to choice across industries such as automotive, apparel, electronics, and medical applications.
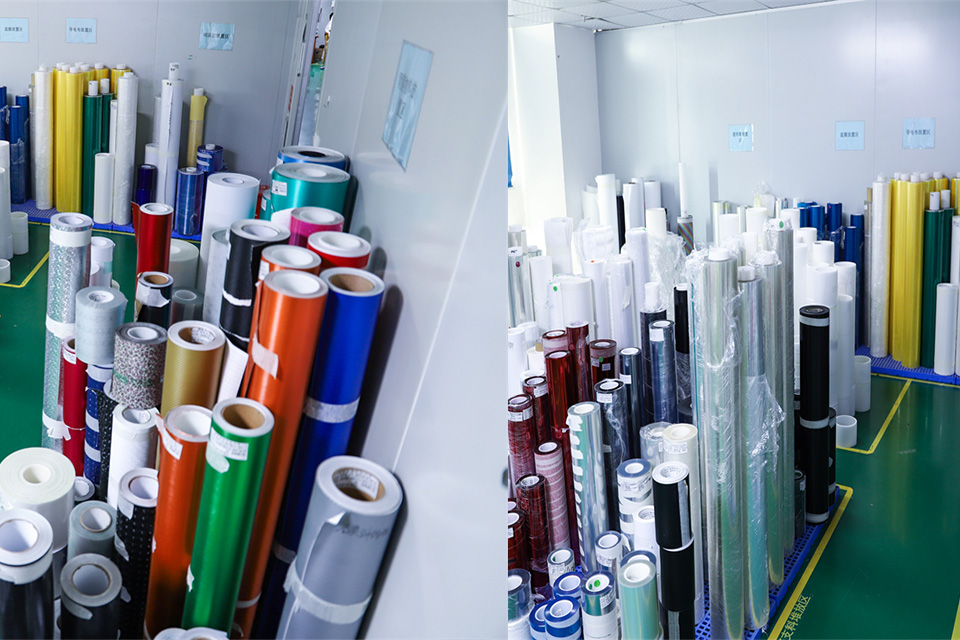
How to Remove Your iPhone Screen Protector: A Comprehensive Guide
Are you struggling with a scratched or bubbled screen protector on your iPhone? Maybe it’s time for an upgrade, but you’re not sure how to safely remove the old one. Don’t worry! This guide will walk you through the process of removing your iPhone’s screen protector, whether it’s a tempered glass or plastic film. We’ll cover everything from preparation to aftercare, ensuring your device’s screen stays pristine throughout the process.

The Manufacturing Process- Inside a Screen Protector Factory
The manufacturing process of screen protectors combines material science, technological innovation and environmental responsibility. As technology advances, the industry is constantly addressing challenges related to sustainable development while providing device protection.

Is It Worth Investing in a High-End Phone Screen Protector Machine?
With over 95 million smartphones damaged annually due to drops, the demand for effective screen protectors continues to rise, driven by increasing consumer awareness of repair costs, especially for uninsured devices.
Tags
Find All knowledge and trends from our blog, get the wholesale price and best quality from our factory.
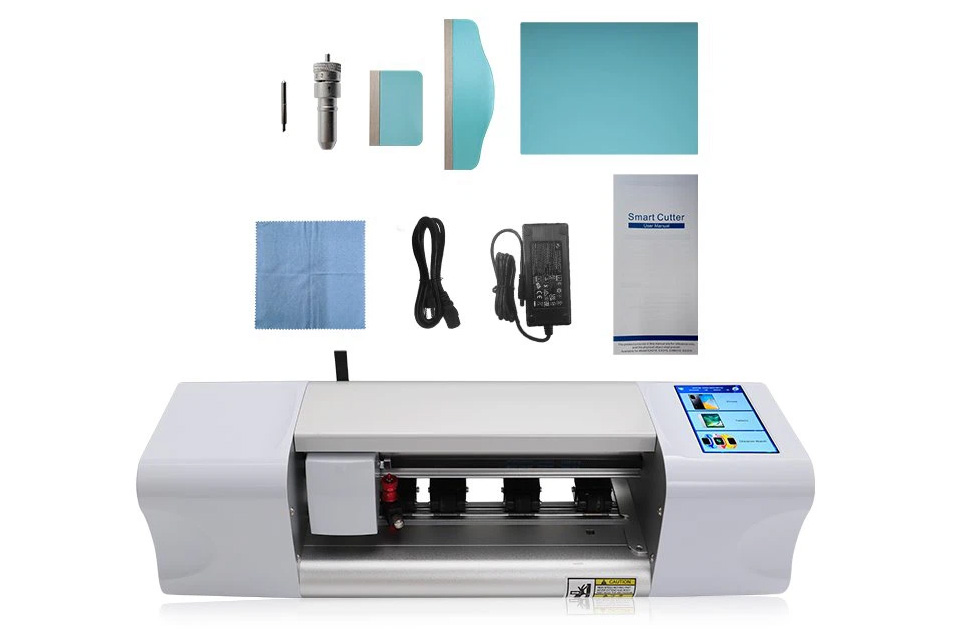
What Film Cutting Machine and Its Application
Film cutting machines have played a crucial role in the evolution of filmmaking and various industrial processes by enabling precise cutting and splicing of film materials.
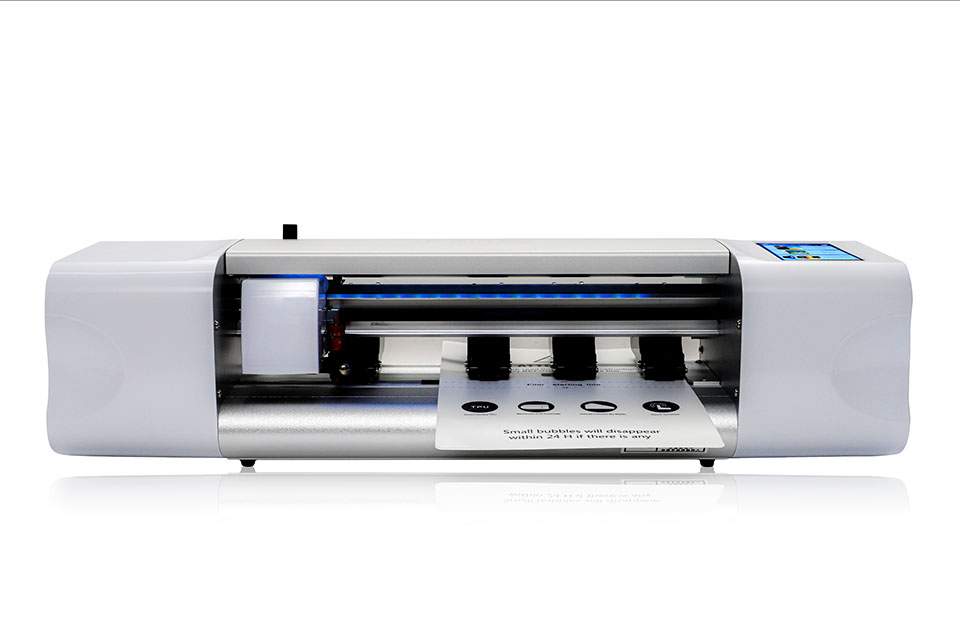
What Is a Screen Protector Cutting Machine?
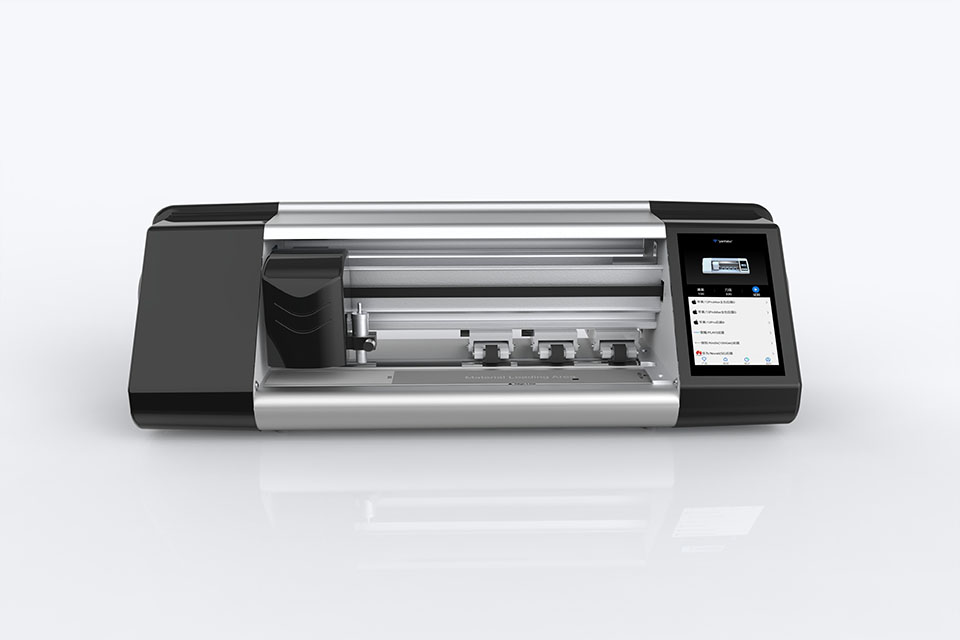
A screen protector cutting machine is a specialized device designed to produce custom-fit screen protectors for various electronic devices, including smartphones, tablets, smartwatches, laptops, and monitors.
How Mobile Phone Screen Protector Cutting Machine Work?
A mobile phone screen protector cutting machine is a sophisticated device designed
to produce customized screen protectors for various digital devices with high preci
sion and efficiency.
Characteristics of Mobile Phone Tempered Glass and Mobile Phone TPU Screen Protector
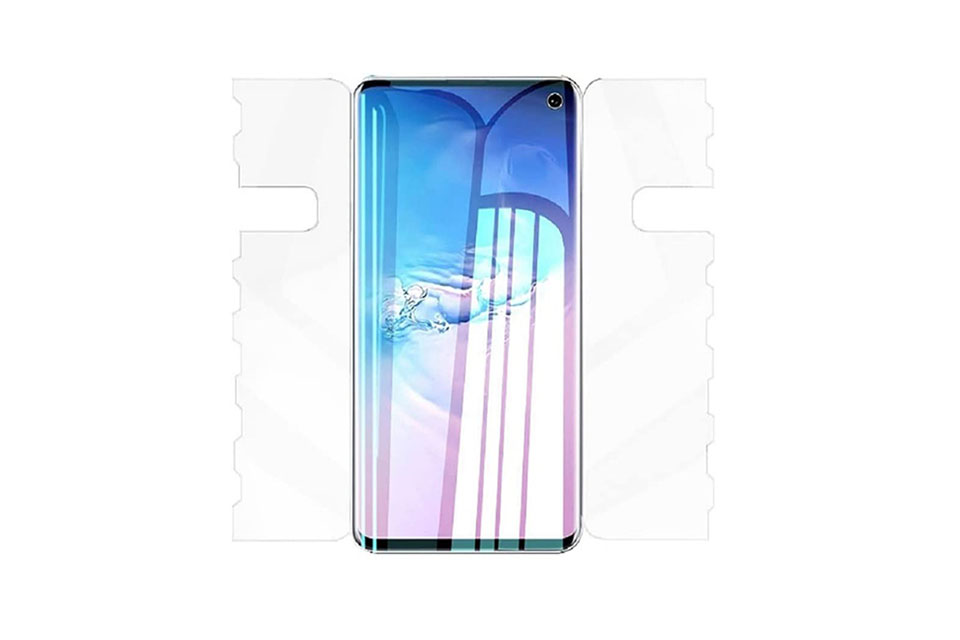
Thermoplastic polyurethane (TPU) screen protectors are flexible, durable, and
self-healing plastic films designed to protect electronic device screens from
scratches, impacts, and other potential damages.
Revolutionize Device Protection with Screen Guard Cutting Machine
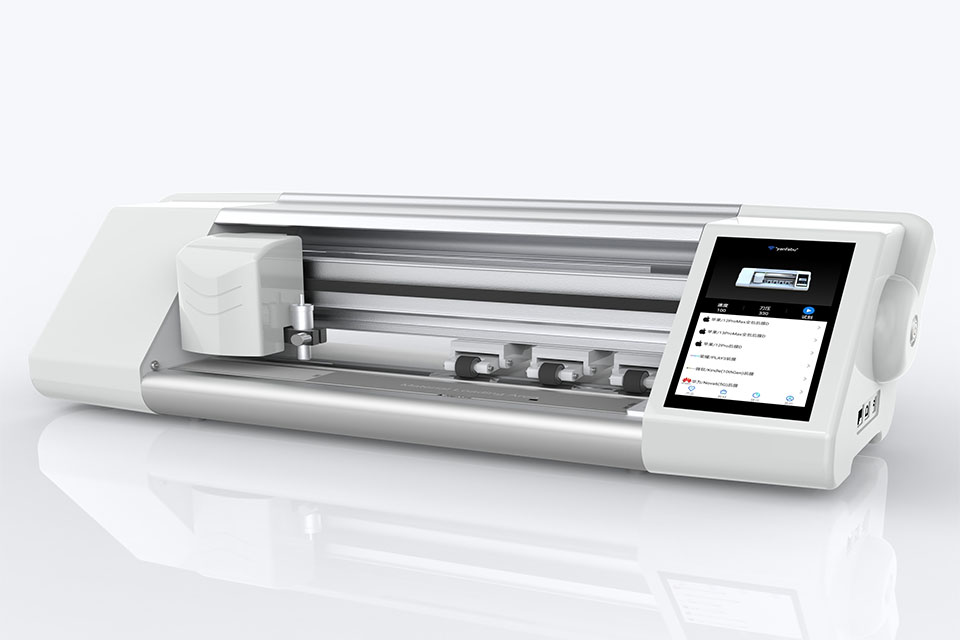
Whether you possess a smartphone, tablet, or smartwatch, this versatile machine accommodates a vast array of devices. It seamlessly adapts to the dimensions of your gadget, offering a custom fit that generic protectors can’t match.
Screen Protector Lifetime Warranty
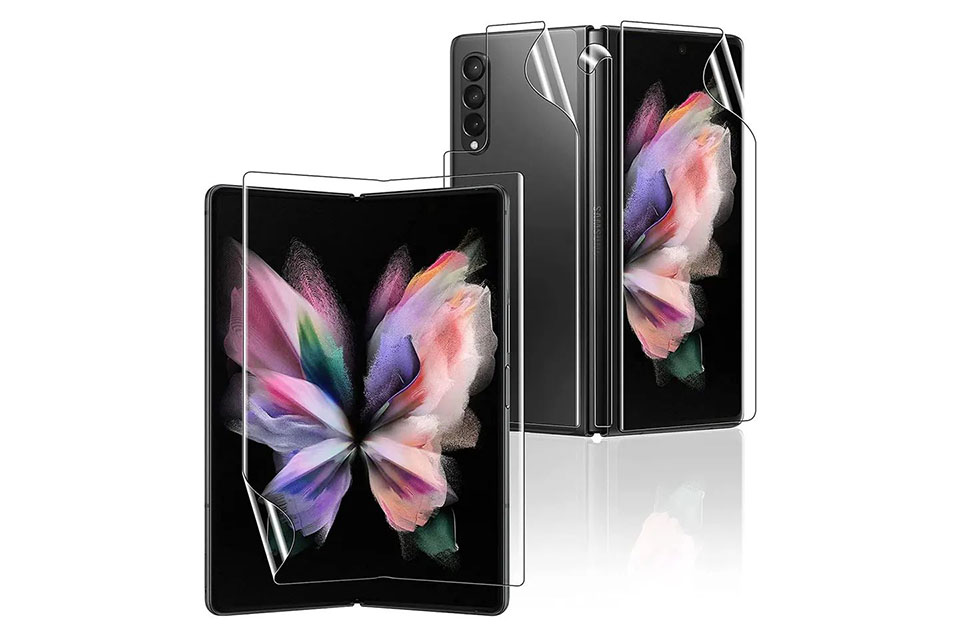
A screen protector lifetime warranty is a guarantee provided by manufacturers that
promises to repair or replace a screen protector for the lifetime of the product, under specific terms and conditions.

 How do you prepare your device for screen protector installation?