How to Repair Mobile Phone Screen
目次
概要
重要な留意点
- Understand the screen’s anatomy before deciding on a repair.
- Gather all necessary tools and prepare a clean workspace.
- Assess the damage to decide if DIY repair is feasible.
- Follow a step-by-step guide to replace a cracked screen.
- Consider professional service if the damage is extensive.
- Avoid common mistakes like using incorrect tools or skipping steps.
- Maintain your phone with protective gear post-repair.
Remember, while DIY repairs offer a rewarding challenge, don’t hesitate to seek professional help if needed.
Why Do Phone Screens Break So Easily?
Modern smartphones are marvels of technology, yet their screens seem fragile. Glass screens, while designed to be tough, are still prone to cracking. But why do these screens break so easily? The primary culprit is often the combination of glass and thin design.Smartphones are designed to be sleek and lightweight, which often means less protection around the screen. The glass used in screens is made to be scratch-resistant, not shatterproof. Factors like dropping the phone, sitting on it, or even temperature changes can contribute to screen cracks. Understanding these vulnerabilities can help you take preventive measures to protect your device.These devices undergo rigorous testing, but real-world scenarios can be unpredictable. Investing in a good-quality phone case or screen protector can add an extra layer of protection, reducing the likelihood of screen damage.
Understanding the Anatomy of a Smartphone Screen
Before diving into repair, it’s crucial to understand what makes up a smartphone screen. Most modern phones have a three-part screen structure: the outer glass, the touch-sensitive layer, and the display itself.- Outer Glass: This is what you directly interact with. It’s designed to be tough but can shatter upon impact.
- Touchscreen Layer: Beneath the glass, this layer detects your touch inputs. Damage to this layer can affect screen responsiveness.
- Display: The actual screen that shows images and videos. If this is damaged, you might see black spots or color issues.
Essential Tools for DIY Screen Repair
Repairing a cracked phone screen requires specific tools to ensure a smooth process. Here’s a list of essential items you’ll need:- Precision Screwdrivers: Different phones require different types of screws. A set of precision screwdrivers will cover your bases.
- Plastic Pry Tools: These help in safely opening the phone without damaging internal components.
- Suction Cup: Useful for lifting the screen away from the body of the phone.
- Tweezers: Handy for handling small parts and connectors.
- Adhesive Strips: To secure the new screen in place.
- Replacement Screen: Make sure it’s compatible with your phone model.
Assessing the Damage: Is Repair Possible?
Not all screen damage is the same. Before you start, assess whether a repair is possible. Look for the following:- Cracks: If the cracks are minor and the display is still visible and touch-sensitive, a replacement might not be urgent.
- Color Changes or Black Spots: These indicate damage to the display itself, requiring more extensive repair.
- Touchscreen Responsiveness: If the screen isn’t responding well, the touch layer might be damaged.
Preparing for a Screen Replacement
Once you’ve assessed the damage and gathered your tools, it’s time to prepare for the replacement. Follow these steps:- Power Off the Phone: Always turn off your device before starting any repair to prevent electrical shocks or further damage.
- Create a Clean Workspace: Ensure your work area is clean and well-lit. A clutter-free space helps in keeping track of small parts.
- Organize Your Tools: Lay out your tools and replacement parts for easy access.
- Watch Tutorials: If you’re unsure about any step, watching a video tutorial can provide visual guidance.
Step-by-Step Guide to Replacing a Cracked Screen
Now, let’s walk through the process of replacing a cracked phone screen:- Remove the Screws: Using the precision screwdrivers, remove any screws holding the screen in place.
- Use the Suction Cup: Attach the suction cup to the screen and gently lift until you can insert a pry tool between the screen and the phone body.
- Pry Gently: Carefully use the pry tools to separate the screen from the phone, being cautious of connectors.
- Disconnect the Screen: Gently disconnect any cables or connectors attaching the screen to the phone.
- Remove the Damaged Screen: Once everything is disconnected, remove the old screen.
- Attach the New Screen: Connect the new screen’s cables and place it into position.
- Secure the Screen: Use adhesive strips to secure the new screen to the phone body.
- Reassemble the Phone: Replace any screws and ensure everything is tightly fitted.

Using Packing Tape for Temporary Fixes
Sometimes, you need a quick fix before you can replace your cracked screen. Packing tape can be a temporary solution to prevent further damage.- スクリーンをきれいにする: Wipe the screen with a clean, dry cloth to remove dust and debris.
- Apply Packing Tape: Cut a piece of packing tape slightly larger than the screen. Carefully place it over the cracked area to hold it together.
Pros and Cons of DIY Repair vs. Professional Service
Deciding between DIY repair and professional service can be challenging. Here are some pros and cons to consider:DIY Repair:- 長所: Cost-effective, immediate solution, learning experience.
- 短所: Risk of further damage, potential voiding of warranty, requires time and effort.
- 長所: Expertise and experience, warranty on the repair, high-quality parts.
- 短所: More expensive, longer downtime if the phone needs to be sent away.
Common Mistakes to Avoid in Screen Replacement
When performing a DIY repair, it’s easy to make mistakes. Here are some to watch out for:- Using Incorrect Tools: Make sure you use the right tools to avoid damaging the phone.
- Applying Too Much Force: Be gentle when prying open the phone to prevent damage to internal components.
- スキップ・ステップ: Follow the repair process step-by-step to avoid missing critical connections.

Maintaining Your Phone After a Repair
Once your phone is repaired, it’s important to maintain its condition to prevent future damage. Here are some tips:- Invest in a Quality Case: A sturdy case can absorb shocks from drops, protecting the screen.
- Use a Screen Protector: These can prevent scratches and minor cracks.
- Handle with Care: Be mindful of where you place your phone to avoid accidental drops.
コメント
タグ
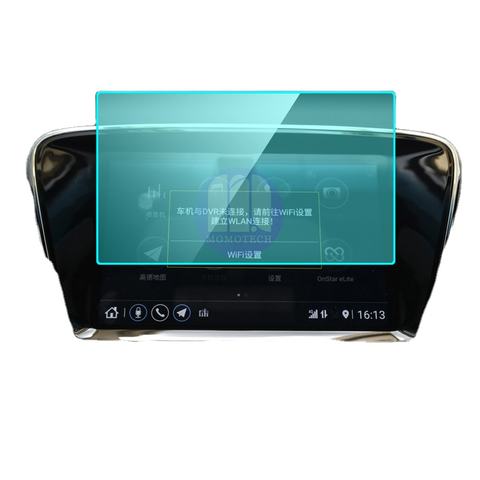
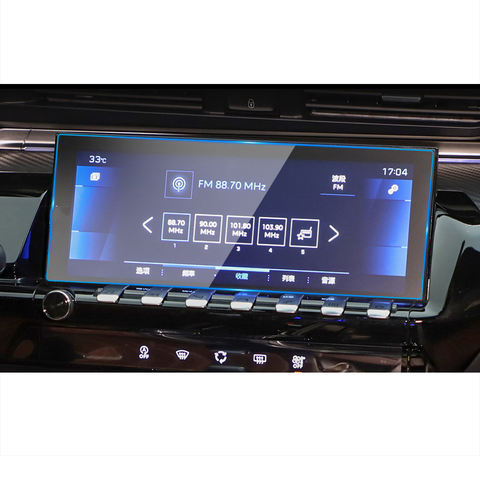
Toyota Hilux Navigation GPS Tempered Glass
Our Hilux Navigation Screen Protector offers superior protection for your GPS display.

製造工程-スクリーンプロテクター工場の内部
スクリーンプロテクターの製造工程は、材料科学、技術革新、環境への責任を兼ね備えています。技術の進歩に伴い、業界はデバイス保護を提供しながら、持続可能な開発に関する課題に常に取り組んでいます。
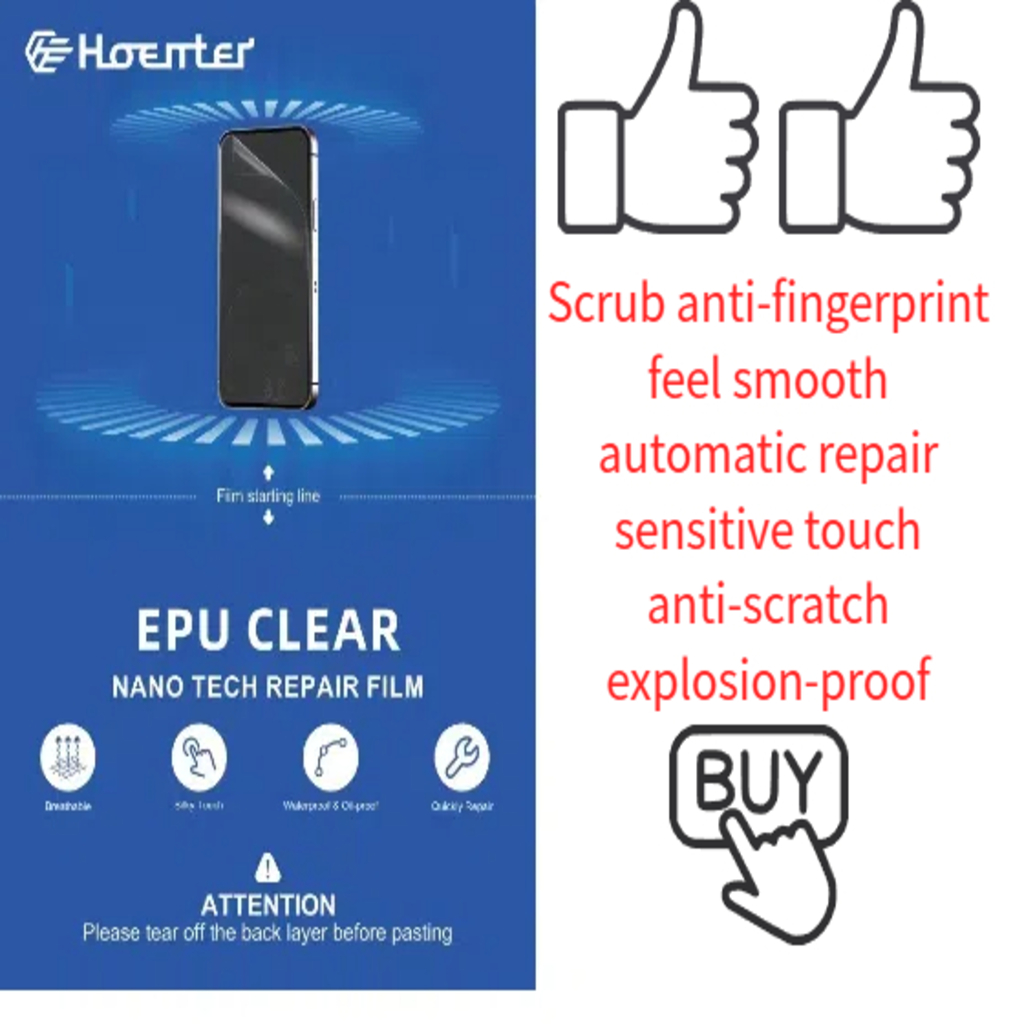
Wholesale Flexible Self-Healing EPU Clear Screen Protector
Wholesale Flexible Self-Healing EPU Clear Screen Protectors offering invisible protection, long-lasting clarity, and superior touch sensitivity.


プライバシースクリーンのカスタマイズスマートなプライバシースクリーン切断機が必要な理由
スマート・プライバシー・スクリーン・カッティング・マシンは、プライバシー技術の大きな進歩を象徴するもので、さまざまな環境においてデータ・セキュリティとユーザーの快適性を高める、正確でカスタマイズ可能なソリューションを提供します。
私たちのブログからすべての知識とトレンドを見つけ、私たちの工場から卸売価格と最高の品質を得る。
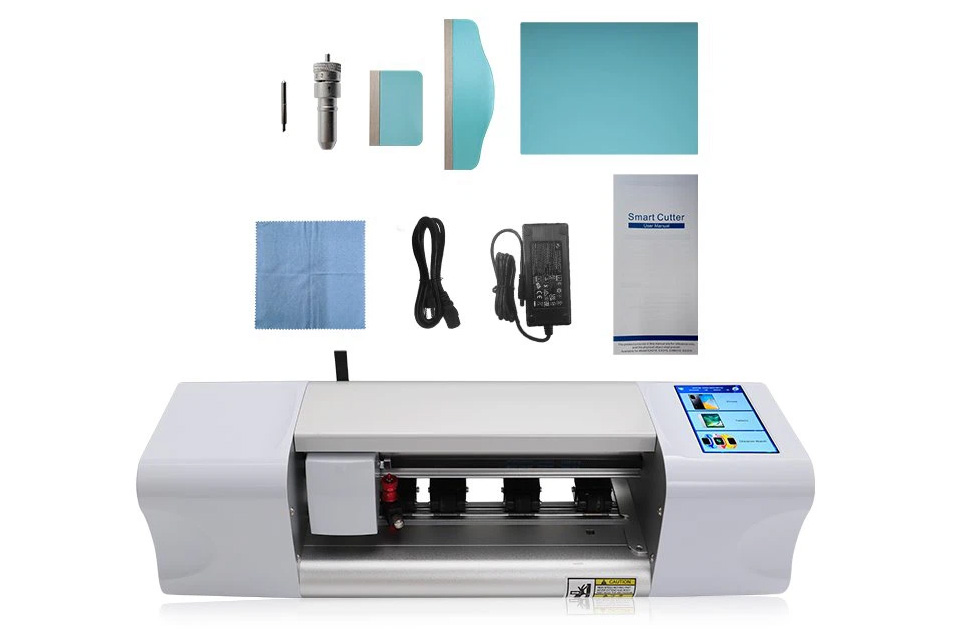
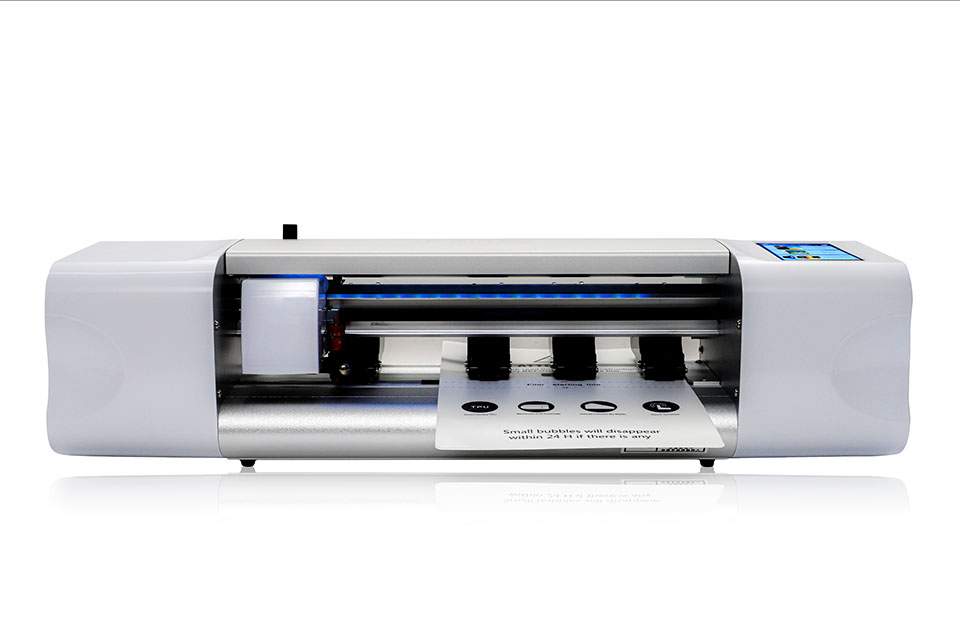
スクリーンプロテクター切断機とは?
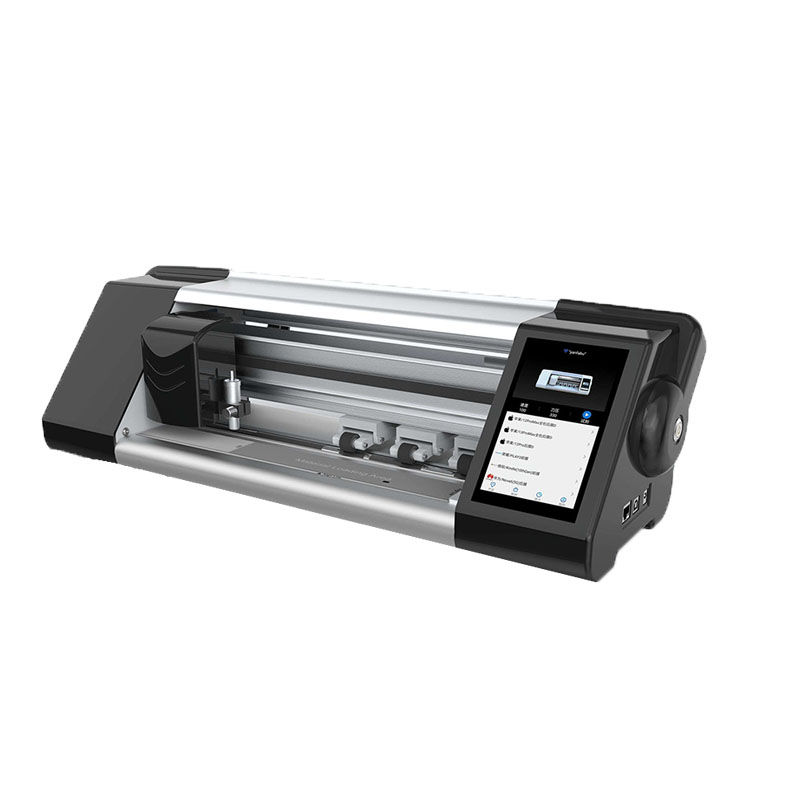
スクリーンプロテクター切断機は、スマートフォン、タブレット、スマートウォッチ、ノートパソコン、モニターなど、さまざまな電子機器にカスタムフィットするスクリーンプロテクターを製造するために設計された専用装置です。
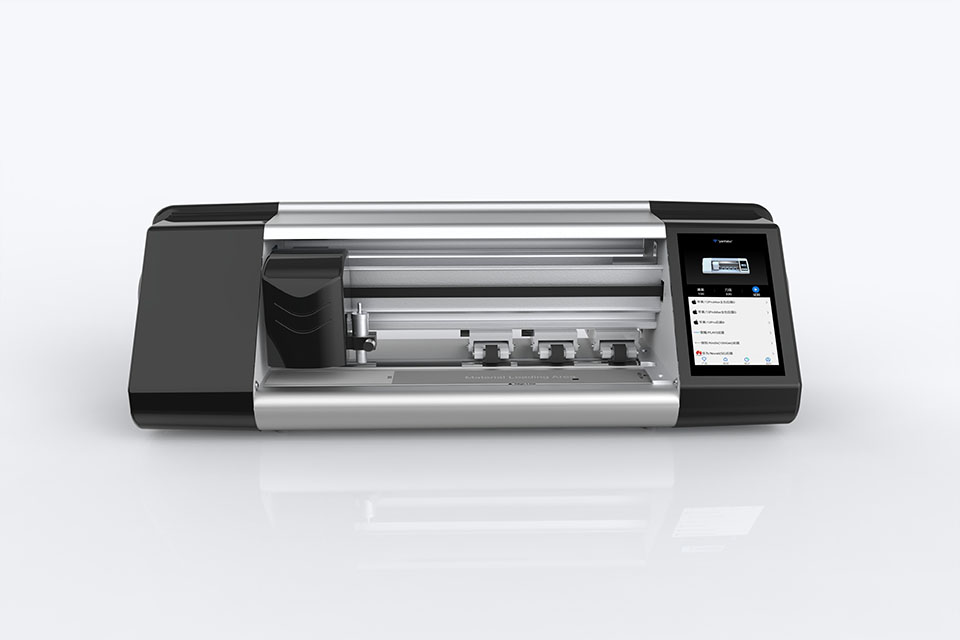
携帯電話スクリーンプロテクター切断機の仕組み?
携帯電話のスクリーンプロテクター切断機は、設計された洗練されたデバイスです。
様々なデジタル機器用にカスタマイズされたスクリーンプロテクターを高精度で製造する。
ションと効率性である。
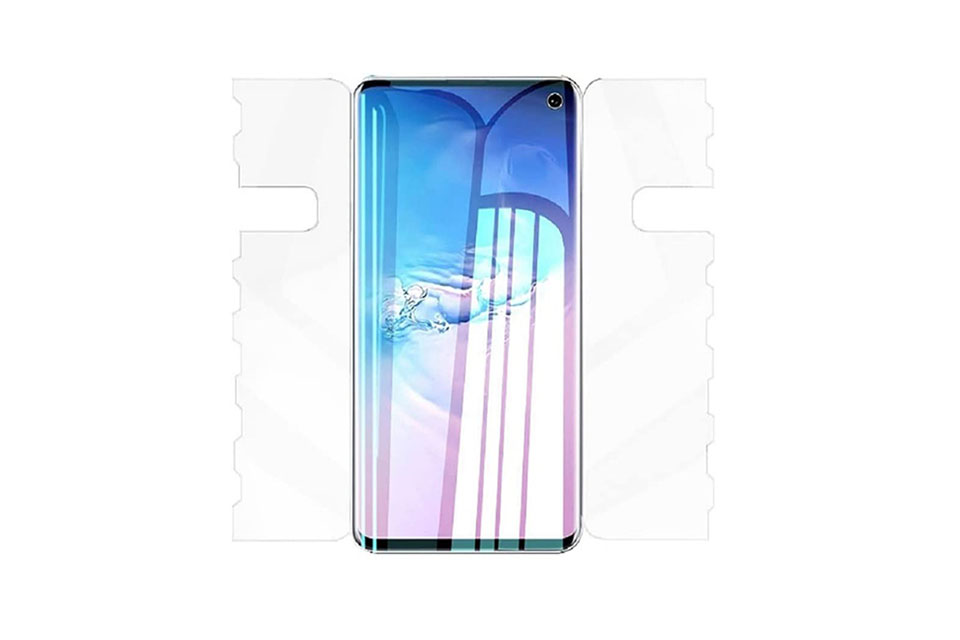
携帯電話強化ガラスと携帯電話TPUスクリーンプロテクターの特性
熱可塑性ポリウレタン(TPU)スクリーンプロテクターは、柔軟性、耐久性、耐久性に優れています。
電子機器の画面を保護する自己修復プラスチックフィルム
傷、衝撃、その他の潜在的な損傷。
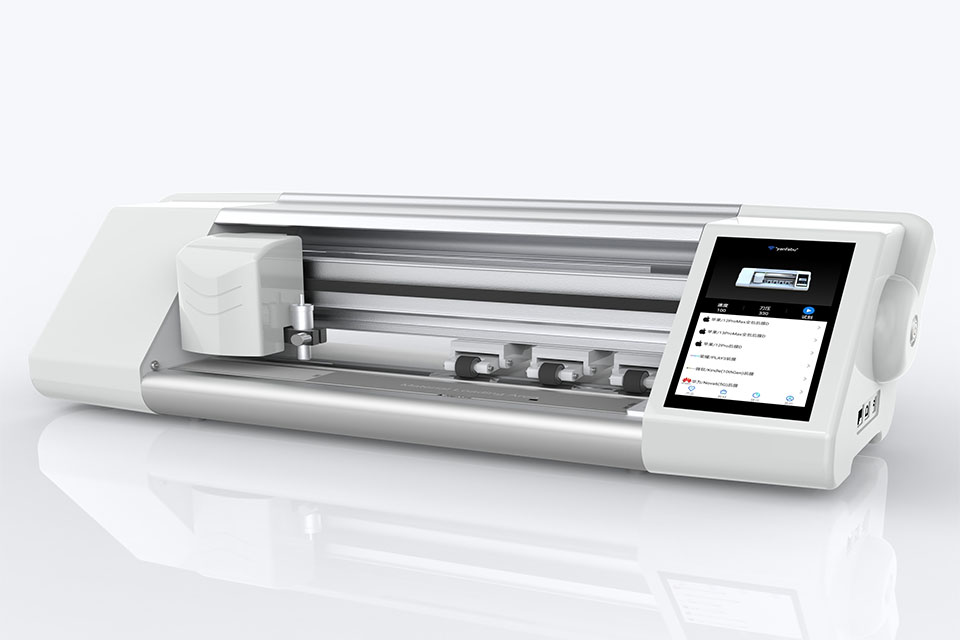
スクリーンガード切断機でデバイス保護に革命を起こす
スマートフォン、タブレット、スマートウォッチなど、あらゆるデバイスに対応します。あなたのガジェットの寸法にシームレスに適応し、一般的なプロテクターにはないカスタムフィットを提供します。

スクリーンプロテクター永久保証
スクリーンプロテクターの永久保証は、メーカーが提供する保証です。
スクリーンプロテクターは、特定の条件の下で、製品の寿命まで修理または交換することを約束します。

