How to Take Air Bubbles Out of Screen Protector?
목차
요약
- Preparation is Key: Clean your screen thoroughly and work in a dust-free area.
- 천천히 적용: Align the protector properly and smooth it out as you go.
- Remove Carefully: Use tools like a plastic card or tape to lift the protector without damaging it.
- Prevention is Better: Invest in quality protectors and take your time during application.
Why Do Air Bubbles Form Under Screen Protectors?
Air bubbles can form due to dust particles, uneven application pressure, or improper alignment. When applying a screen protector, even the smallest speck of dust can trap air beneath it, creating those annoying bubbles. Additionally, rushing the process or misaligning the protector can result in uneven adhesion.Key Reasons Air Bubbles Appear:
- Dust or debris left on the screen before application.
- Uneven pressure when smoothing out the protector.
- Reapplying the protector multiple times, reducing its stickiness.
- Poor quality or defective screen protectors.
How to Prepare Your Screen Before Applying a Protector
Preparation is key to avoiding air bubbles. Follow these steps to ensure your phone screen is ready for a bubble-free application:- Clean Your Screen Thoroughly Use a microfiber cloth to wipe the screen clean. For stubborn smudges or dust, use an alcohol wipe or a screen-cleaning spray. Be sure the screen is completely dry before proceeding.
- Work in a Dust-Free Environment Choose a clean, well-lit area to apply your screen protector. Avoid applying it in rooms with excessive airflow, such as near fans or open windows, as moving air can stir up dust.
- Wash Your Hands Oil or dirt from your hands can transfer onto the screen or protector, causing adhesion issues. Wash and dry your hands thoroughly before starting.
Pro Tip: Turn on a steamy shower for a few minutes before applying your protector in the bathroom. The humidity will help settle dust particles in the air.
Step-by-Step Guide to Applying a Screen Protector Without Bubbles
- 프로텍터 정렬 Before peeling off the adhesive backing, align the protector with your screen to ensure proper placement. Pay attention to the cutouts for the camera, speaker, and buttons.
- 천천히 적용 Peel off the backing in small sections as you place the protector on the screen. Start at one edge and work your way across.
- Smooth It Out Use a credit card or the included applicator tool to press the screen protector down. Start from the center and push outward to remove air as you go.
- Check for Dust or Bubbles If bubbles appear, gently lift the protector (using a piece of tape if necessary) and remove the debris before reapplying.
Common Mistakes to Avoid:
- Peeling off the entire backing at once.
- Applying the protector without aligning it first.
- Pressing down too hard, which can stretch or crack the protector.
What to Do If You Notice Bubbles After Application
If you’ve already applied your screen protector and notice air bubbles, don’t panic. Here’s how to remove them:- Use a Plastic Card Gently push the bubbles toward the edges of the screen using a plastic card. Hold the card at a slight angle to avoid scratching the protector.
- 해제 및 재적용 For stubborn bubbles, use a small piece of tape to carefully lift the screen protector near the bubble and then reapply it, smoothing it out as you go.
- Pop Tiny Bubbles with a Needle For very small bubbles that won’t move, sterilize a needle and use it to puncture the bubble. Press down to flatten the area.
Warning: Be cautious when lifting the protector. Repeated removal can damage the adhesive layer.
Can You Use a Hair Dryer to Remove Air Bubbles from a Screen Protector?
Yes, a hair dryer can sometimes help with air bubbles, especially for 강화 유리 화면 보호기. Here’s how to do it:- Set the Hair Dryer to Low Heat Hold the dryer about 6–8 inches away from the screen and move it in a circular motion. The heat softens the adhesive, making it easier to push out bubbles.
- Smooth Out the Bubbles Use a plastic card or your fingers (covered with a microfiber cloth) to press the bubbles out toward the edges.
Pro Tip: Be careful not to overheat your phone, as excessive heat can damage internal components.
Tools You Can Use to Remove Air Bubbles
Here are some tools that can make bubble removal easier:How to Remove Air Bubbles Without Damaging Your Screen Protector
Removing air bubbles carefully is crucial to avoid damaging the 유리 화면 보호기 or reducing its adhesive strength. Follow these tips:- Start from the Center Always begin smoothing out bubbles from the center of the screen and work your way outward.
- Be Gentle Use light, even pressure when pressing out bubbles to avoid cracking the protector.
- Use Tape for Dust Removal If dust is causing the bubble, lift the edge of the protector with tape and use another piece of tape to remove the dust particle.
When Should You Replace a Screen Protector with Too Many Bubbles?
Sometimes, despite your best efforts, a screen protector may have so many bubbles that it’s better to replace it. Consider replacing it if:- The bubbles obstruct your view or interfere with touch sensitivity.
- The protector has been lifted multiple times and no longer adheres properly.
- There are cracks or scratches on the protector itself.
Investing in a high-quality 강화 유리 화면 보호기 can reduce the likelihood of bubbles and improve durability.
Tips to Prevent Air Bubbles in the Future
- Invest in Quality Protectors Cheap protectors often have weaker adhesives, making them more prone to bubbles.
- Use an Applicator Frame Many protectors come with a plastic frame that helps align the protector for a perfect fit.
- Take Your Time Rushing the application process is a surefire way to end up with bubbles. Be patient and methodical.
Frequently Asked Questions About Screen Protector Air Bubbles
Q: Can I remove bubbles from an old screen protector? A: Yes, but older protectors may have lost their adhesive strength, making bubble removal less effective.Q: Do all protectors get bubbles? A: Not necessarily. High-quality protectors with strong adhesives are less likely to develop bubbles.Q: Can I reuse a screen protector after removing it? A: While it’s possible, it’s not recommended as the adhesive may lose its effectiveness and attract more dust.댓글
태그
How to Repair Water Damaged Phone
Remember, while these steps can help save your water-damaged phone, prevention is always better than cure.

스마트 스크린 보호기 커팅기가 모바일 액세서리 생산에 혁신을 가져온 방법
스마트 스크린 보호기 커팅기는 모바일 액세서리 생산 업계의 획기적인 혁신으로, 스크린 보호기 제조 및 맞춤 제작 방식을 근본적으로 변화시키고 있습니다.

화면 보호기 커터 마스터하기: 꼭 맞는 맞춤을 위한 모범 사례
화면 보호기 커터를 마스터하려면 화면 보호기의 진화, 유형, 소재 및 모범 사례를 이해하여 꼭 맞는 핏과 최적의 기기 보호를 달성하는 데 필수적입니다.

글로벌 화면 보호기 공급망 - 공장에서 매장까지
글로벌 화면 보호기 공급망은 원자재 조달부터 최종 소비자 유통까지 모든 단계를 포괄하는 복잡하고 역동적인 시스템으로, 운영 효율성과 전략적 관리가 전체 전자제품 시장에 매우 중요합니다.
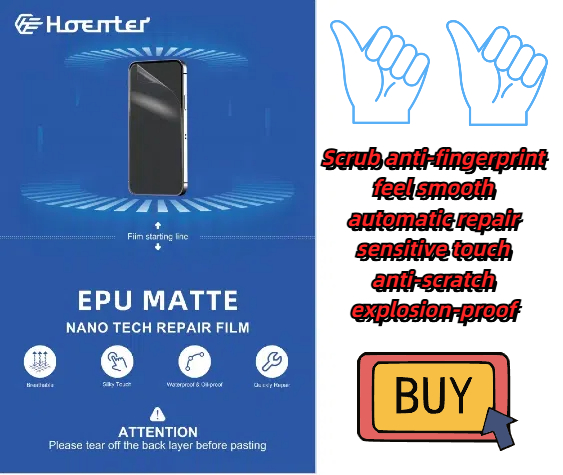
Wholesale Self Healing EPU Matte Screen Protector
Looking for self healing screen protectors wholesale? Our EPU matte film offers unbeatable protection and clarity for your customers’ devices.
블로그에서 모든 지식과 트렌드를 찾고, 공장에서 도매 가격과 최고의 품질을 얻으십시오.
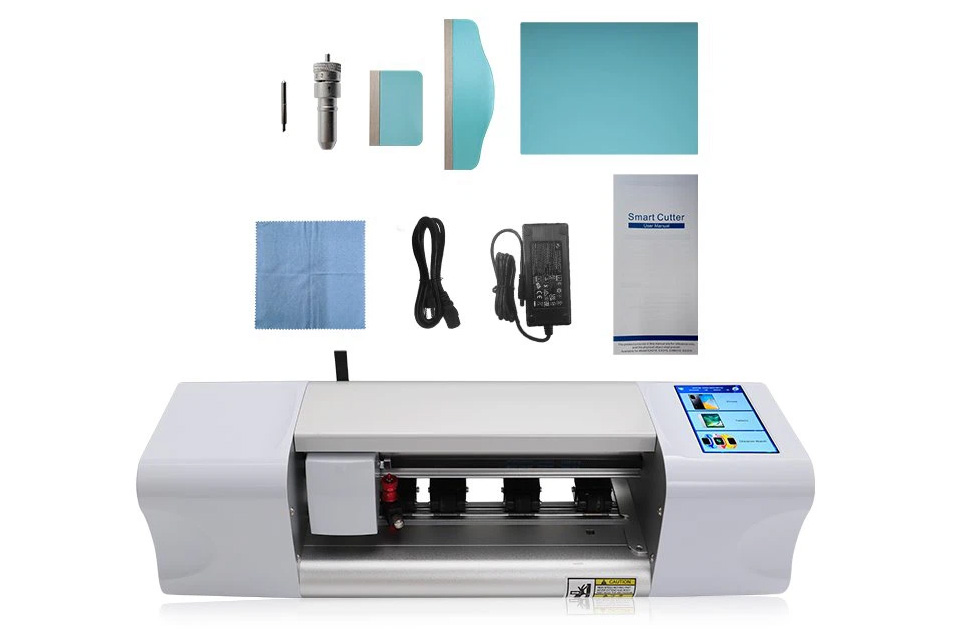
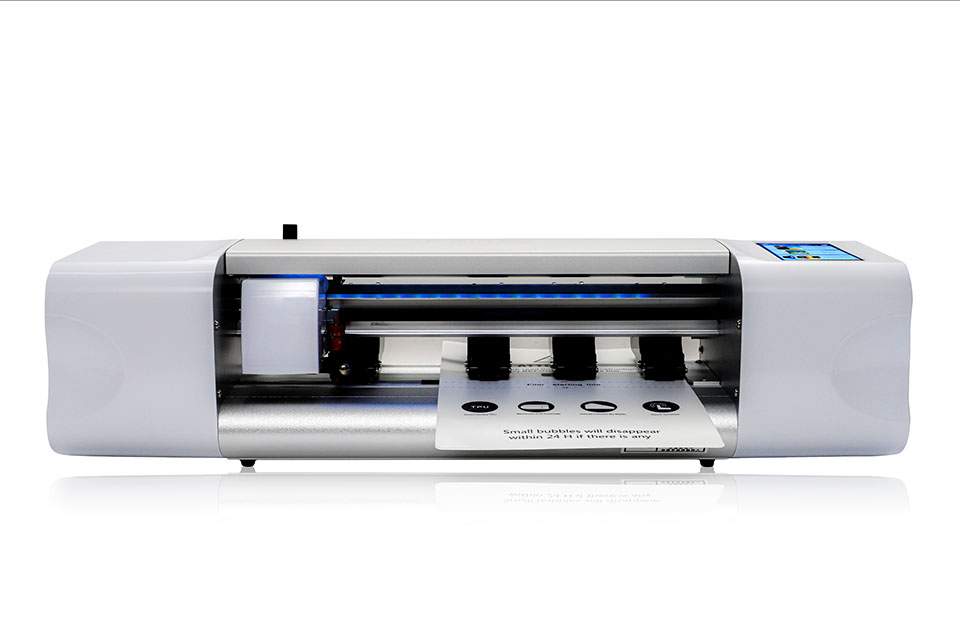
화면 보호기 커팅기란 무엇인가요?
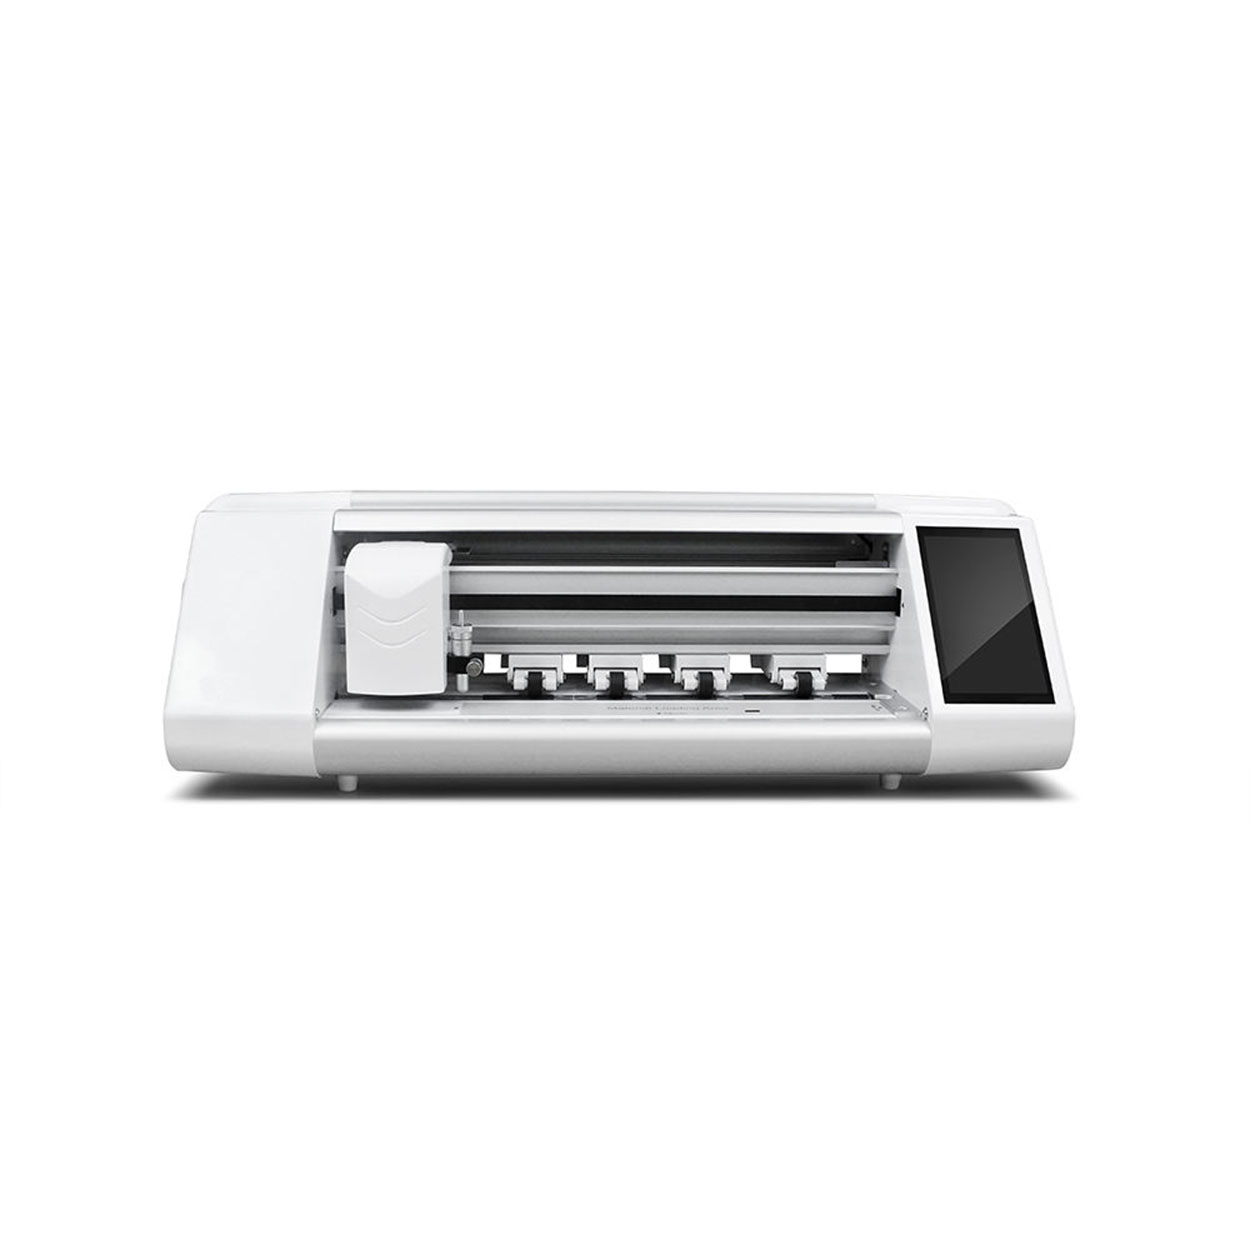
화면 보호기 커팅기는 스마트폰, 태블릿, 스마트워치, 노트북, 모니터 등 다양한 전자기기에 맞는 맞춤형 화면 보호기를 제작하기 위해 고안된 전문 장비입니다.
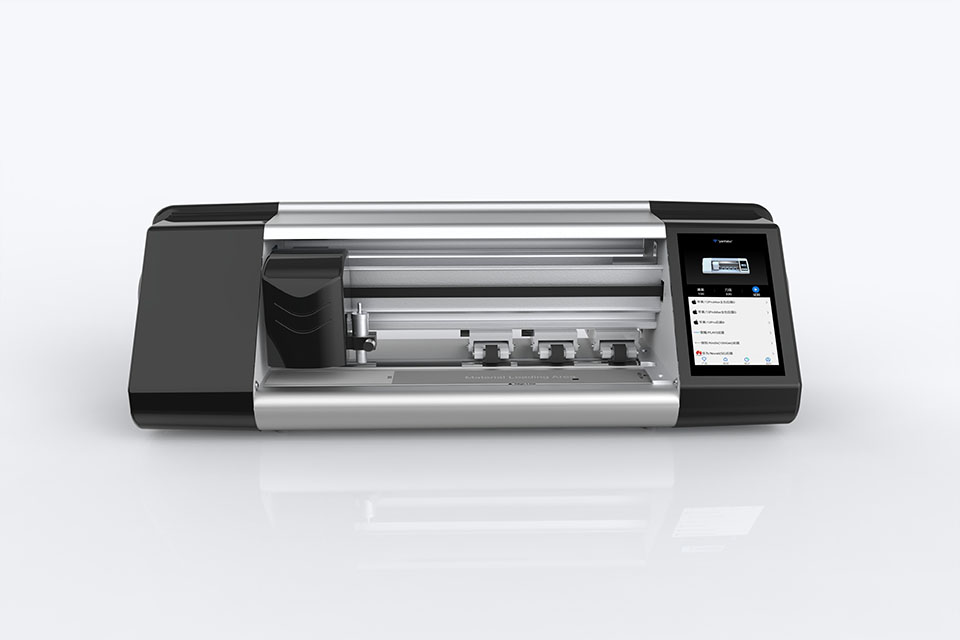
휴대폰 화면 보호기 절단기는 어떻게 작동합니까?
휴대폰 화면 보호기 절단기는 다음과 같이 설계된 정교한 장치입니다.
고가의 다양한 디지털 기기를 위한 맞춤형 화면 보호기를 생산합니다.
효율성.
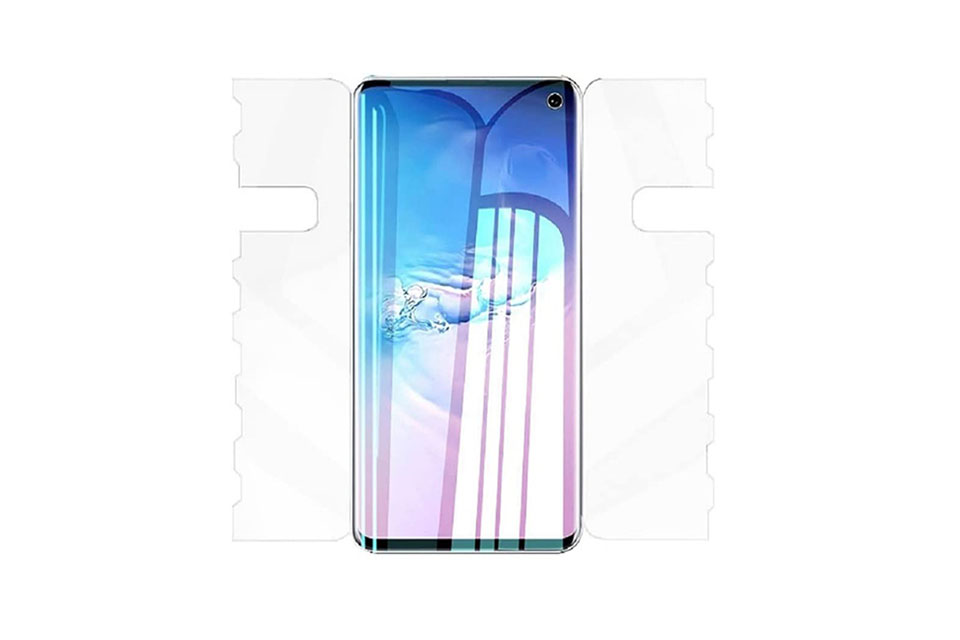
휴대폰 강화 유리 및 휴대폰 TPU 화면 보호기의 특성
열가소성 폴리우레탄(TPU) 화면 보호기는 유연하고 내구성이 뛰어나며
전자 기기 화면을 보호하도록 설계된 자가 치유 플라스틱 필름은 다음과 같습니다.
긁힘, 충격 및 기타 잠재적 손상.
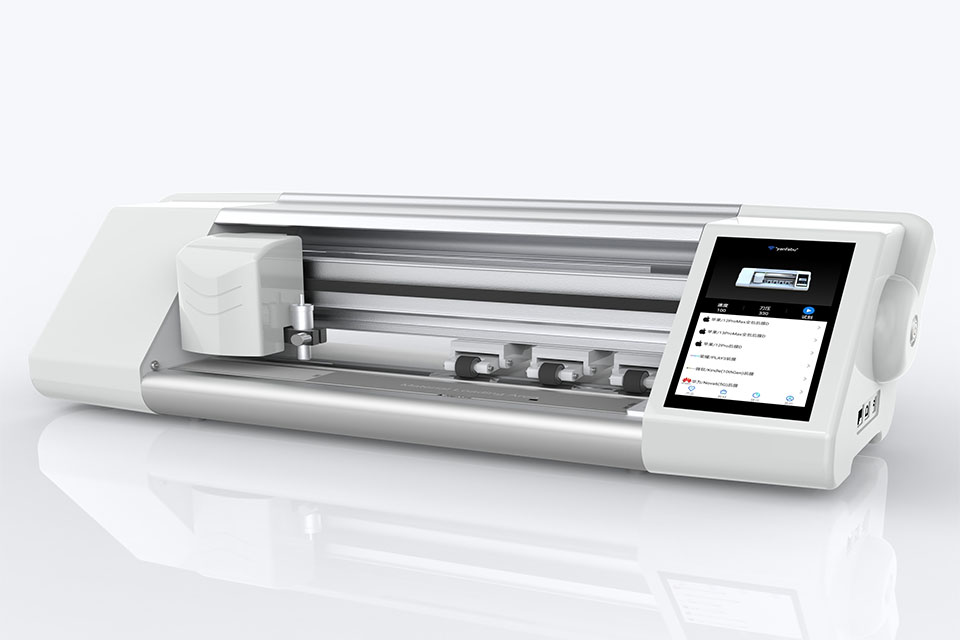
스크린 가드 절단기로 디바이스 보호 혁신
스마트폰, 태블릿, 스마트워치 등 다양한 기기를 사용할 수 있는 다목적 기기입니다. 기기의 크기에 맞춰 매끄럽게 조정되어 일반 보호기는 따라잡을 수 없는 맞춤형 핏을 제공합니다.
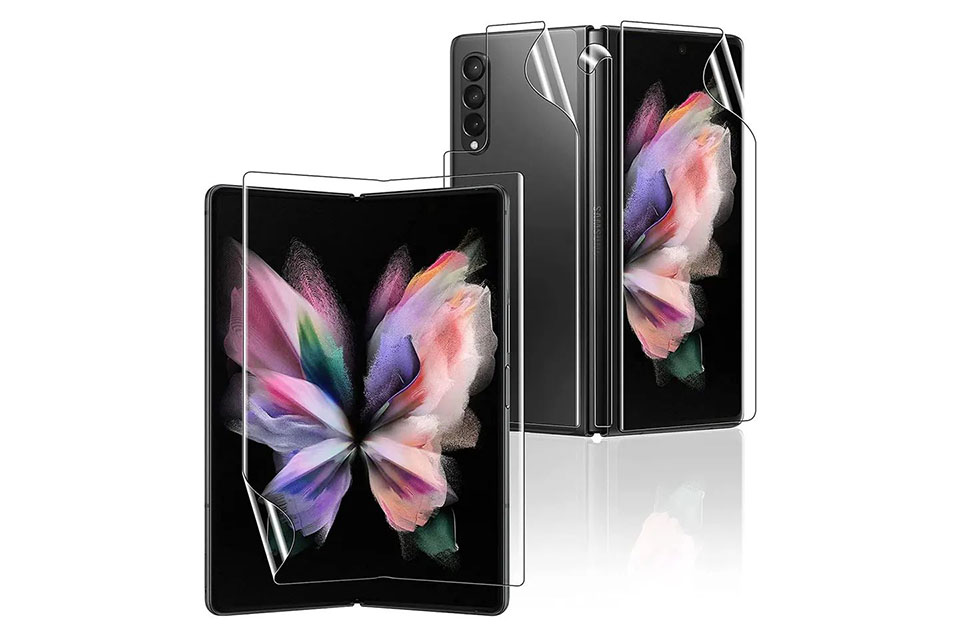
화면 보호기 평생 보증
화면 보호기 평생 보증은 제조업체에서 제공하는 보증입니다.
는 특정 이용 약관에 따라 제품 수명 기간 동안 화면 보호기를 수리 또는 교체할 것을 약속합니다.

