How to Clean Screen Protector Sticky Side?
Daftar Isi
Ringkasan
Berikut ringkasan singkat poin-poin terpenting yang perlu diingat:
- The sticky side of a screen protector is crucial for proper attachment and clarity.
- Use gentle cleaning solutions like distilled water and isopropyl alcohol to clean the adhesive side.
- Avoid harsh chemicals, abrasive materials, and touching the sticky side with your fingers.
- Reapply the screen protector carefully to avoid air bubbles and ensure a snug fit.
- Replace the screen protector if cleaning doesn’t restore its functionality.
1. What Is the Sticky Side of a Screen Protector and Why Does It Matter?
The sticky side of a screen protector is the adhesive layer that attaches the protector to your device’s screen. This layer ensures a snug fit, prevents air bubbles, and keeps the protector in place. Over time, dust, lint, or fingerprints can compromise the adhesive, leading to poor attachment or reduced clarity.If the adhesive side isn’t clean, your screen protector may not stick properly, leaving gaps or bubbles that can interfere with touch sensitivity and visibility. Cleaning the sticky side is a cost-effective way to restore its functionality without buying a new protector.
2. Can You Clean the Sticky Side of a Screen Protector?
Yes, you can clean the sticky side of a screen protector, but it requires careful handling to avoid damaging the adhesive layer. Whether it’s a pelindung layar kaca tempered or a plastic one, cleaning can help remove dirt and restore its stickiness. However, the cleaning process differs slightly depending on the material of the protector.Kiat Pro: Always check the manufacturer’s instructions before cleaning your screen protector to ensure you don’t void any warranties.
3. What Tools and Cleaning Solutions Do You Need?
To clean the adhesive side of a screen protector, you’ll need the following tools and materials:Important: Avoid using harsh chemicals or abrasive materials, as they can damage the adhesive layer.
4. How to Prepare Your Workspace for Cleaning
Before you start cleaning, it’s essential to set up a clean and dust-free workspace. Follow these steps:- Choose a well-lit area: This will help you spot any dust or smudges on the screen protector.
- Clean the surface: Wipe down your workspace with a damp cloth to remove dust and debris.
- Wash your hands: Ensure your hands are clean and dry to avoid transferring oils or dirt to the screen protector.
5. Step-by-Step Guide to Cleaning the Sticky Side of a Screen Protector
Here’s a detailed guide to cleaning the sticky side of a screen protector:Step 1: Remove the Screen Protector Carefully
- Gently peel off the screen protector from your device, starting from one corner.
- Avoid touching the sticky side with your fingers to prevent further contamination.
Step 2: Rinse with Distilled Water
- Hold the sticky side under a gentle stream of distilled water to remove loose dirt and dust.
- Avoid using tap water, as it may leave mineral deposits on the adhesive.
Step 3: Use Isopropyl Alcohol for Stubborn Stains
- Dampen a microfiber cloth with a small amount of isopropyl alcohol (70%).
- Gently wipe the sticky side to remove grease or stubborn stains.
Step 4: Dry the Screen Protector
- Place the screen protector on a clean, lint-free surface with the sticky side facing up.
- Allow it to air dry completely. Do not use paper towels, as they can leave fibers behind.
Step 5: Use Adhesive Tape for Final Cleaning
- If any dust particles remain, use a piece of adhesive tape to lift them off the sticky side.
Quick Tip: Avoid rubbing the adhesive side too hard, as this can damage the adhesive layer.
6. How to Reapply a Screen Protector After Cleaning
Once the sticky side is clean and dry, follow these steps to reapply the screen protector:- Clean your device’s screen: Use a microfiber cloth and isopropyl alcohol to remove smudges and dust.
- Align the screen protector: Carefully position the protector over your device’s screen, ensuring proper alignment.
- Press and smooth: Starting from the center, press the screen protector down and smooth out any air bubbles with a credit card or similar tool.
7. Common Mistakes to Avoid When Cleaning the Adhesive Side
Cleaning the adhesive side of a screen protector can be tricky. Here are some common mistakes to avoid:- Using harsh chemicals: Avoid cleaners like ammonia or bleach, as they can damage the adhesive.
- Touching the sticky side: Oils from your fingers can reduce the adhesive’s effectiveness.
- Skipping the drying process: Reapplying a wet screen protector can trap moisture, leading to bubbles.
8. Can You Use Any Cleaning Solution for Tempered Glass Screen Protectors?
Not all cleaning solutions are safe for pelindung layar kaca tempered. Stick to distilled water and isopropyl alcohol, as these are gentle and effective. Avoid abrasive cleaners or solutions containing ammonia, as they can damage the glass or adhesive.
9. How to Maintain Your Screen Protector for Long-Term Use
To keep your screen protector in good condition, follow these maintenance tips:- Clean regularly: Wipe the surface with a microfiber cloth to remove smudges and fingerprints.
- Avoid sharp objects: Keep your device away from keys or other sharp items that can scratch the protector.
- Store properly: If you remove the screen protector temporarily, store it in a clean, dust-free environment.
10. When Should You Replace Your Screen Protector Instead of Cleaning It?
While cleaning can restore the adhesive side in many cases, there are times when replacement is the better option. Replace your screen protector if:- The adhesive layer is severely damaged or peeling.
- There are deep scratches or cracks on the protector.
- Cleaning doesn’t restore the adhesive’s stickiness.
Komentar
Tags

Teknologi Mesin Pemotong Pisau Hidrogel-Inovasi dan Tren Masa Depan
Teknologi Mesin Pemotong Pisau Hidrogel mewakili kemajuan yang signifikan dalam pemrosesan bahan hidrogel yang tepat dan efisien, yang pada awalnya dikembangkan untuk aplikasi medis karena kandungan airnya yang tinggi dan biokompatibilitasnya.
How to Get Rid of Bubbles on Screen Protector?
By mastering these techniques, you can ensure your screen protector is applied perfectly every time, keeping your device’s display in top condition.
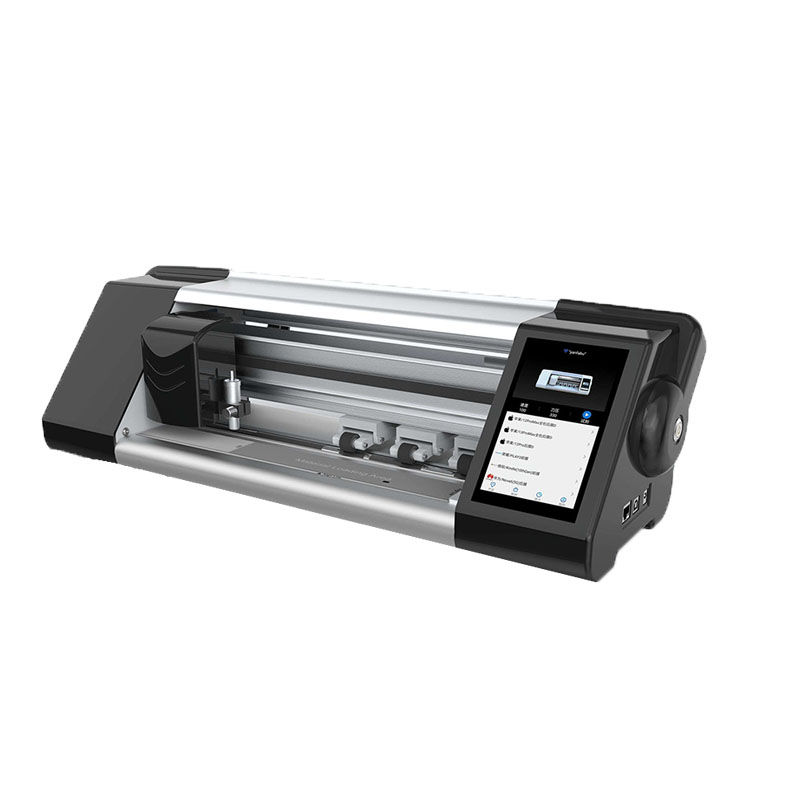
Mesin Pemotong Pelindung Layar Ponsel
Boost your profits with our advanced film cutting machines. Ideal for phone stores, repair shops, & wholesalers. Cut perfect-fit screen protectors on-demand for any device. Contact us for factory-direct pricing!

Mencapai Kesesuaian yang Sempurna: Kiat untuk Menggunakan Pemotong Pelindung Layar Anda
"Mencapai Kesesuaian yang Sempurna: Kiat Menggunakan Pemotong Pelindung Layar Anda" adalah panduan komprehensif yang didesain untuk membantu pengguna memahami berbagai nuansa dan praktik terbaik yang terlibat dalam menggunakan mesin pemotong pelindung layar.

Dampak Lingkungan dari Film Hidrogel Fleksibel: Perspektif Keberlanjutan
Dampak lingkungan dari film hidrogel fleksibel menunjukkan profil keberlanjutan yang menjanjikan namun terus berkembang, dengan keunggulan dibandingkan film pelindung tradisional dalam hal efisiensi dan daya tahan produksi, tetapi tantangan tetap ada dalam hal pembuangan dan daur ulang yang memerlukan inovasi berkelanjutan dan kesadaran konsumen.
Temukan Semua pengetahuan dan tren dari blog kami, dapatkan harga grosir dan kualitas terbaik dari pabrik kami.
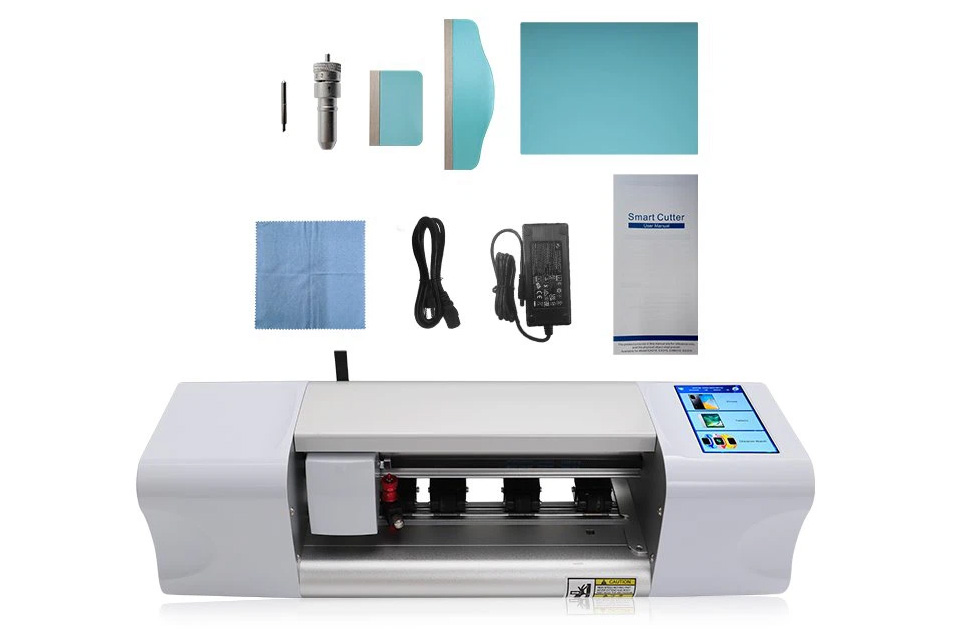
Apa itu Mesin Pemotong Film dan Aplikasinya
Mesin pemotong film telah memainkan peran penting dalam evolusi pembuatan film dan berbagai proses industri dengan memungkinkan pemotongan dan penyambungan bahan film secara tepat.
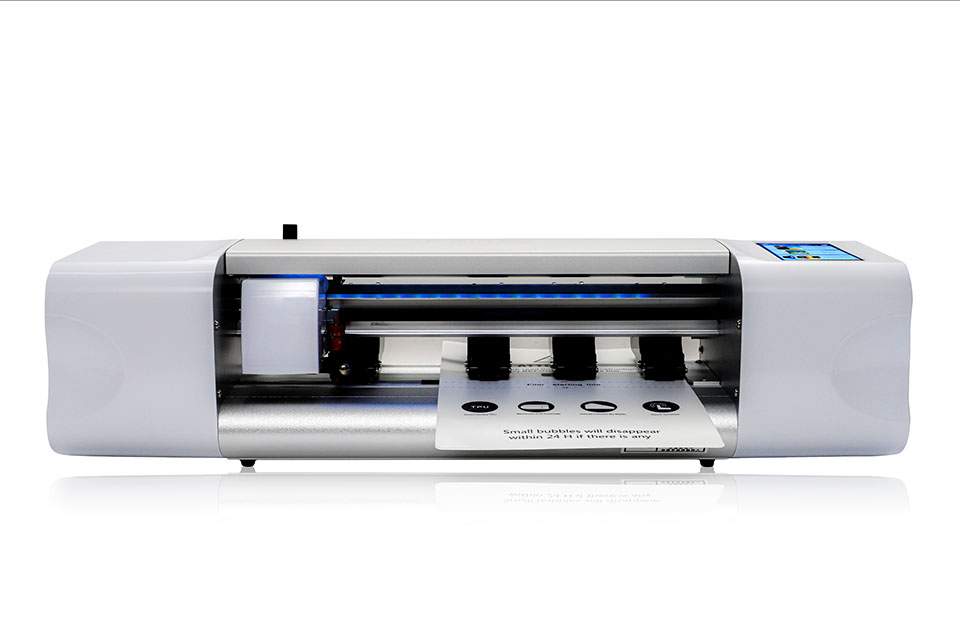
Apa Itu Mesin Pemotong Pelindung Layar?
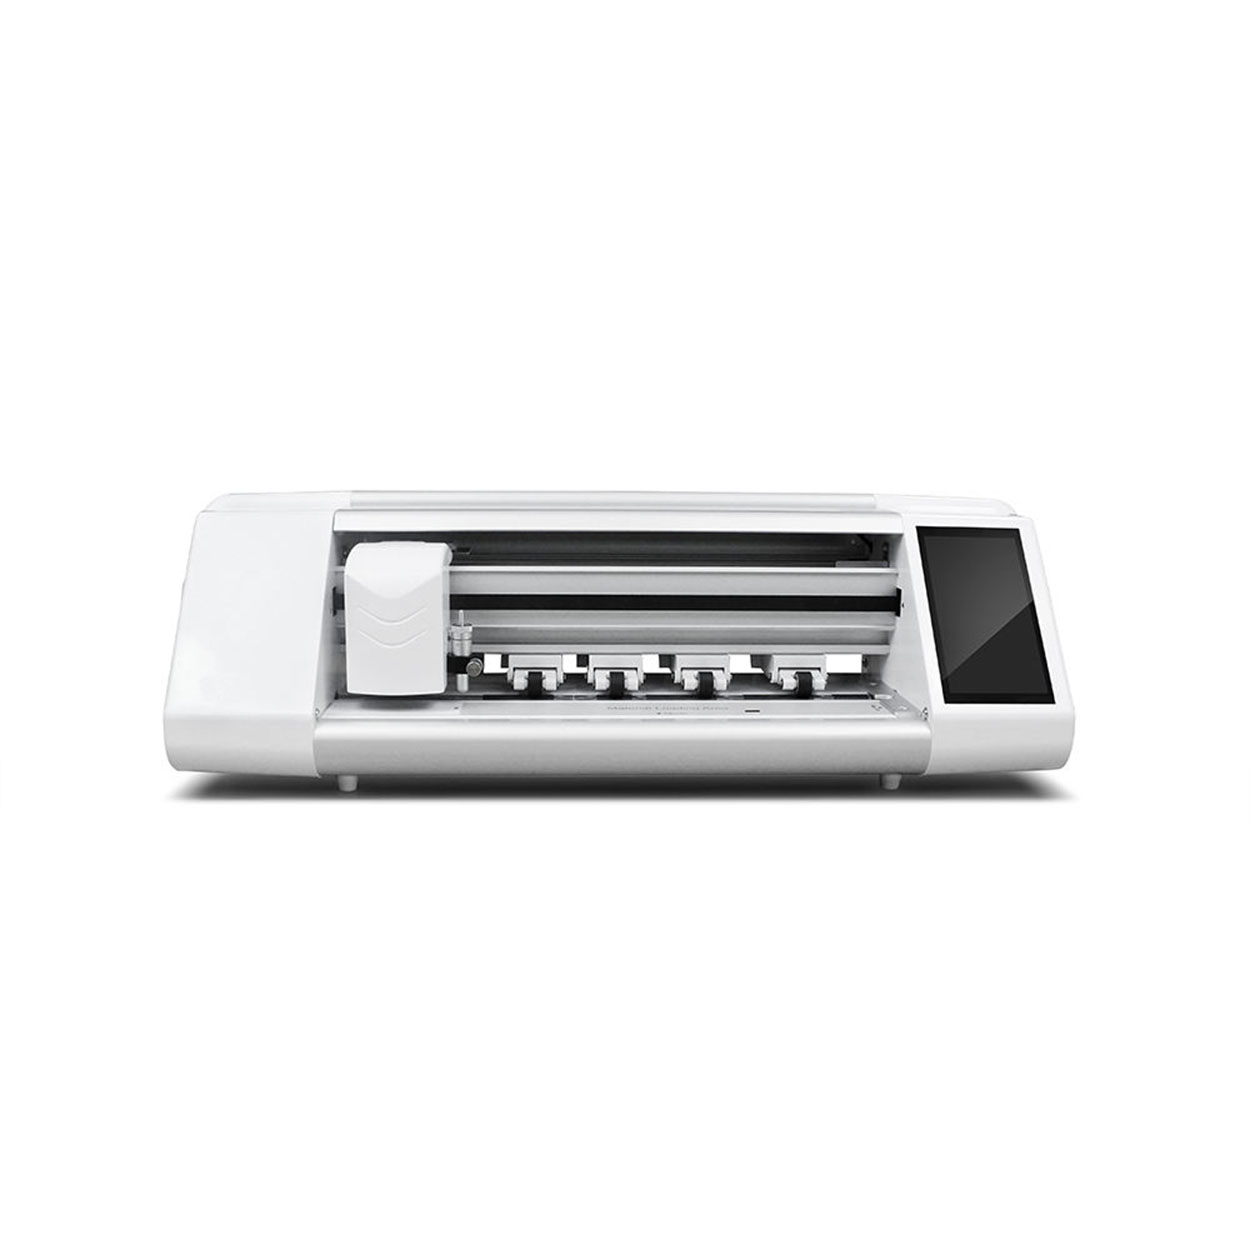
Mesin pemotong pelindung layar adalah perangkat khusus yang didesain untuk memproduksi pelindung layar yang disesuaikan untuk berbagai perangkat elektronik, termasuk smartphone, tablet, jam tangan pintar, laptop dan monitor.
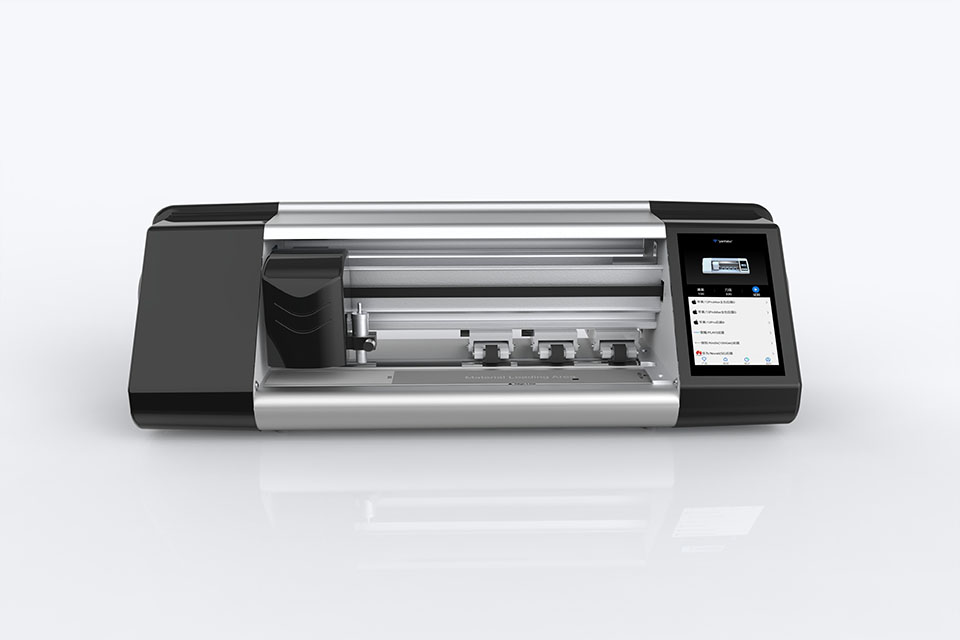
Cara Kerja Mesin Pemotong Pelindung Layar Ponsel?
Mesin pemotong pelindung layar ponsel adalah perangkat canggih yang dirancang
untuk memproduksi pelindung layar yang disesuaikan untuk berbagai perangkat digital dengan kualitas tinggi
dan efisiensi.
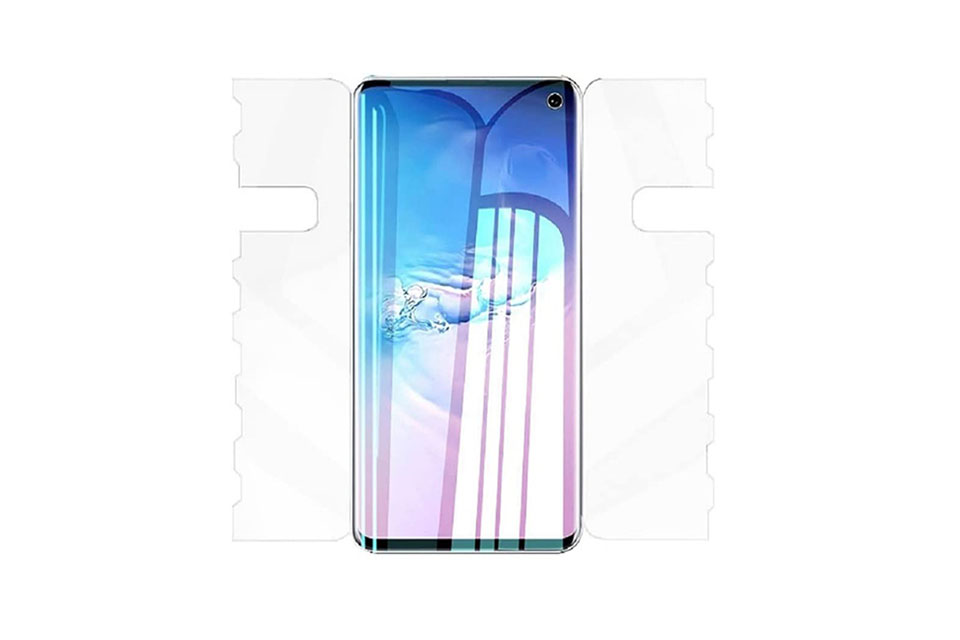
Karakteristik Kaca Tempered Ponsel dan Pelindung Layar TPU Ponsel
Pelindung layar poliuretan termoplastik (TPU) fleksibel, tahan lama, dan
film plastik yang dapat menyembuhkan diri sendiri yang dirancang untuk melindungi layar perangkat elektronik dari
goresan, benturan, dan potensi kerusakan lainnya.
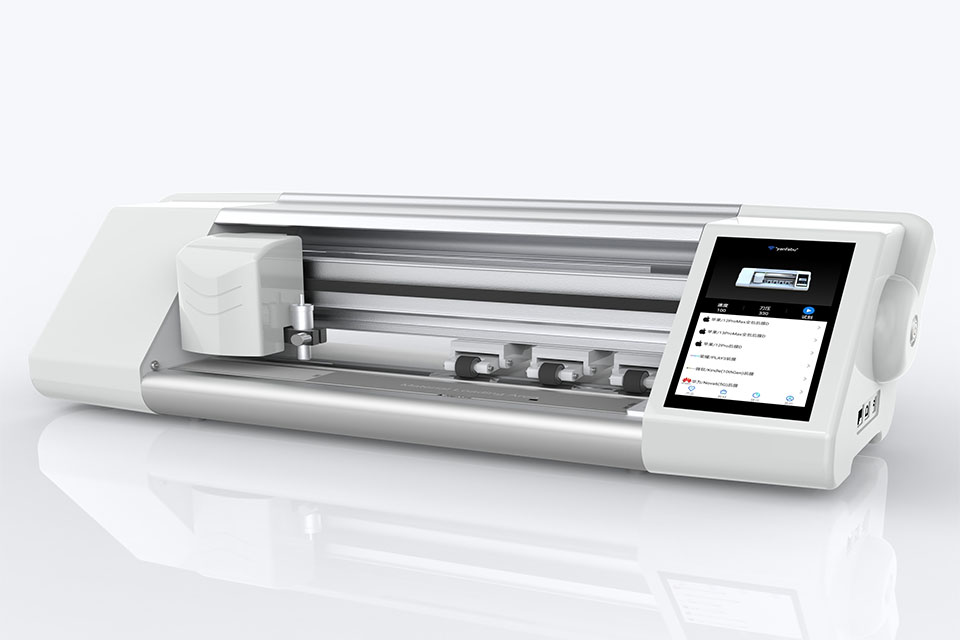
Merevolusi Perlindungan Perangkat dengan Mesin Pemotong Pelindung Layar
Apakah Anda memiliki smartphone, tablet, atau smartwatch, mesin serbaguna ini mengakomodasi beragam perangkat. Alat ini secara mulus beradaptasi dengan dimensi gadget Anda, menawarkan kesesuaian khusus yang tidak dapat ditandingi oleh pelindung umum.
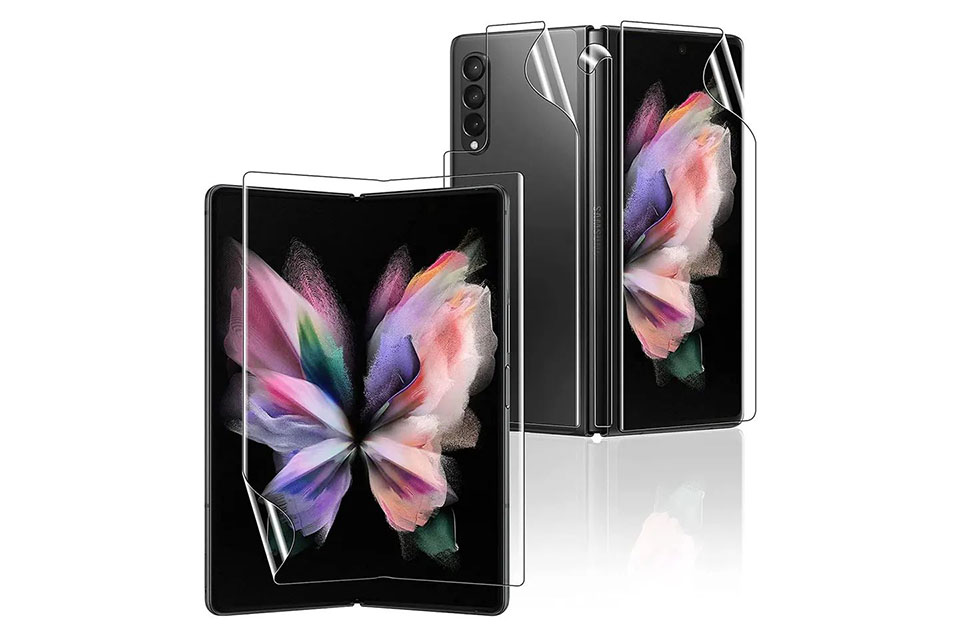
Garansi Pelindung Layar Seumur Hidup
Garansi seumur hidup pelindung layar adalah jaminan yang diberikan oleh produsen bahwa
berjanji untuk memperbaiki atau mengganti pelindung layar selama masa pakai produk, dengan syarat dan ketentuan tertentu.

