How to Remove a Screen Protector: A Step-by-Step Guide for iPhone Users
Table of Contents
Extract
Why Should You Remove Your Screen Protector?
Before we dive into the removal process, let’s discuss why you might need to remove your screen protector:
- Visible scratches or cracks
- Air bubbles that won’t disappear
- Reduced touch sensitivity
- Yellowing or discoloration over time
- Preparing for an upgrade to a newer model
Understanding the reason for removal can help you approach the task with the right mindset and tools. Remember, a damaged or old screen protector can hinder your iPhone’s performance and aesthetics.
What Tools Do You Need to Remove a Screen Protector?
Gathering the right tools is essential for a successful removal process. Here’s a list of items you’ll need:
- Credit card or plastic pry tool
- Microfiber cloth
- Isopropyl alcohol (90% or higher)
- Cotton swabs
- Hairdryer (optional)
- Gloves (optional)
Having these tools on hand will make the removal process smoother and help protect your iPhone’s screen from damage.
Why Choose HOENTER’s Hydrogel Screen Protectors?
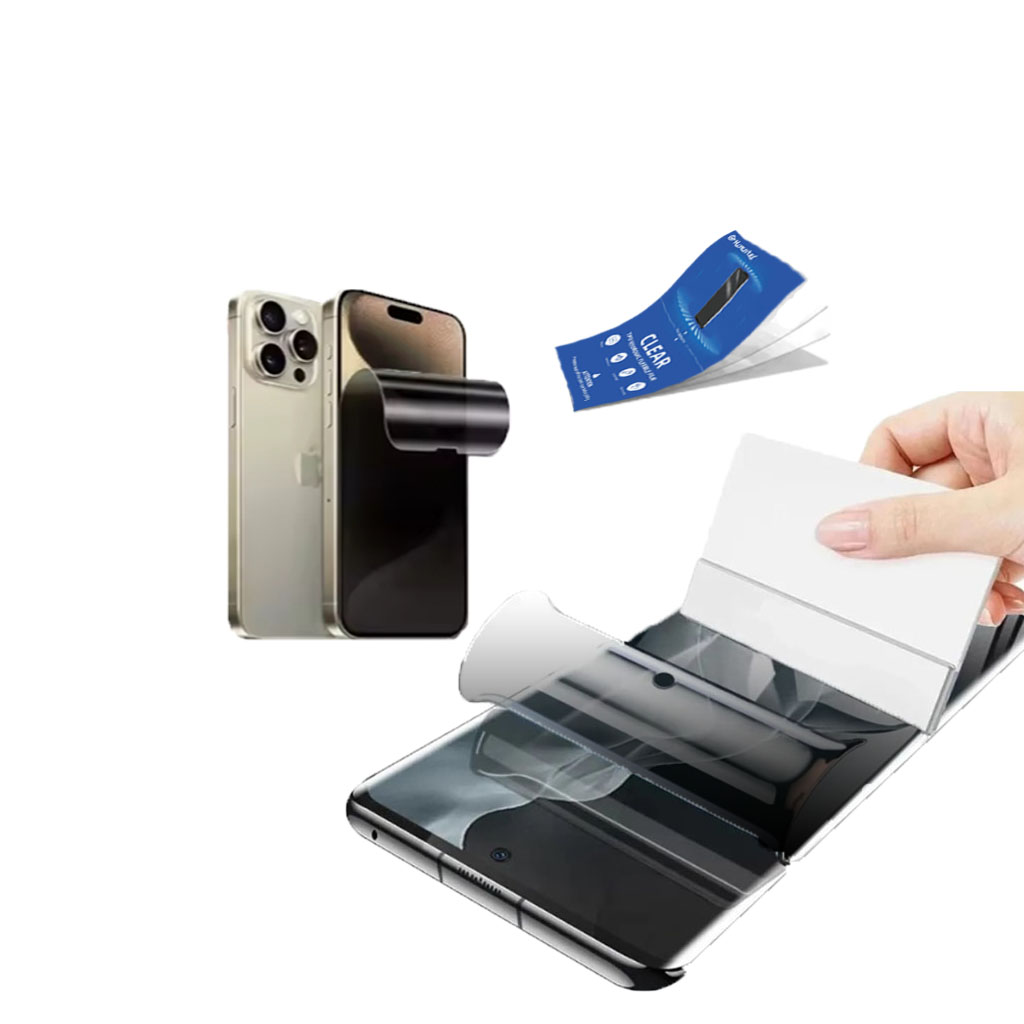
For those seeking a reliable and high-quality screen protector, HOENTER offers a range of hydrogel screen protectors, including clear, matte, and privacy options.
Clear Hydrogel Screen Protector:
Provides a transparent, high-definition display while offering excellent protection against scratches and minor impacts.
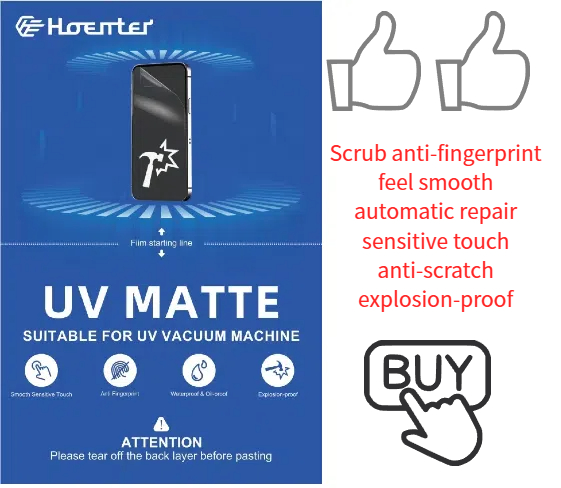
Matte Hydrogel Screen Protector:
Reduces glare and fingerprints, providing a smooth, anti-glare surface for comfortable viewing.
Privacy Hydrogel Screen Protector:
Protects your screen from prying eyes by limiting the viewing angle, ensuring your privacy in public spaces.
How to Prepare Your iPhone for Screen Protector Removal?
Proper preparation is key to a successful removal. Follow these steps:
- Clean your hands thoroughly
- Power off your iPhone
- Remove any case or cover
- Clean the surface of the screen protector with a microfiber cloth
Taking these precautions will minimize the risk of scratches or other damage during the removal process.
What’s the Best Method to Remove a Screen Protector from Your iPhone?
Now, let’s get to the heart of the matter. Here’s a step-by-step guide to removing your screen protector:
- Locate a corner or edge of the protector
- Use a credit card or plastic pry tool to gently lift the corner
- Slowly work your way around the edges, lifting as you go
- If the protector resists, use a hairdryer on low heat to loosen the adhesive
- Once you’ve lifted all edges, carefully peel off the protector
- Clean any residual adhesive with isopropyl alcohol and a cotton swab
Remember to be patient and gentle throughout the process to avoid damaging your iPhone’s screen.
How to Remove a Tempered Glass Screen Protector?
Removing a tempered glass screen protector requires a slightly different approach:
- Start by applying heat to the edges using a hairdryer (on low setting)
- Use a plastic card or pry tool to lift a corner
- Slowly and carefully lift the protector, applying more heat if needed
- If it cracks, cover the broken areas with clear tape to prevent injury
- Continue lifting until the entire protector is removed
- Clean the screen thoroughly after removal
Always prioritize safety when dealing with glass, and don’t force the removal if it’s not coming off easily.
What Should You Do If the Screen Protector Breaks During Removal?
Sometimes, despite our best efforts, a screen protector may break during removal. If this happens:
- Stop immediately to assess the situation
- Put on gloves to protect your hands
- Use clear tape to cover the cracked areas
- Continue peeling off the protector, using the tape to hold pieces together
- Be extra cautious to avoid scratching the iPhone screen with glass shards
Safety should be your top priority when dealing with broken screen protectors.
How Can You Remove Stubborn Adhesive Residue from Your iPhone Screen?
After removing the screen protector, you might find some sticky residue left behind. Here’s how to deal with it:
- Apply a small amount of isopropyl alcohol to a cotton swab
- Gently rub the residue in circular motions
- Use a microfiber cloth to wipe away the dissolved adhesive
- Repeat if necessary, being careful not to oversaturate the area
Patience is key when removing adhesive residue to avoid damaging your iPhone’s screen.
What Are the Common Mistakes to Avoid When Removing an iPhone Screen Protector?
To ensure a smooth removal process, steer clear of these common pitfalls:
- Using metal tools or sharp objects
- Applying excessive force
- Rushing the process
- Neglecting to clean your hands and workspace
- Forgetting to power off your iPhone
By avoiding these mistakes, you’ll minimize the risk of damaging your device during the removal process.
How to Prepare Your iPhone for a New Screen Protector?
Once you’ve successfully removed the old protector, it’s time to prepare for the new one:
- Clean the screen thoroughly with isopropyl alcohol
- Use a microfiber cloth to remove any dust or lint
- Ensure the screen is completely dry before applying the new protector
- Follow the instructions provided with your new screen protector for best results
A clean, dry surface is essential for proper adhesion of your new screen protector.
Why Should You Consider Applying a New Screen Protector to Your iPhone?
After all this effort, you might be wondering if it’s worth installing a new screen protector. Consider these benefits:
- Protection against scratches and minor impacts
- Reduced fingerprint smudges
- Maintains resale value of your iPhone
- Some protectors offer additional features like blue light filtering or privacy screens
- Peace of mind knowing your expensive device is protected
Investing in a quality screen protector can save you money and stress in the long run.In conclusion, removing a screen protector from your iPhone might seem daunting, but with the right tools and techniques, it can be a straightforward process. Remember these key points:
- Gather the necessary tools before starting
- Prepare your iPhone and workspace properly
- Be patient and gentle during the removal process
- Clean thoroughly after removal
- Consider the benefits of installing a new protector
By following this guide, you’ll be able to safely remove your old screen protector and prepare your iPhone for a fresh, new layer of protection. Happy peeling!
Comments
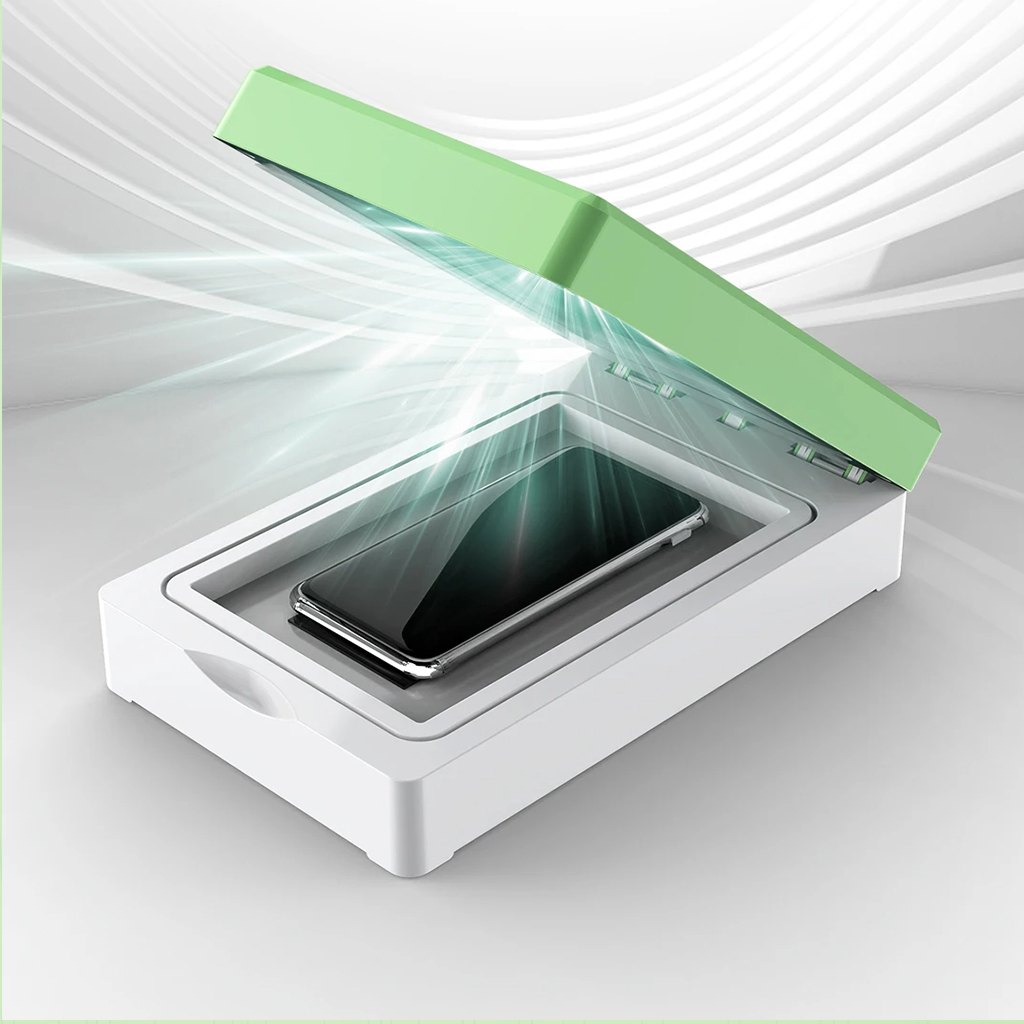
UV Light Curing Machine For Phone Protector
Quick Curing: Cures the screen protector in less than 5 minutes.
Superior Protection: Offers 3H hardness, explosion-proof, and drop-proof protection.
Disinfection: UV light sterilizes the phone, providing added hygiene.
Simple Process: Easy to use with minimal effort and a perfect finish every time.
With its advanced features, ease of use, and superior protective qualities, this UV Light Curing Mobile Phone Film Machine is the ultimate solution for ensuring your mobile phone remains safe, clean, and scratch-free!

The Ultimate Guide to Screen Hydrogel Film-Everything You Need to Know
The Ultimate Guide to Screen Hydrogel Film: Everything You Need to Know Screen hydrogel films are an innovative category of screen protectors designed to safeguard electronic device screens while offering a unique set of properties that distinguish them from traditional tempered glass and plastic alternatives.

Enhancing Quality Control with Hydrogel Film Cutting Machines
The advent of hydrogel film cutting machines marks a significant technological leap in the manufacturing sector, particularly in the production of protective films for various applications, including electronics, medical equipment, and automotive components.

Eco-Friendly Practices in Screen Protector Manufacturing
Eco-friendly practices in screen protector manufacturing aim to reduce environmental impact and meet growing consumer demand for sustainability through innovations in materials and processes.
Buick Envision 2024 GPS Navigation Tempered Glass
Our Buick Envision 2024 Navigation Protector offers superior protection for your new SUV’s display.
Tags
Find All knowledge and trends from our blog, get the wholesale price and best quality from our factory.
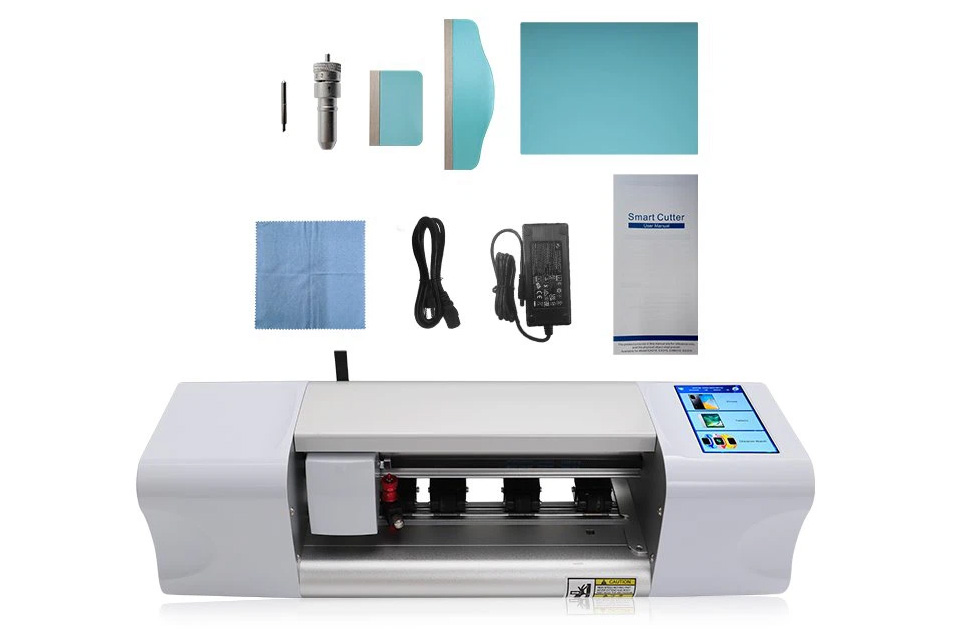
What Film Cutting Machine and Its Application
Film cutting machines have played a crucial role in the evolution of filmmaking and various industrial processes by enabling precise cutting and splicing of film materials.
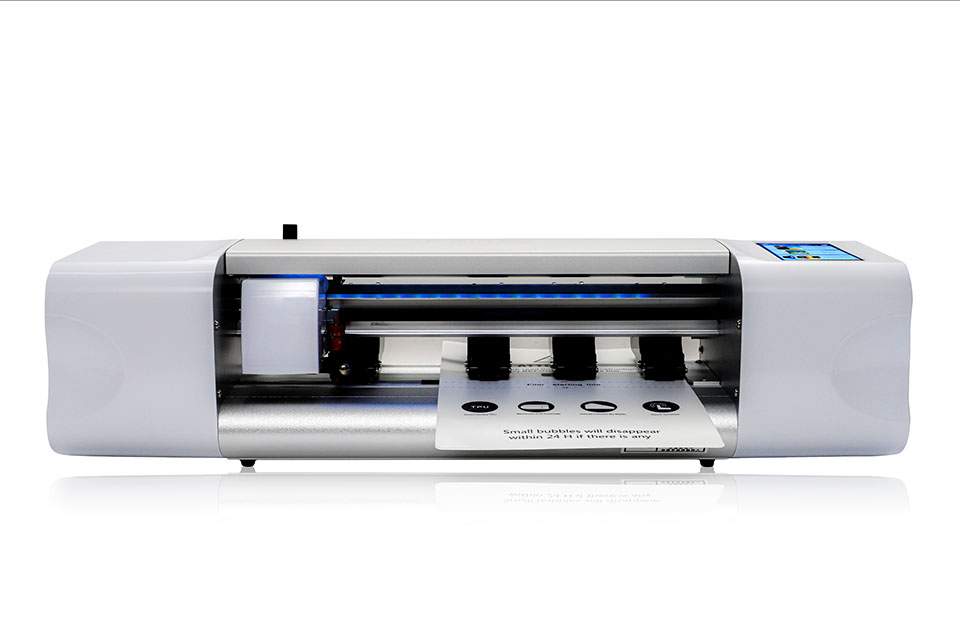
What Is a Screen Protector Cutting Machine?
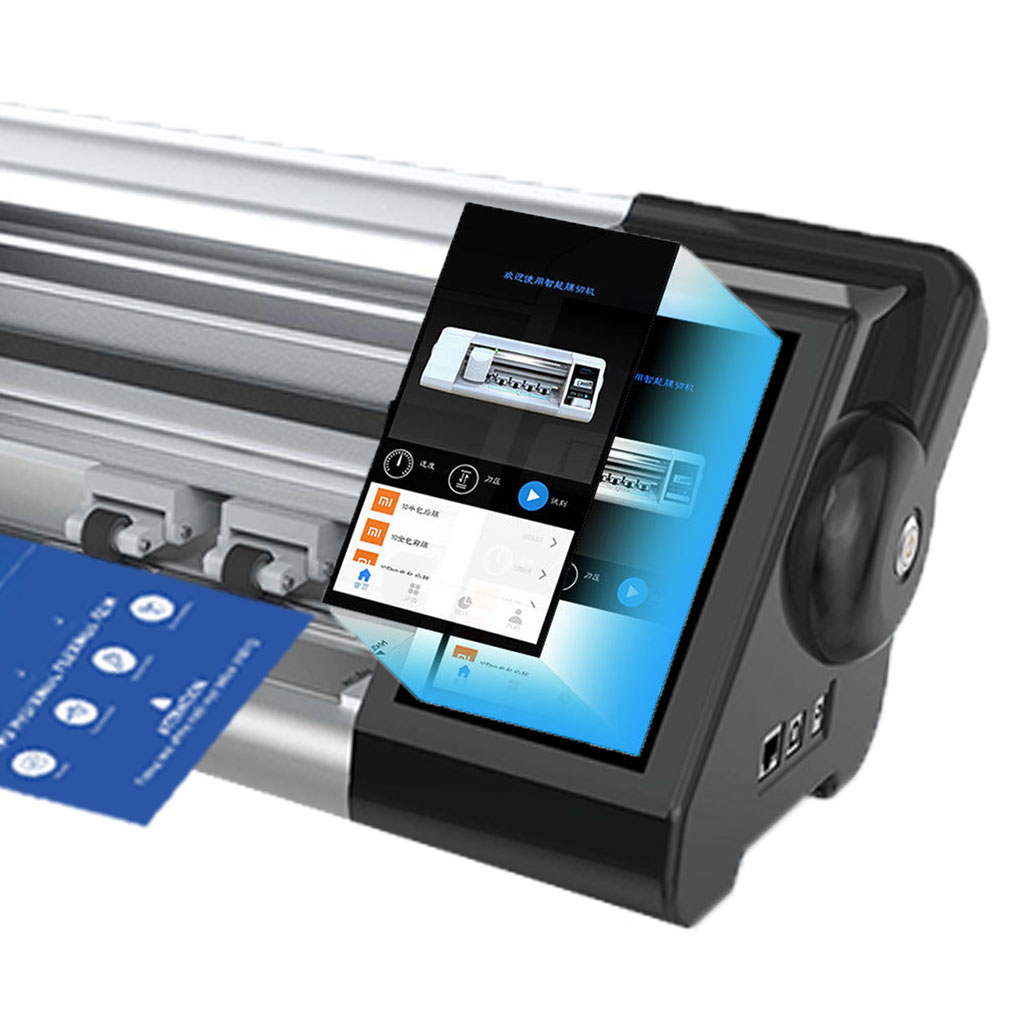
A screen protector cutting machine is a specialized device designed to produce custom-fit screen protectors for various electronic devices, including smartphones, tablets, smartwatches, laptops, and monitors.
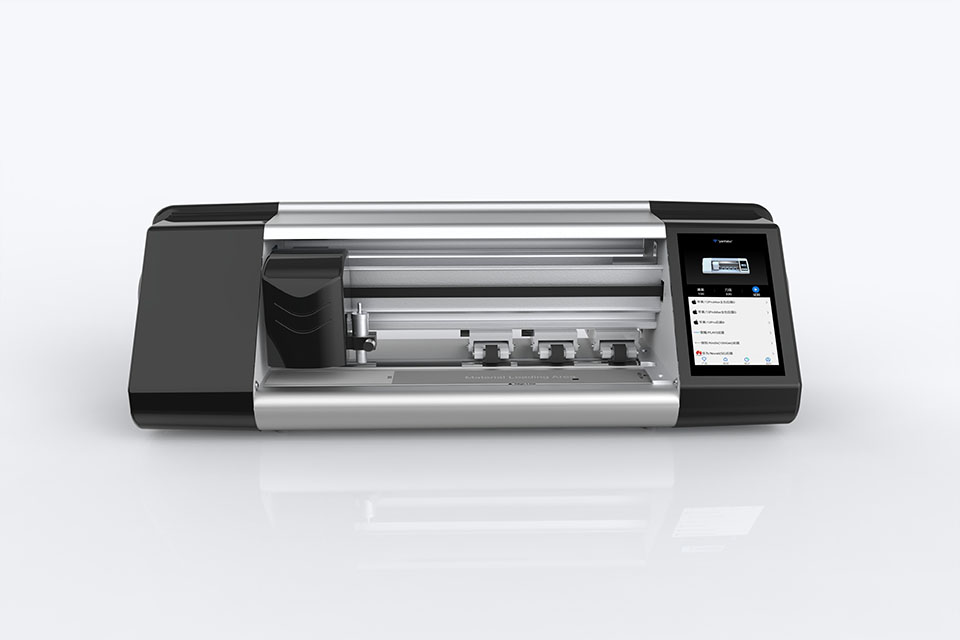
How Mobile Phone Screen Protector Cutting Machine Work?
A mobile phone screen protector cutting machine is a sophisticated device designed
to produce customized screen protectors for various digital devices with high preci
sion and efficiency.
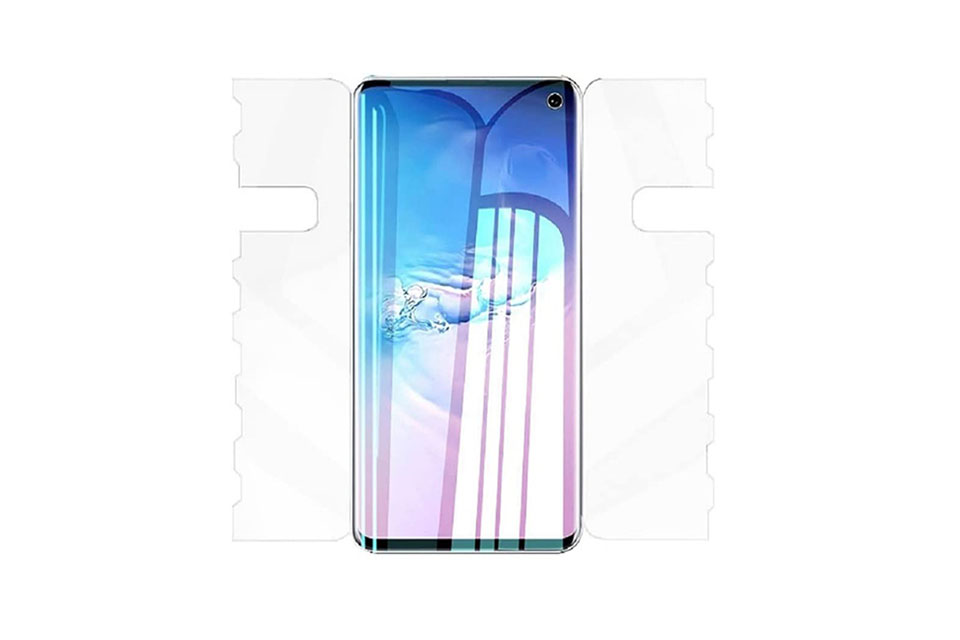
Characteristics of Mobile Phone Tempered Glass and Mobile Phone TPU Screen Protector
Thermoplastic polyurethane (TPU) screen protectors are flexible, durable, and
self-healing plastic films designed to protect electronic device screens from
scratches, impacts, and other potential damages.
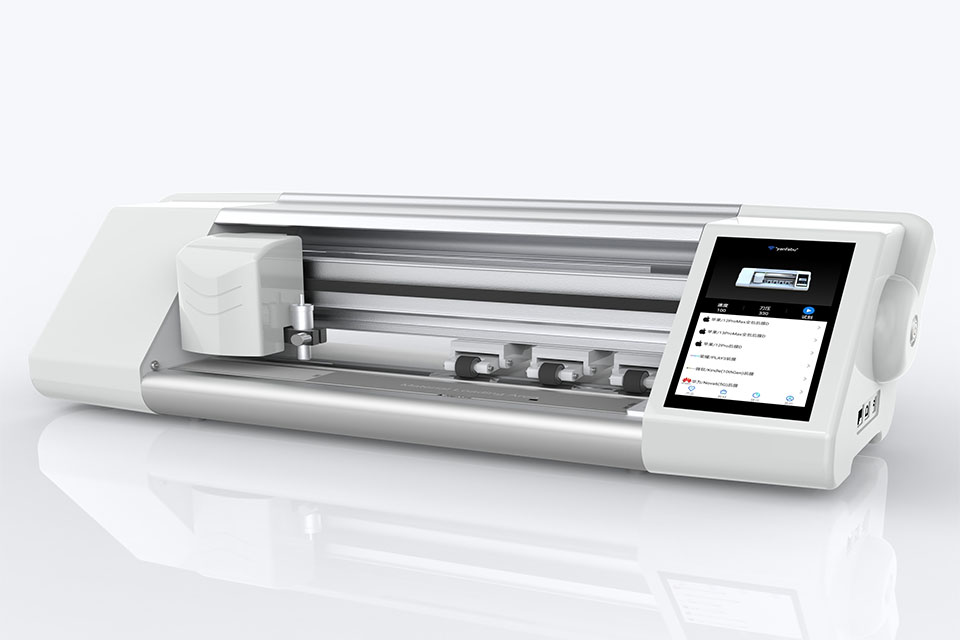
Revolutionize Device Protection with Screen Guard Cutting Machine
Whether you possess a smartphone, tablet, or smartwatch, this versatile machine accommodates a vast array of devices. It seamlessly adapts to the dimensions of your gadget, offering a custom fit that generic protectors can’t match.
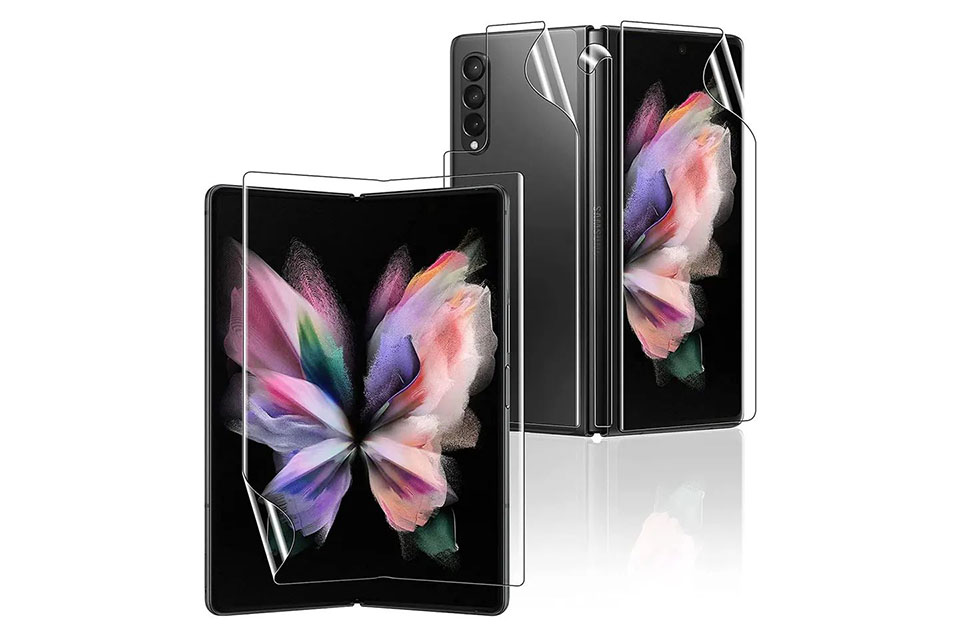
Screen Protector Lifetime Warranty
A screen protector lifetime warranty is a guarantee provided by manufacturers that
promises to repair or replace a screen protector for the lifetime of the product, under specific terms and conditions.


