스크린 보호 필름에 있는 공기 방울을 제거하는 방법은?
목차
요약
- Preparation is Key: Clean your device and work in a dust-free environment.
- Apply Carefully: Use a methodical approach to avoid bubbles.
- Use Tools Wisely: A credit card and hair dryer can help remove bubbles.
- Know When to Replace: Persistent issues may require a new protector.
- Maintain Regularly: Keep your protector clean and inspect for damage.
Understanding Screen Protectors and Air Bubbles
Screen protectors are thin layers of plastic or glass that adhere to the screens of electronic devices to protect them from scratches, cracks, and other damage. Despite their benefits, applying them can sometimes lead to air bubbles, which can be both unsightly and annoying.Air bubbles form when there is trapped air between the screen and the protector. This can happen due to dust particles, improper application, or uneven pressure during installation. Understanding the nature of these bubbles is the first step in effectively dealing with them.Why Do Air Bubbles Form Under Screen Protectors?
Air bubbles can form for several reasons:- Dust and Debris: Even the smallest particles can cause air pockets.
- Improper Alignment: Misalignment during application can trap air.
- Uneven Pressure: Applying uneven pressure can lead to bubbles.
Preparing Your Device for Screen Protector Application
Before applying a screen protector, it’s crucial to prepare your device properly:- Clean the Screen: Use a microfiber cloth and a screen cleaning solution to remove any dust or fingerprints.
- Work in a Dust-Free Environment: Choose a clean, dust-free area to apply the protector.
- 보호자 정렬: Carefully align the protector with your device’s screen before application.
Step-by-Step Guide to Applying a Screen Protector Without Bubbles
Applying a screen protector without bubbles involves careful attention to detail:- 화면을 철저히 청소하세요: Ensure there are no dust particles.
- Peel Back the Protector: Slowly peel back the adhesive side of the protector.
- Align and Apply: Align the protector with the screen and apply it slowly, starting from one edge.
- Smooth Out Bubbles: Use a credit card or a similar object to smooth out any bubbles, pushing them towards the edges.
How to Remove Air Bubbles from a Screen Protector
If bubbles do form, don’t worry. Here’s how to remove them:- Use a Credit Card: Gently push the bubbles towards the edge of the screen.
- Lift and Reapply: If necessary, lift the protector slightly and reapply it, smoothing out bubbles as you go.
- Apply Pressure: Use your fingers to apply even pressure across the screen.
Using a Hair Dryer to Get Bubbles Out of a Glass Screen Protector
A hair dryer can be a useful tool for removing stubborn bubbles:- Set to Low Heat: Use a hair dryer on a low heat setting.
- Warm the Protector: Gently warm the screen protector to soften the adhesive.
- Smooth Out Bubbles: Use a credit card to push bubbles towards the edges while the protector is warm.
When to Consider Getting a New Screen Protector
Sometimes, despite your best efforts, a screen protector may need to be replaced:- Persistent Bubbles: If bubbles persist and affect screen visibility.
- Damage or Cracks: If the protector is damaged or cracked.
- Poor Adhesion: If the protector does not adhere properly.
Tips on How to Get Bubbles Out of a Screen Protector
Here are some additional tips to help you deal with air bubbles:- Use a Dust Remover: Use a dust remover sticker to eliminate dust particles before application.
- Apply in a Steamy Bathroom: The steam can help reduce dust in the air.
- Be Patient: Take your time during application to ensure the best results.
The Art of Applying a Screen Protector on an iPhone 15 Pro
Applying a screen protector on an iPhone 15 Pro requires precision:- Align Carefully: The iPhone 15 Pro’s design requires careful alignment.
- Use a Guide: Some protectors come with a guide to help with alignment.
- Smooth Gently: Use gentle pressure to avoid damaging the screen.
Maintaining Your Screen Protector and Phone Case
Once your screen protector is applied, maintenance is key:- Regular Cleaning: Clean your screen protector regularly to maintain clarity.
- Check for Damage: Inspect for any signs of wear or damage.
- Replace When Necessary: Replace the protector if it becomes damaged or worn.
댓글
태그

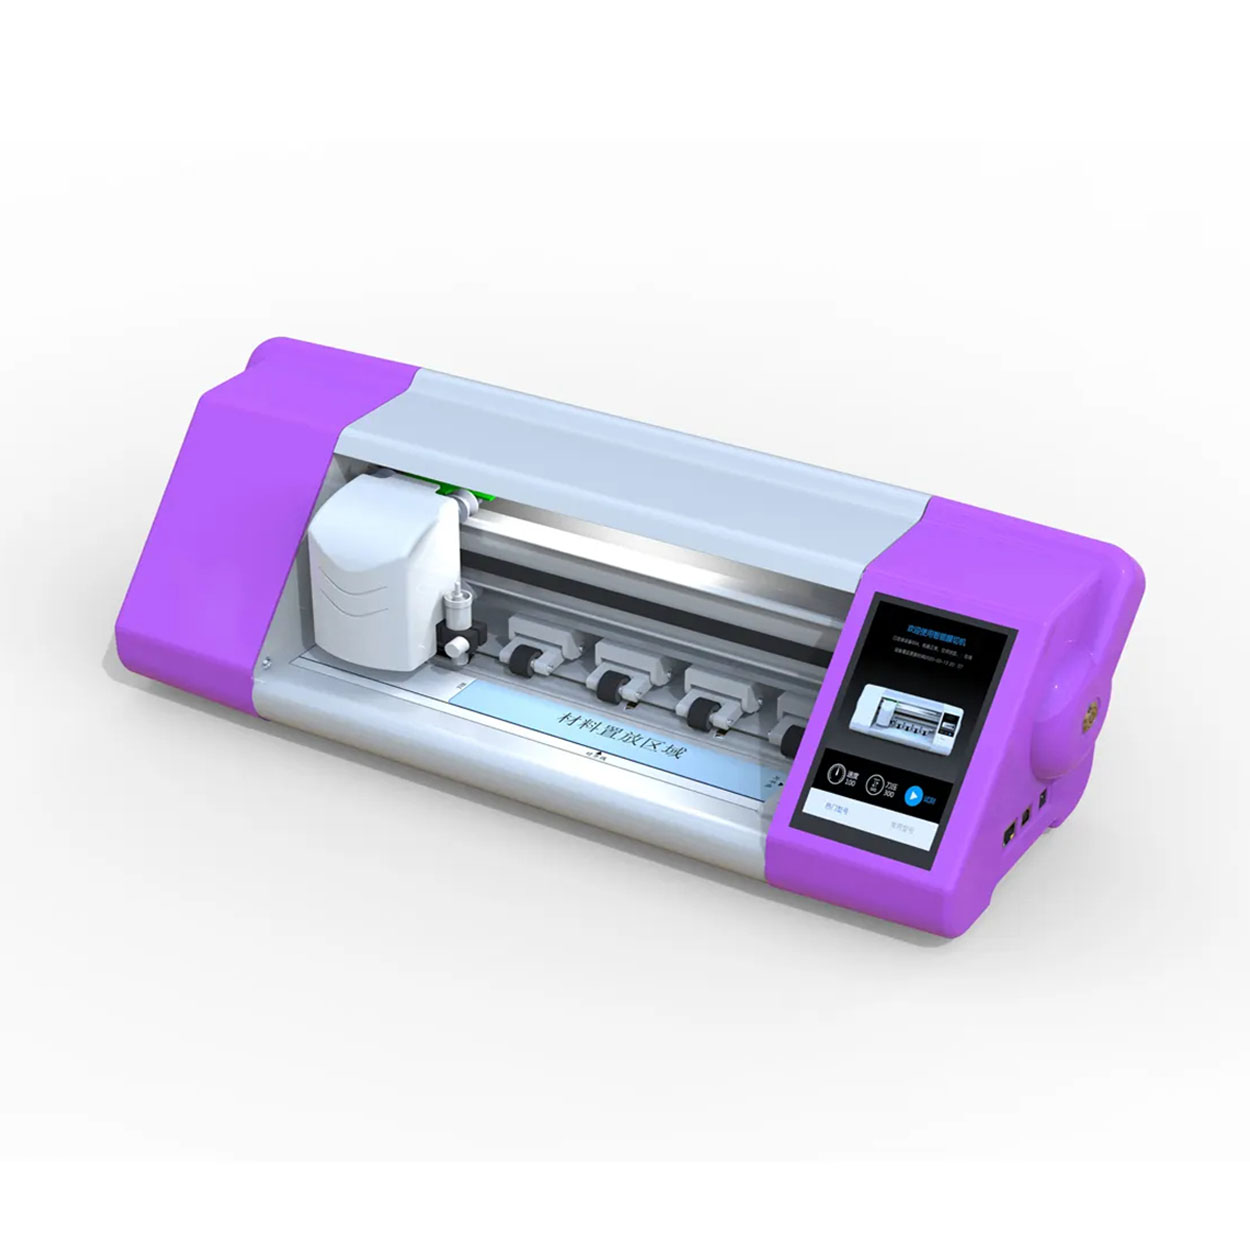
화면 보호기 커팅기 비용에 대한 이해: 예상되는 사항
모바일 기기 및 액세서리에 대한 수요가 증가함에 따라 화면 보호기 커팅기는 업계에서 비즈니스에 필수적인 투자가 되었습니다.


유연한 하이드로겔 필름이 화면 보호기 산업을 변화시키는 방법
플렉시블 하이드로겔 필름은 뛰어난 유연성, 내구성 및 자가 치유 특성을 제공하여 화면 보호기 업계에 혁신을 일으키고 있으며, 화면 보호 기술의 미래가 되고 있습니다.
Soft Hydrogel Screen Protector
Hydrogel screen protectors are a modern solution for those seeking reliable and affordable screen protection.
블로그에서 모든 지식과 트렌드를 찾고, 공장에서 도매 가격과 최고의 품질을 얻으십시오.
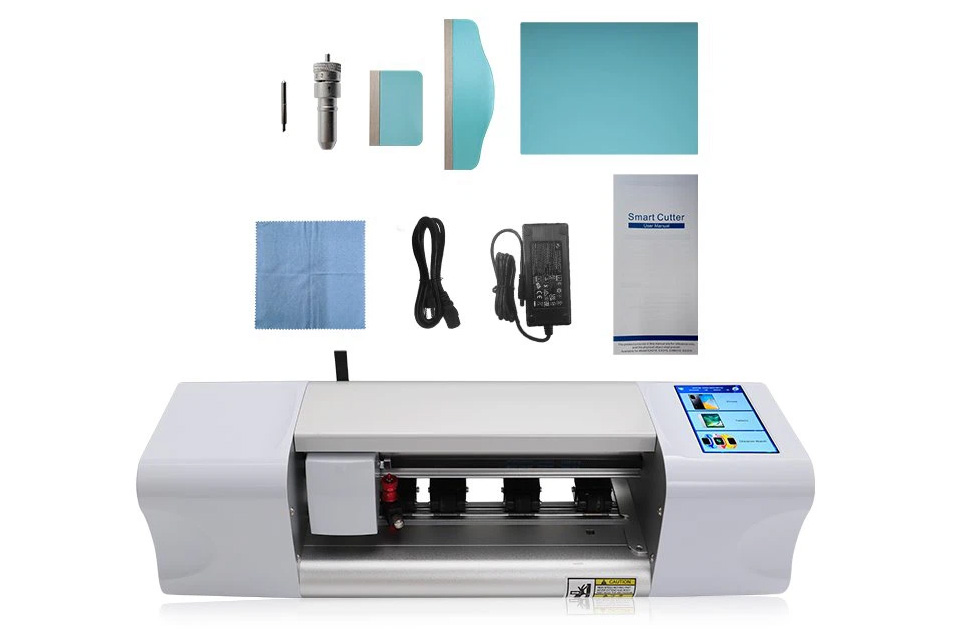
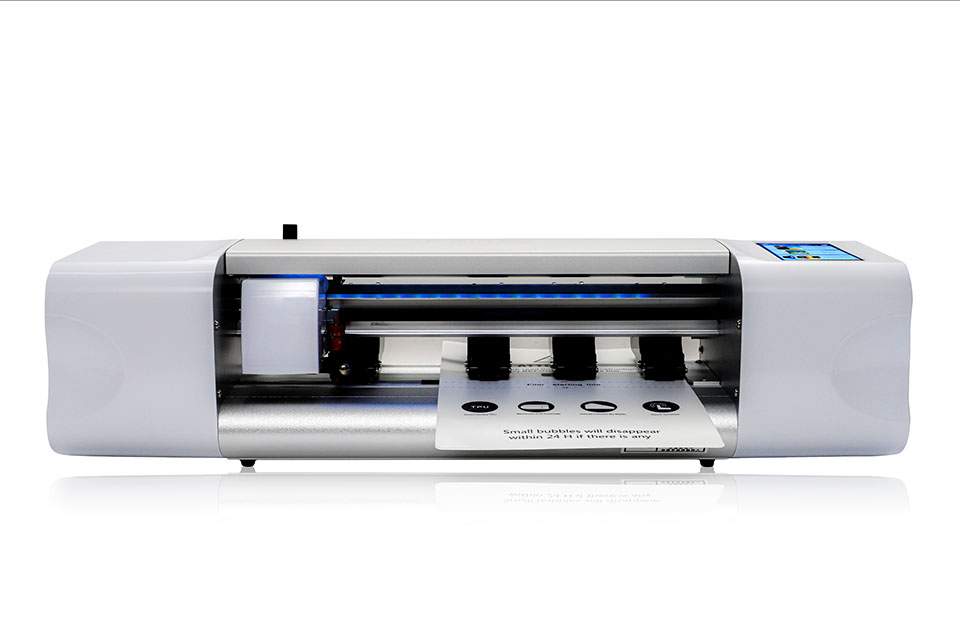
화면 보호기 커팅기란 무엇인가요?
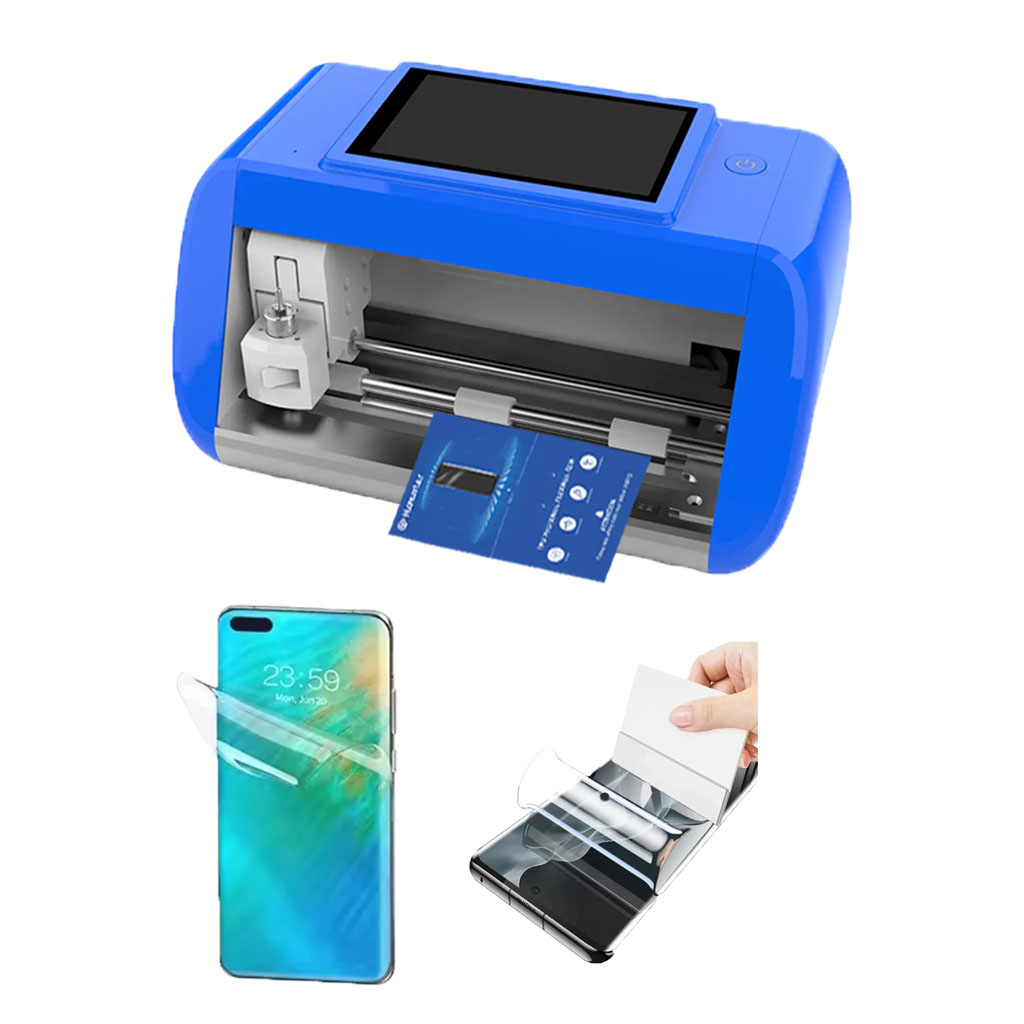
화면 보호기 커팅기는 스마트폰, 태블릿, 스마트워치, 노트북, 모니터 등 다양한 전자기기에 맞는 맞춤형 화면 보호기를 제작하기 위해 고안된 전문 장비입니다.
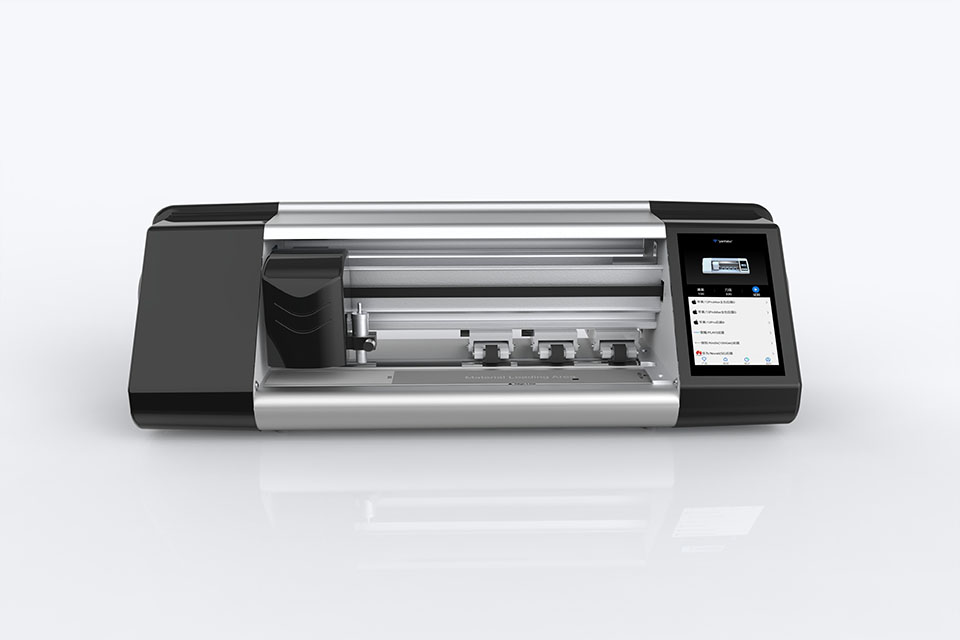
휴대폰 화면 보호기 절단기는 어떻게 작동합니까?
휴대폰 화면 보호기 절단기는 다음과 같이 설계된 정교한 장치입니다.
고가의 다양한 디지털 기기를 위한 맞춤형 화면 보호기를 생산합니다.
효율성.
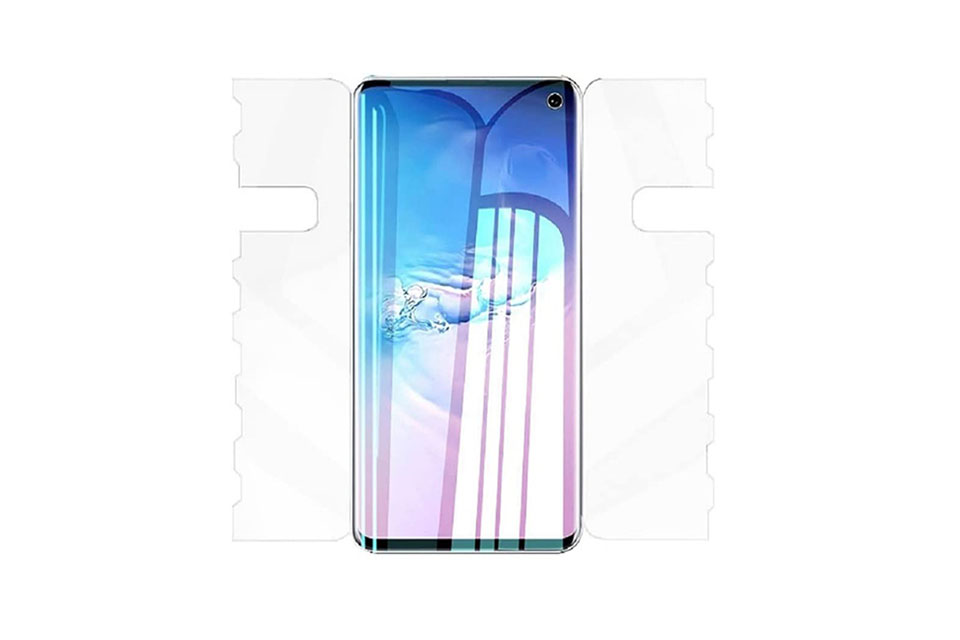
휴대폰 강화 유리 및 휴대폰 TPU 화면 보호기의 특성
열가소성 폴리우레탄(TPU) 화면 보호기는 유연하고 내구성이 뛰어나며
전자 기기 화면을 보호하도록 설계된 자가 치유 플라스틱 필름은 다음과 같습니다.
긁힘, 충격 및 기타 잠재적 손상.
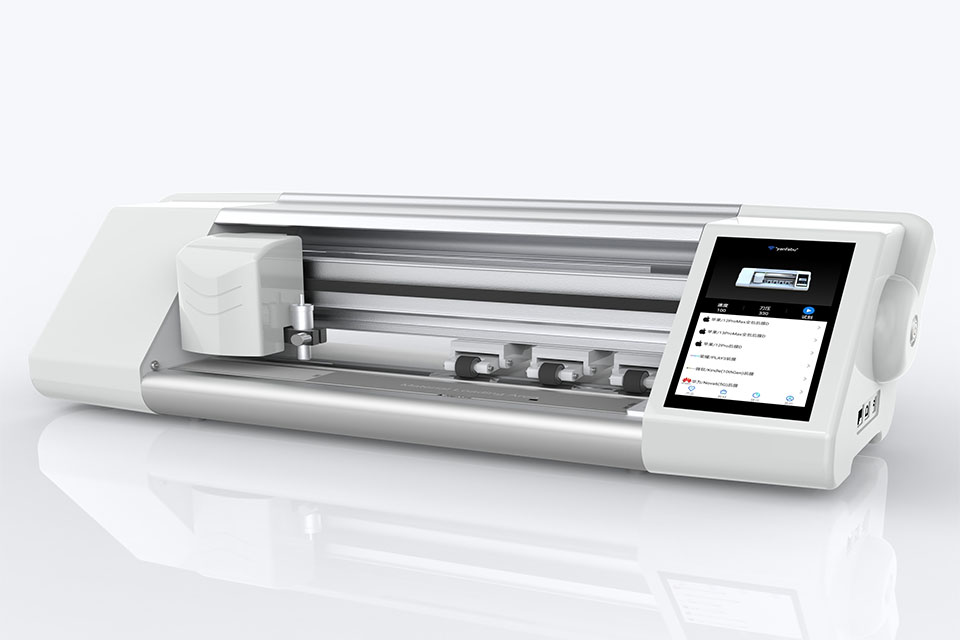
스크린 가드 절단기로 디바이스 보호 혁신
스마트폰, 태블릿, 스마트워치 등 다양한 기기를 사용할 수 있는 다목적 기기입니다. 기기의 크기에 맞춰 매끄럽게 조정되어 일반 보호기는 따라잡을 수 없는 맞춤형 핏을 제공합니다.
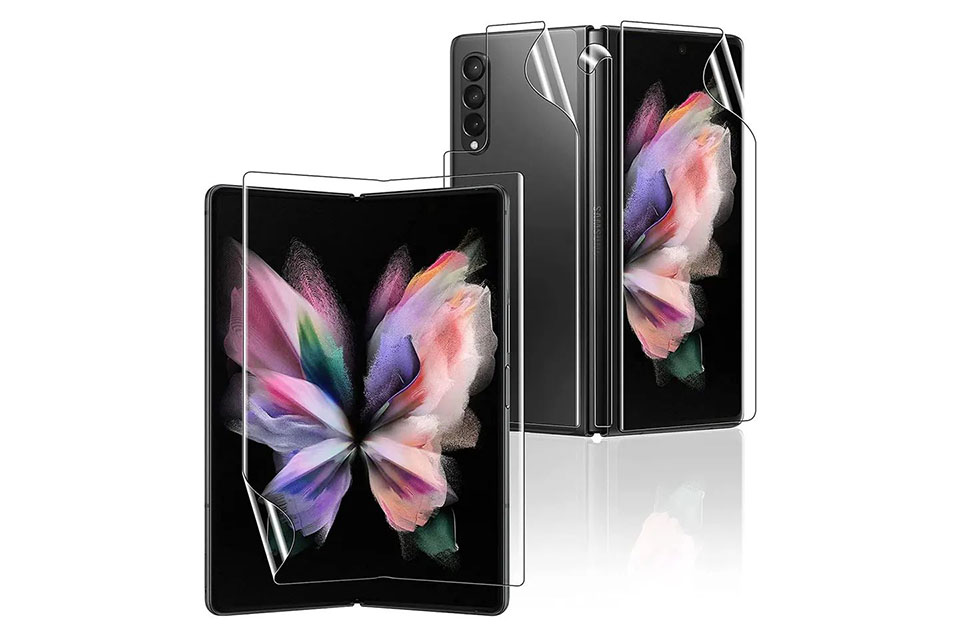
화면 보호기 평생 보증
화면 보호기 평생 보증은 제조업체에서 제공하는 보증입니다.
는 특정 이용 약관에 따라 제품 수명 기간 동안 화면 보호기를 수리 또는 교체할 것을 약속합니다.

