Jak nałożyć folię ochronną na ekran?
Spis treści
Podsumowanie
- Dokładnie wyczyść ekran before application.
- Align carefully to avoid misplacement.
- Press gently from the center to the edges to prevent bubbles.
- Maintain regularly to ensure longevity.
What is a Screen Protector and Why Do You Need One?
Screen protectors are thin layers of material that adhere to your smartphone’s screen to protect it from scratches, cracks, and other damage. They are essential for maintaining the longevity and resale value of your device. With the increasing cost of smartphones, a screen protector is a small investment that can save you from expensive repairs.Types of Screen Protectors: Glass vs. Film
Screen protectors come in two main types: tempered glass and film. Tempered glass screen protectors are thicker and offer better protection against impacts. They feel similar to the original screen and are more durable. On the other hand, film screen protectors are thinner and more flexible, making them easier to apply but less protective against drops.Preparing Your Smartphone for Screen Protector Installation
Before you begin, ensure your smartphone is turned off and placed on a clean, flat surface. Gather the necessary tools: a microfiber cloth, alcohol wipes, and dust removal stickers. Cleaning your phone screen thoroughly is crucial to prevent dust and debris from causing bubbles.
Step-by-Step Guide to Installing a Tempered Glass Screen Protector
- Czyszczenie ekranu: Use an alcohol wipe to remove fingerprints and oils, then dry with a microfiber cloth.
- Wyrównaj ochraniacz: Without removing the adhesive backing, align the screen protector with your phone’s screen to ensure a perfect fit.
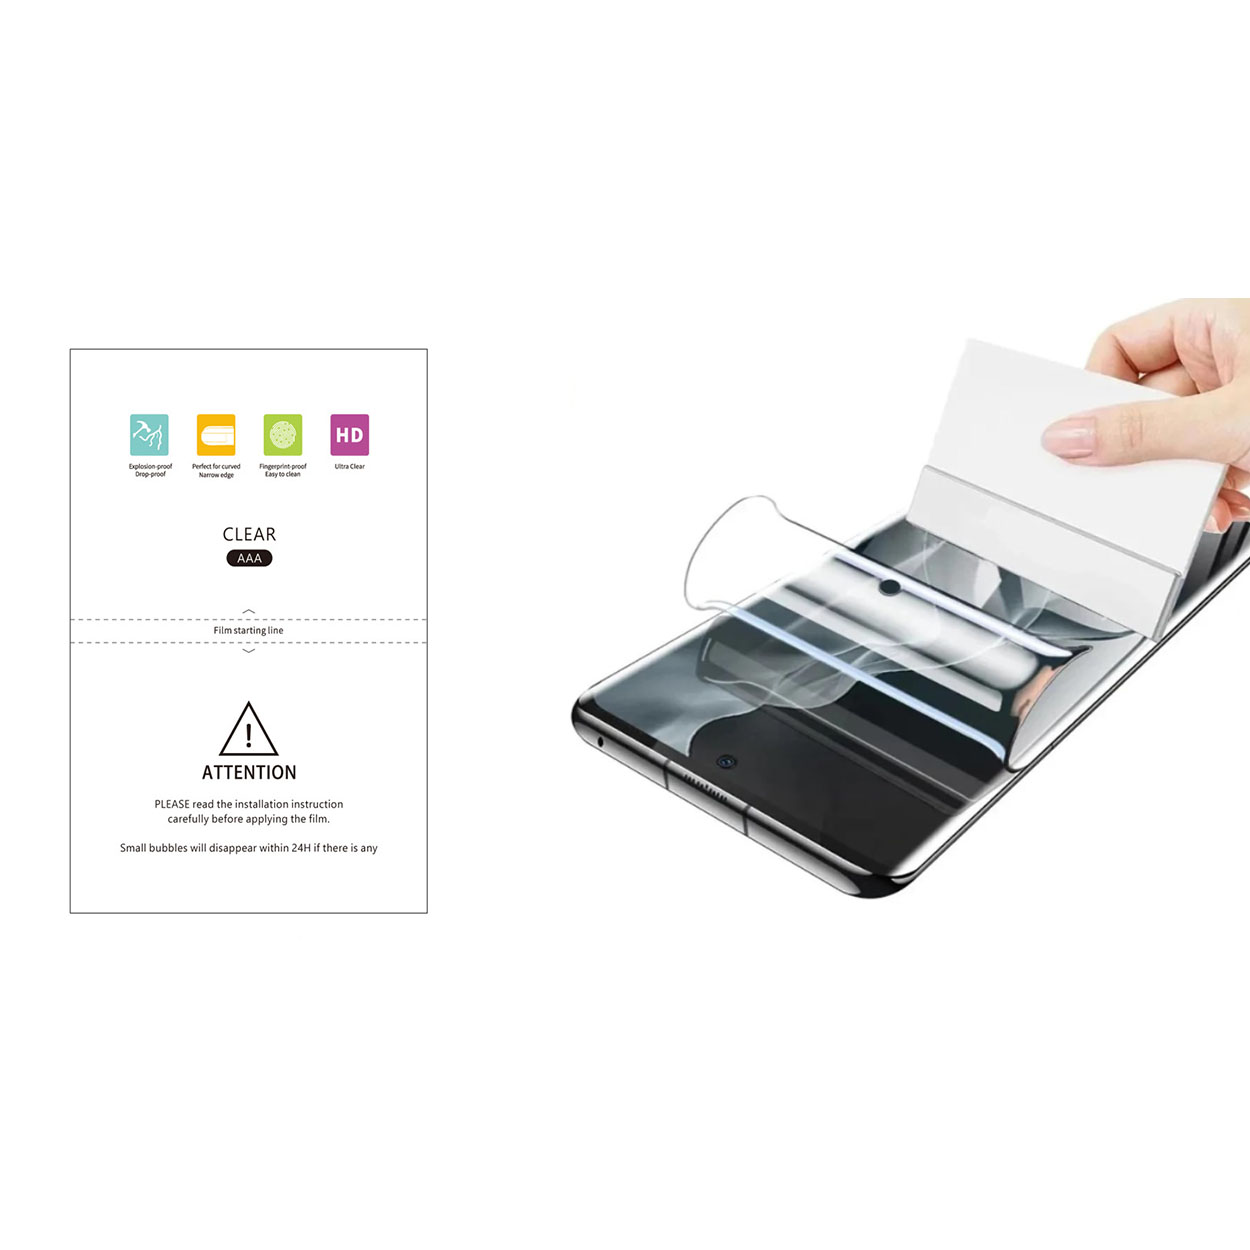
- Zastosuj Protector: Peel off the backing and carefully place the protector on the screen, starting from one edge and slowly lowering it to avoid trapping air.
How to Avoid Bubbles When Applying a Screen Protector
To avoid bubbles, ensure the screen is completely clean and free of dust. Use the dust removal stickers to pick up any remaining particles. When applying the protector, press gently from the center outwards to push air towards the edges.
Typowe błędy, których należy unikać podczas instalacji
- Rushing the Process: Take your time to align the protector correctly.
- Ignoring Dust: Even a tiny speck can cause a bubble.
- Applying Uneven Pressure: This can lead to cracks or misalignment.
How to Remove Bubbles from a Screen Protector
If bubbles appear, use a credit card wrapped in a microfiber cloth to gently push them towards the edges. For stubborn bubbles, lift the protector slightly and reapply, ensuring no dust gets underneath.Maintaining Your Screen Protector for Longevity
To keep your screen protector in top condition, clean it regularly with a microfiber cloth. Avoid using harsh chemicals that can degrade the adhesive. If the protector becomes chipped or cracked, replace it promptly to ensure continued protection.Troubleshooting: What to Do if Your Screen Protector Doesn’t Stick
If your screen protector isn’t sticking, check for dust or oils on the screen. Re-clean the surface and try reapplying. If the adhesive has worn out, it may be time for a new protector.
FAQs About Screen Protector Installation
- Can I reuse a screen protector? Generally, no. Once removed, the adhesive loses its effectiveness.
- How often should I replace my screen protector? Replace it if it becomes damaged or every 6-12 months for optimal protection.
Komentarze
Tagi
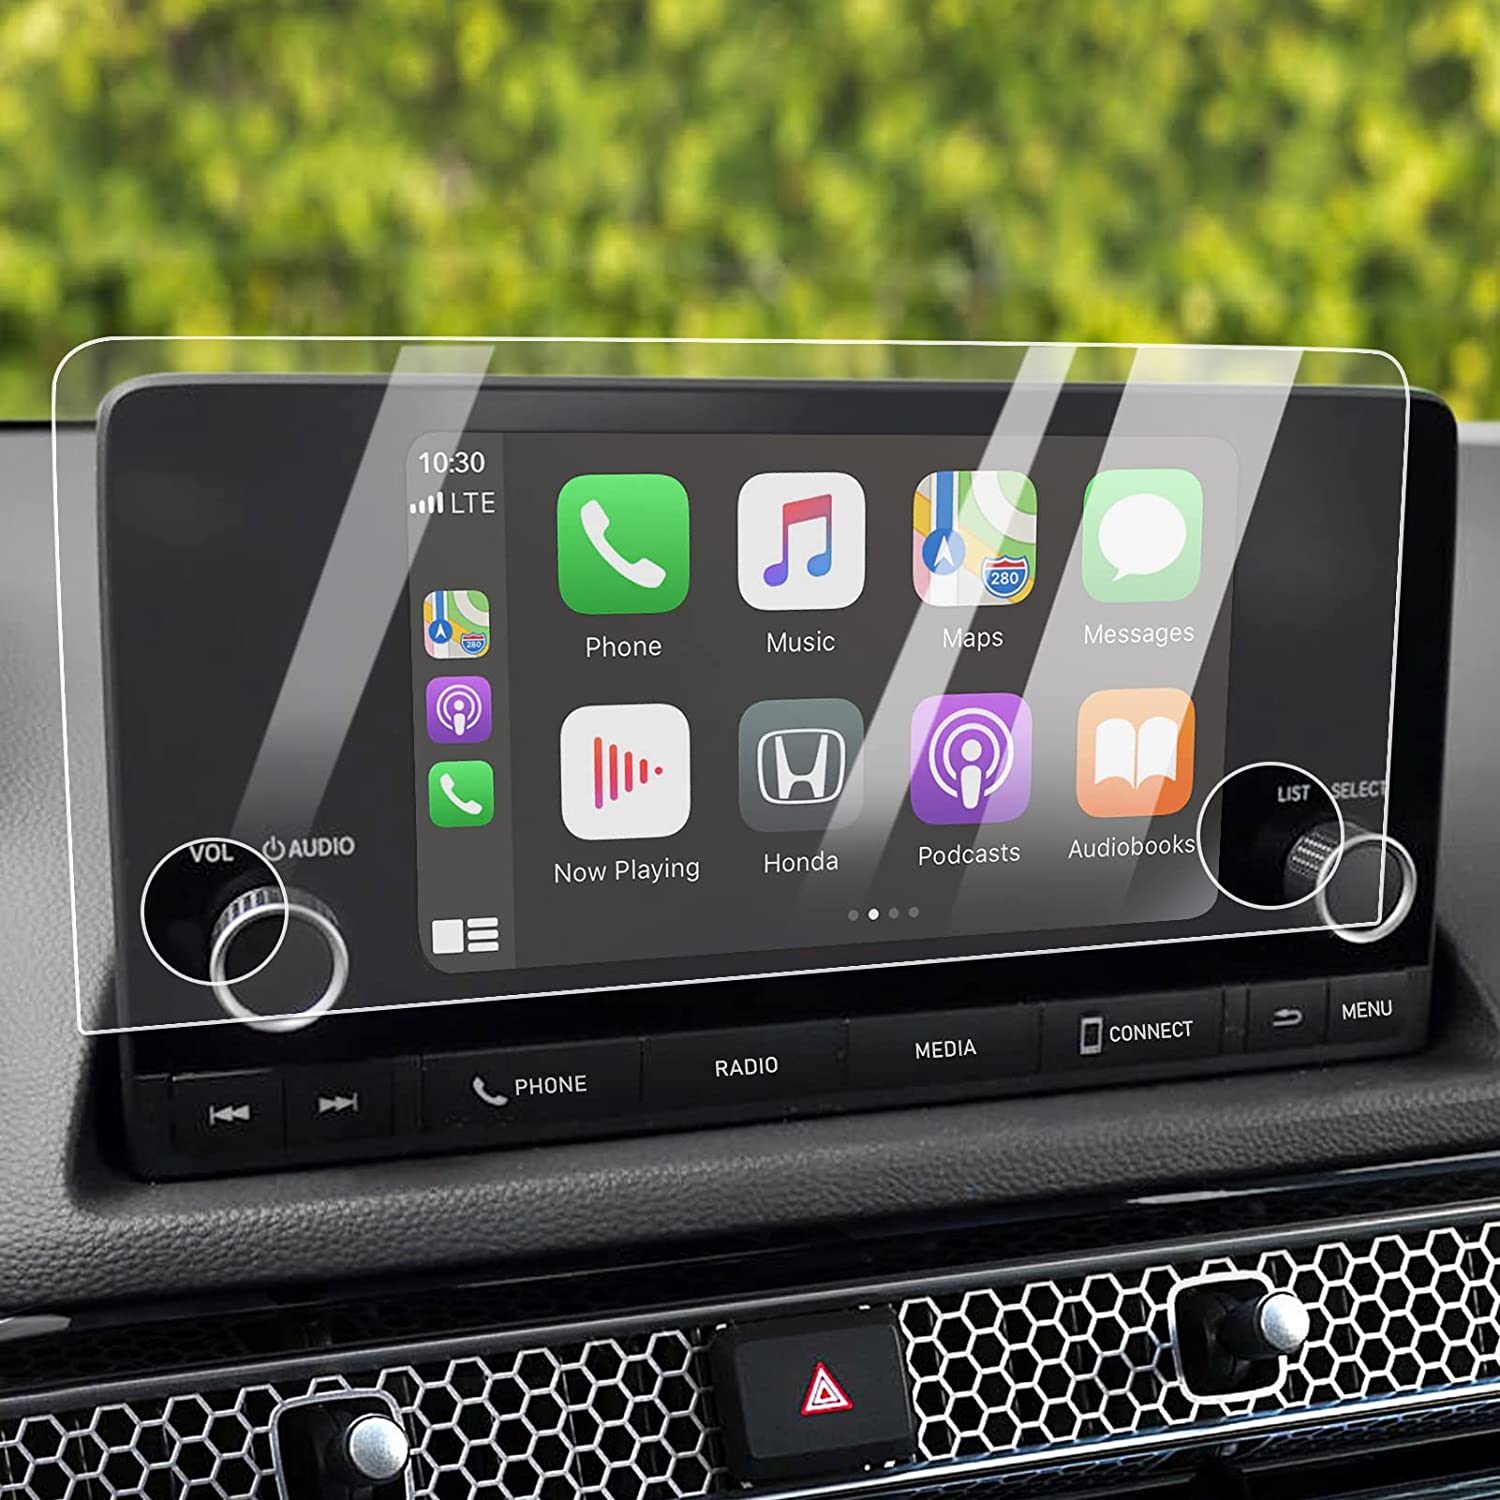
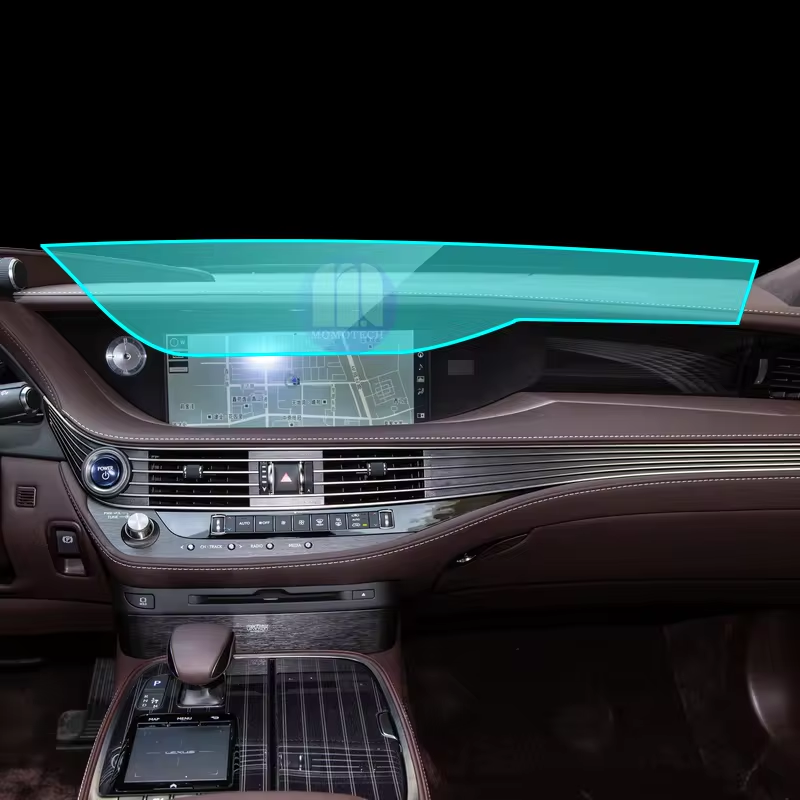
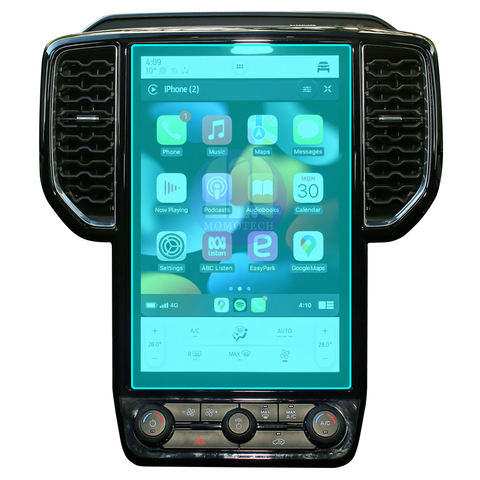
HD Car Touch Screen Tempered Glass
As a leading manufacturer of phone accessories, we understand the importance of protecting your valuable electronics. Now, we’re bringing our expertise to the automotive world with our premium HD Car Tempered Glass Screen Protectors.

Kompletny przewodnik po ekranowych foliach hydrożelowych - wszystko, co musisz wiedzieć
Kompletny przewodnik po foliach hydrożelowych na ekran: Wszystko, co musisz wiedzieć Folie hydrożelowe na ekran to innowacyjna kategoria ochraniaczy ekranu zaprojektowanych w celu ochrony ekranów urządzeń elektronicznych, oferując jednocześnie unikalny zestaw właściwości, które odróżniają je od tradycyjnych alternatyw ze szkła hartowanego i plastiku.
Buick Envision 2024 GPS Navigation Tempered Glass
Our Buick Envision 2024 Navigation Protector offers superior protection for your new SUV’s display.
How to Use Guide Stickers for Screen Protector?
By following this guide, you can confidently install a tempered glass screen protector like a pro. Protect your phone and enjoy a flawless screen every time!
Ile kosztuje naprawa ekranu telefonu?
Dzięki temu przewodnikowi będziesz mógł pewnie poruszać się po świecie napraw ekranów telefonów i podejmować świadome decyzje dostosowane do Twoich potrzeb i budżetu.
Znajdź całą wiedzę i trendy z naszego bloga, uzyskaj hurtową cenę i najlepszą jakość z naszej fabryki.
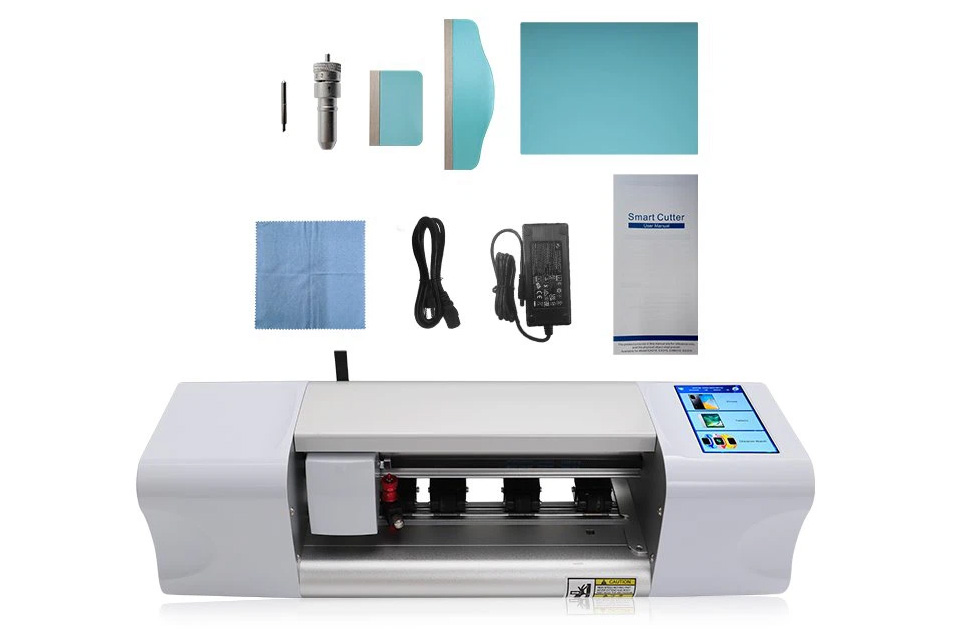
Jaka maszyna do cięcia folii i jej zastosowanie
Maszyny do cięcia folii odegrały kluczową rolę w ewolucji produkcji filmowej i różnych procesów przemysłowych, umożliwiając precyzyjne cięcie i łączenie materiałów filmowych.
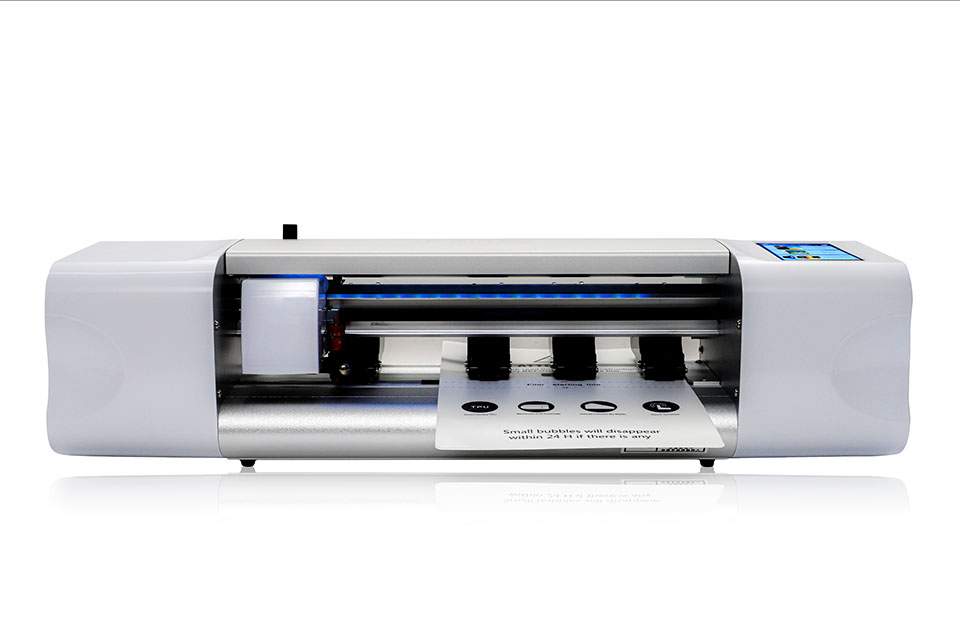
Co to jest maszyna do cięcia ochraniaczy ekranu?
Maszyna do cięcia ochraniaczy ekranu to specjalistyczne urządzenie zaprojektowane do produkcji niestandardowych ochraniaczy ekranu dla różnych urządzeń elektronicznych, w tym smartfonów, tabletów, smartwatchy, laptopów i monitorów.
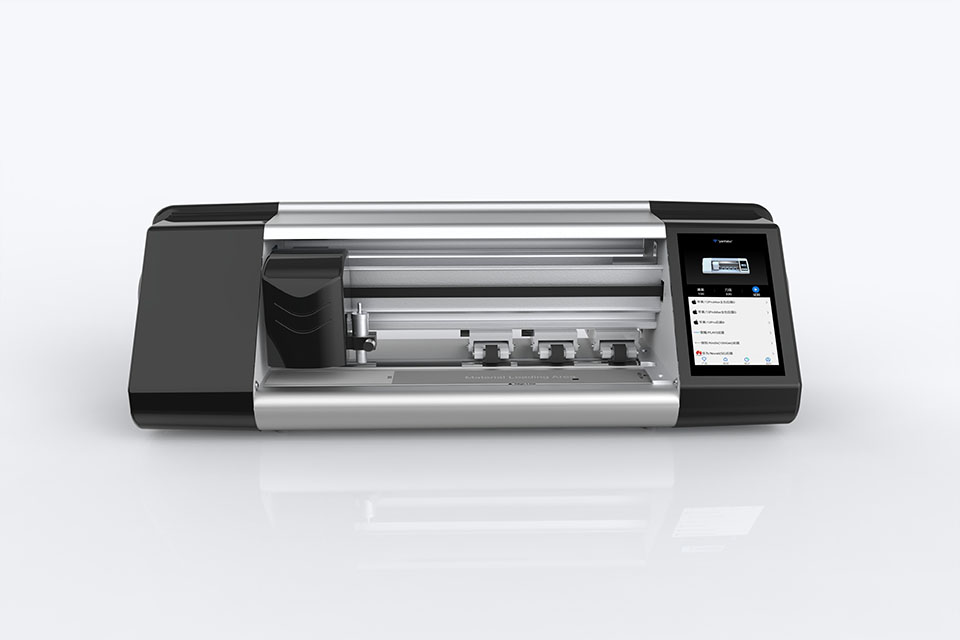
Jak działa maszyna do cięcia ochraniaczy ekranu telefonu komórkowego?
Maszyna do cięcia ochraniaczy ekranu telefonu komórkowego jest zaawansowanym urządzeniem zaprojektowanym
do produkcji niestandardowych ochraniaczy ekranu dla różnych urządzeń cyfrowych z wysoką ceną
i wydajność.
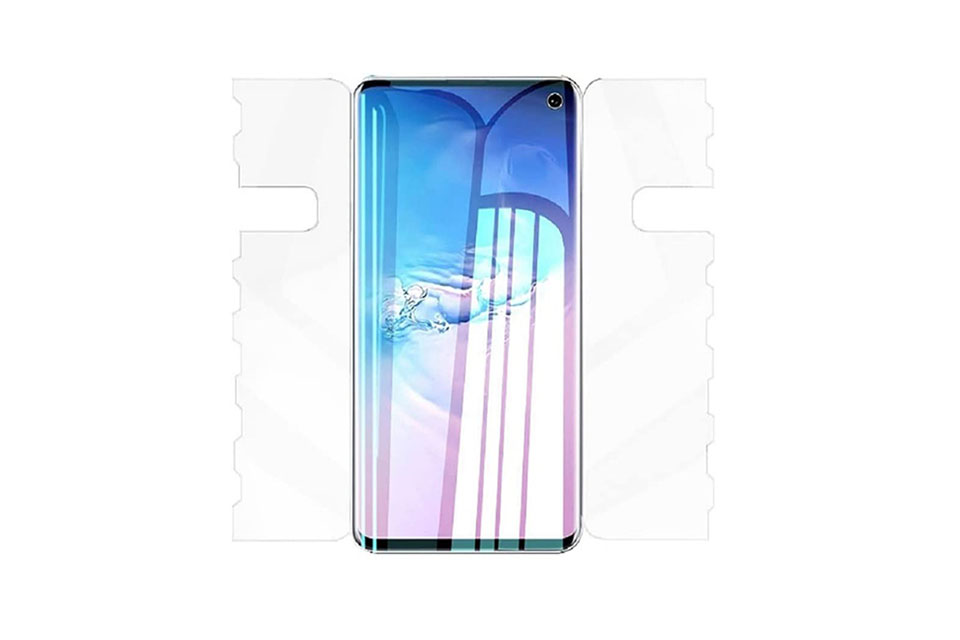
Charakterystyka szkła hartowanego na telefon komórkowy i ochraniacza ekranu TPU na telefon komórkowy
Ochraniacze ekranu z termoplastycznego poliuretanu (TPU) są elastyczne, trwałe i wytrzymałe.
samoregenerujące się folie z tworzyw sztucznych przeznaczone do ochrony ekranów urządzeń elektronicznych przed
zadrapania, uderzenia i inne potencjalne uszkodzenia.
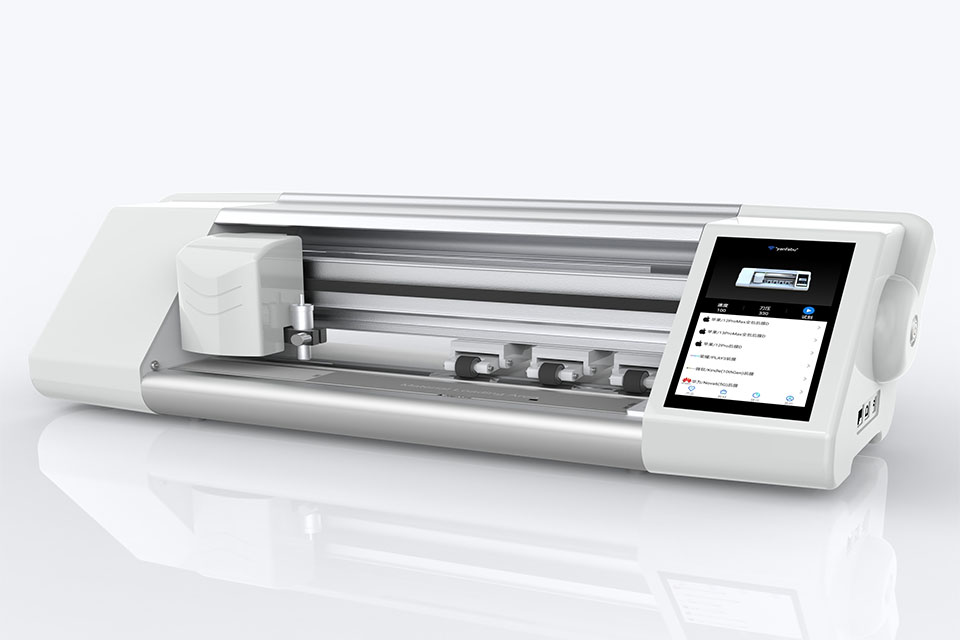
Rewolucja w ochronie urządzeń dzięki maszynie do cięcia osłon ekranu
Niezależnie od tego, czy posiadasz smartfon, tablet czy smartwatch, to wszechstronne urządzenie obsługuje szeroką gamę urządzeń. Płynnie dostosowuje się do wymiarów gadżetu, oferując niestandardowe dopasowanie, którego nie można dopasować do ogólnych ochraniaczy.
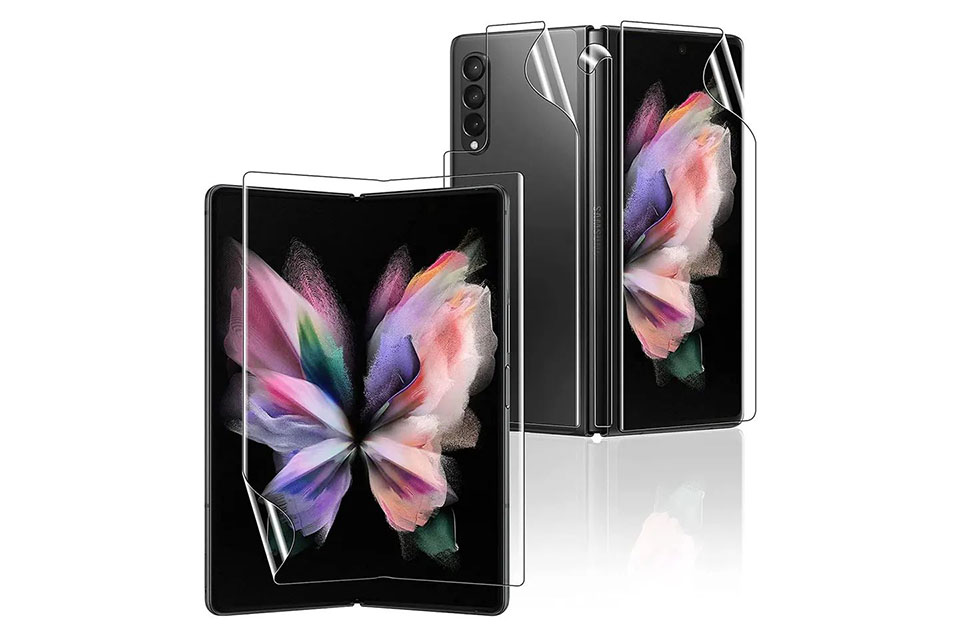
Dożywotnia gwarancja na osłonę ekranu
Dożywotnia gwarancja na ochraniacz ekranu to gwarancja udzielana przez producentów, która
obiecuje naprawę lub wymianę osłony ekranu przez cały okres użytkowania produktu, na określonych warunkach.

