

1. What Are Guide Stickers for Screen Protector Installation?
Guide stickers are small adhesive tabs that come with most tempered glass screen protector kits. They help align the protector on your phone screen before you commit to sticking it down. These stickers act as a “hinge,” holding the glass in place while allowing you to make final adjustments.Features of Guide Stickers
- Typically included with premium screen protector kits.
- Made from non-damaging adhesive that won’t leave residue on your phone.
- Designed to simplify the alignment process.
Did you know? Guide stickers are especially useful for larger devices like tablets, where precise alignment is even more challenging.
2. Why Are Guide Stickers Essential for a Perfect Application?
Anvendelse af en Skærmbeskyttelse af hærdet glas manually can lead to problems like:- Misalignment
- Air bubbles
- Dust getting trapped under the glass
Benefits of Using Guide Stickers
- Precision: Ensures perfect alignment with the edges of your phone.
- Convenience: Simplifies the process, even for beginners.
- Protection: Reduces the chance of dust contamination during application.

3. Step-by-Step Guide: How to Use the Guide Stickers for Screen Protector Installation
Follow these steps for a flawless screen protector installation using guide stickers:Trin 1: Gør din arbejdsplads klar
- Choose a clean, dust-free area. A well-lit room is best.
- Wash your hands to avoid transferring oils or dirt to the protector.
Step 2: Clean Your Screen
- Use the provided cleaning kit (usually includes an alcohol wipe and microfiber cloth) to remove fingerprints and dust.
- Use the dust removal sticker to pick up any remaining particles.
Step 3: Position the Guide Stickers
- Peel off the guide stickers and attach them to one end of the tempered glass screen protector.
- Align the protector with your phone screen while holding the guide stickers.
Step 4: Use the Stickers as Hinges
- Once aligned, press the guide stickers onto the back of your phone. They’ll act as hinges, holding the glass in the correct position.
Step 5: Remove the Backing Film
- Lift the glass protector using the guide stickers as a hinge.
- Peel off the backing film from the adhesive side of the glass.
Step 6: Apply the Protector
- Slowly lower the glass onto the phone screen. The adhesive will begin to bond automatically.
- Gently press from the center outward to eliminate bubbles.
Step 7: Final Adjustments
- Remove the guide stickers carefully.
- Check for bubbles or dust, and use the provided tools to fix any issues.
Pro Tip: Using a credit card wrapped in a microfiber cloth can help push out stubborn bubbles.
4. Common Mistakes to Avoid When Installing a Tempered Glass Screen Protector
Even with guide stickers, mistakes can happen. Avoid these common pitfalls:Mistake 1: Skipping the Cleaning Step
Dust or fingerprints will create bubbles under the protector. Always clean the screen thoroughly.Mistake 2: Misaligning the Protector
Take your time during the alignment step. Use the guide stickers as a reference.Mistake 3: Applying Too Much Force
Pressing too hard can crack the glass or create air bubbles. Be gentle and patient.Remember: A rushed installation often leads to a poor finish. Take your time!
5. What to Do If Bubbles or Dust Appear Under the Screen Protector?
Nobody likes dealing with air bubbles or dust under their screen protector. Here’s how to fix these issues:For Bubbles:
- Use a plastic card wrapped in a soft cloth to push bubbles toward the edges.
- For small, stubborn bubbles, apply light heat using a hairdryer to soften the adhesive.
For Dust:
- Carefully lift the edge of the screen protector using a piece of tape.
- Use a dust removal sticker to pick up the particle.
- Reapply the protector.
Quote: “Patience is key when installing a screen protector. A little extra effort goes a long way.”
6. Can You Reinstall a Screen Protector If It’s Misaligned?
Yes, but only if you act quickly. Most Skærmbeskyttelse af hærdet glas can be carefully removed and repositioned during the first few minutes of installation. Use the guide stickers to realign the protector, then press it back down.Warning: Repeated repositioning can weaken the adhesive and reduce the protector’s effectiveness.
7. Tips for Installing a Glass Screen Protector on Different Devices
Smartphones:
- Use guide stickers for precise alignment.
- Pay extra attention to curved screens, as they can be trickier to cover.
Tablets:
- Work slowly, as larger screens are more prone to bubbles.
- Consider enlisting a second person to help with alignment.
Smartwatches:
- Use a smaller version of the guide sticker method for these tiny screens.
- Ensure the protector is compatible with curved surfaces, if applicable.

8. The Role of Cleaning Kits in Screen Protector Installation
A clean screen is the foundation of a flawless protector installation. Most kits include:- Alcohol wipes to remove oils and dirt.
- Microfiber cloths to polish the screen.
- Klistermærker til fjernelse af støv to pick up tiny particles.
9. How to Care for Your Screen Protector After Installation?
Once your Skærmbeskyttelse af hærdet glas is installed, take these steps to keep it in top condition:- Avoid using abrasive cleaning solutions. Stick to a microfiber cloth and water.
- Check periodically for dust buildup along the edges and clean as needed.
- Replace the protector if it cracks or chips.
10. FAQs About Using Guide Stickers for Tempered Glass Screen Protectors
Q1: Are guide stickers reusable?
No, guide stickers are designed for single use. Reusing them may reduce their adhesive strength.Q2: Can I install a screen protector without guide stickers?
Yes, but it’s more challenging. Guide stickers simplify the process and improve accuracy.Q3: How long does it take to install a screen protector?
With guide stickers, the process typically takes 5–10 minutes.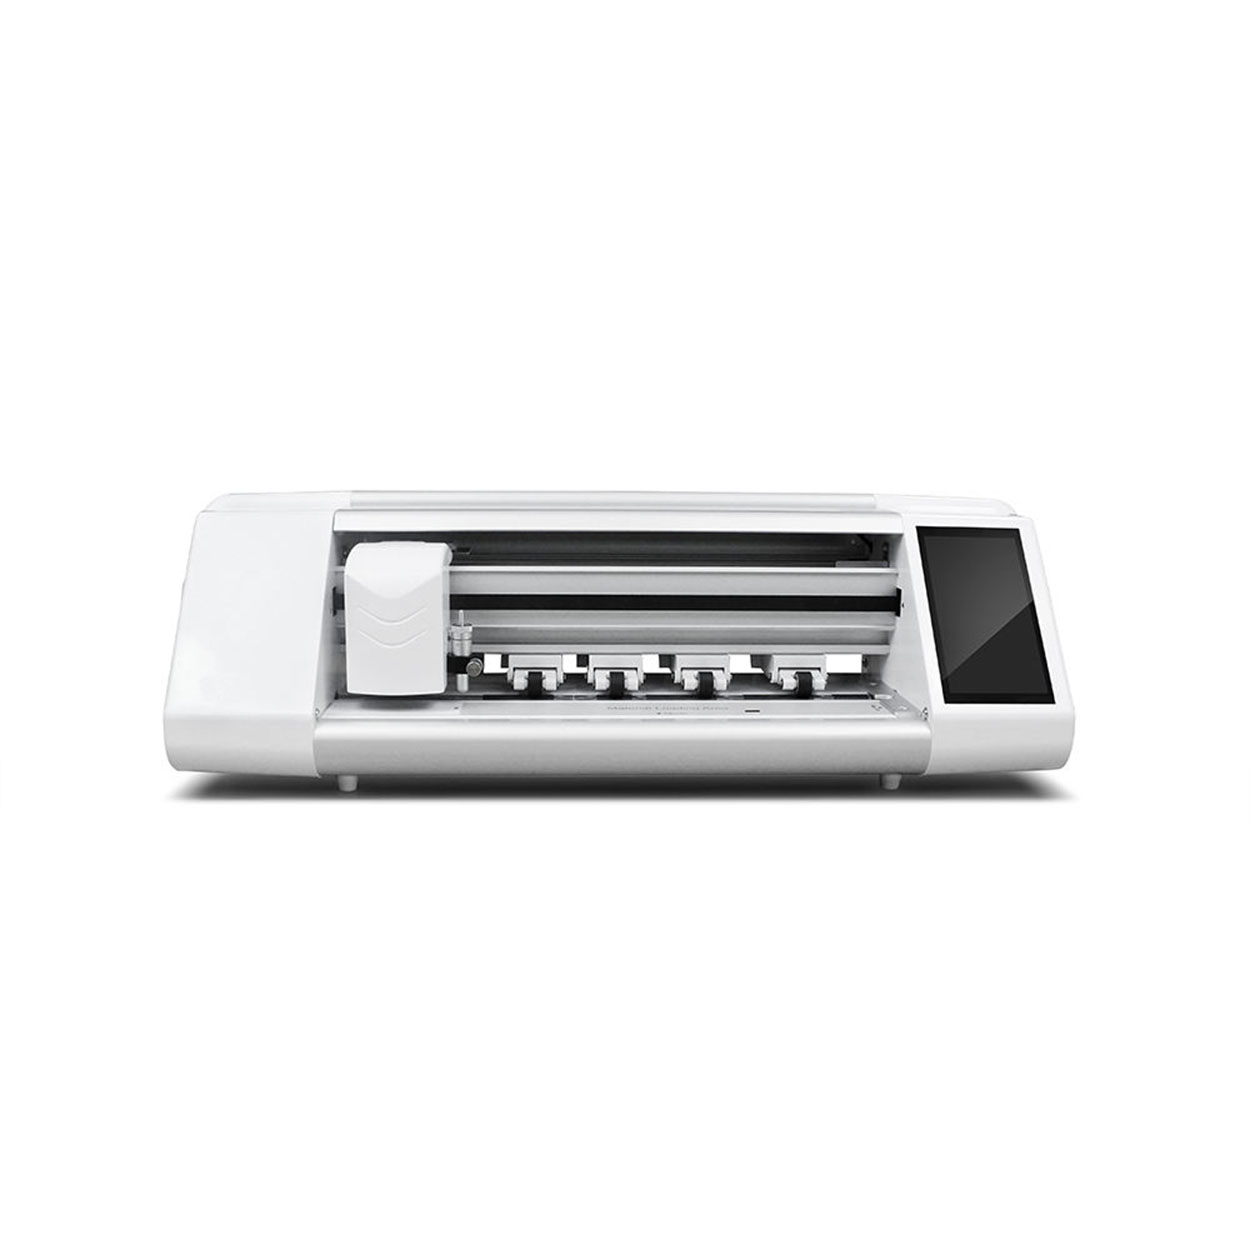
How to Get Out Air Bubbles in a Screen Protector?
By following these guidelines, you can ensure a smooth, bubble-free screen protector application, keeping your device safe and looking great.

Is Silicone Screen Protector Good?
By understanding these factors, you can make an informed decision and ensure your smartphone screen remains protected and pristine.

How to Remove Screen Protector on iPad?
By following these tips, you can safely and easily remove your iPad’s screen protector, ensuring your device stays in excellent condition.
Sådan fjerner du en skærmbeskytter af hærdet glas: En trin-for-trin-guide
Kæmper du med en revnet eller boblet skærmbeskytter af hærdet glas? Så er der ingen grund til bekymring! Denne omfattende guide fører dig gennem processen med at fjerne din gamle skærmbeskyttelse på en sikker måde og gøre din enhed klar til en ny start. Uanset om du har at gøre med en smartphone, tablet eller en anden gadget, så har vi styr på det. Læs videre for at finde eksperttips, almindelige faldgruber, der skal undgås, og alt, hvad du behøver at vide om at fjerne og udskifte din skærmbeskytter af hærdet glas.

Virker en skærmbeskytter godt?
Skærmbeskyttere tilbyder værdifuld beskyttelse til din smartphone, der hjælper med at forhindre ridser, revner og andre skader.
Hvilken filmskæremaskine og dens anvendelse
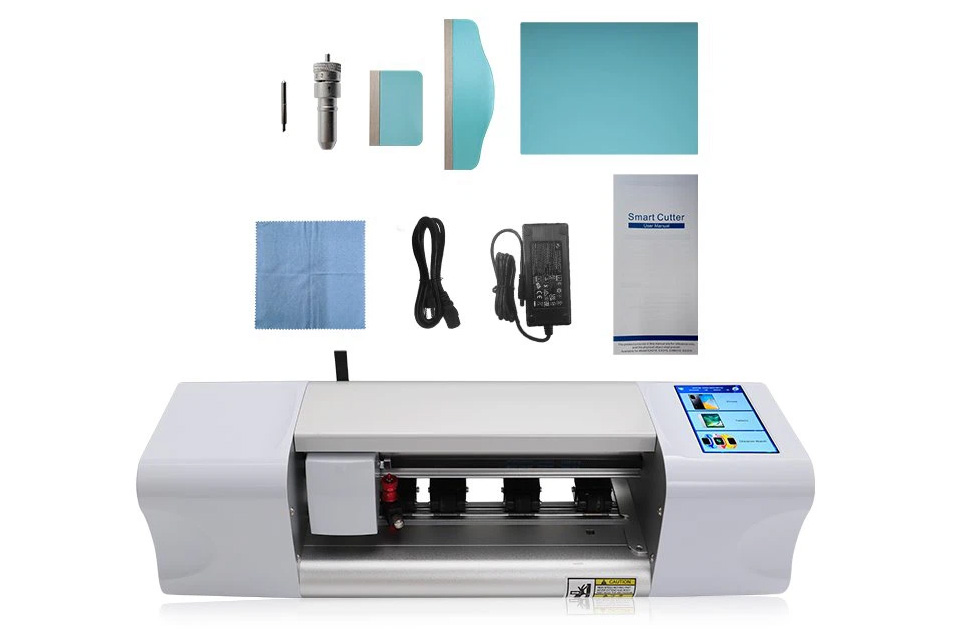
Filmskæremaskiner har spillet en afgørende rolle i udviklingen af filmproduktion og forskellige industrielle processer ved at muliggøre præcis skæring og splejsning af filmmaterialer.
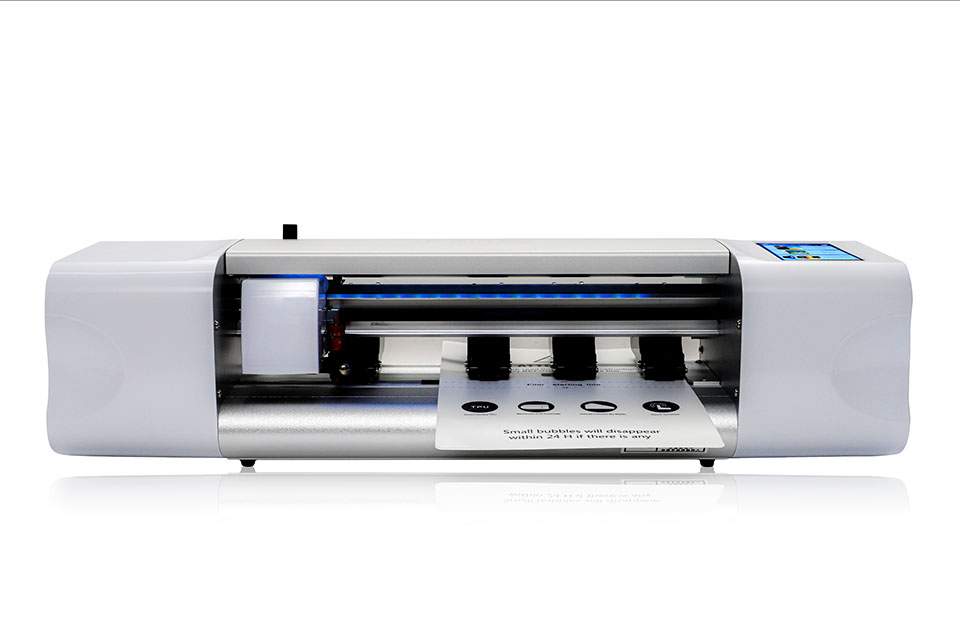
Hvad er en skæremaskine til skærmbeskyttelse?
En skæremaskine til skærmbeskyttelse er en specialiseret enhed, der er designet til at producere skræddersyede skærmbeskyttere til forskellige elektroniske enheder, herunder smartphones, tablets, smartwatches, bærbare computere og skærme.
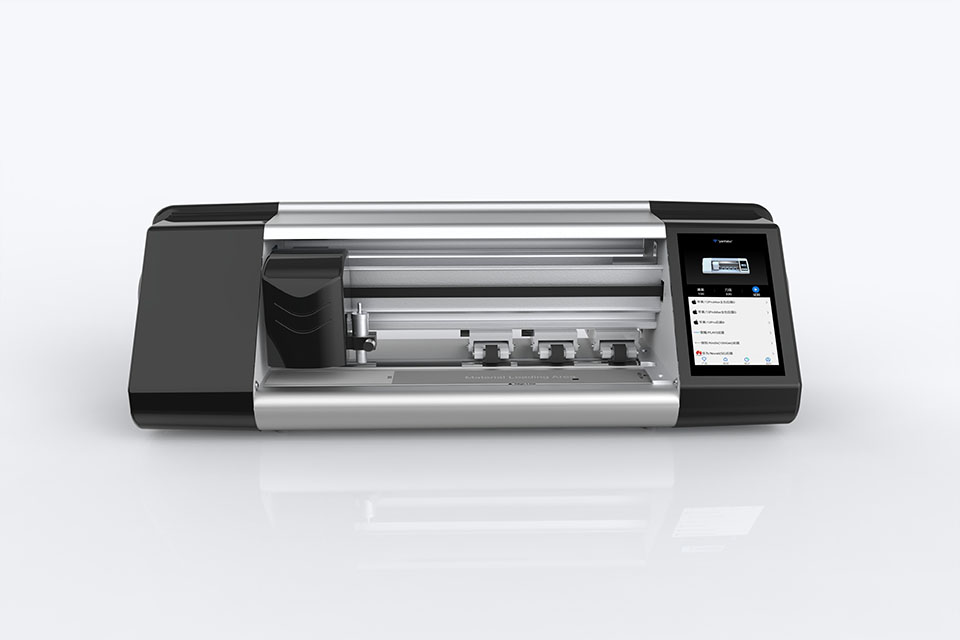
Hvordan skæremaskine til skærmbeskyttelse af mobiltelefoner fungerer?
En maskine til at skære skærmbeskyttelse til mobiltelefoner er en sofistikeret enhed designet
at producere skræddersyede skærmbeskyttere til forskellige digitale enheder med høj præci
sion og effektivitet.
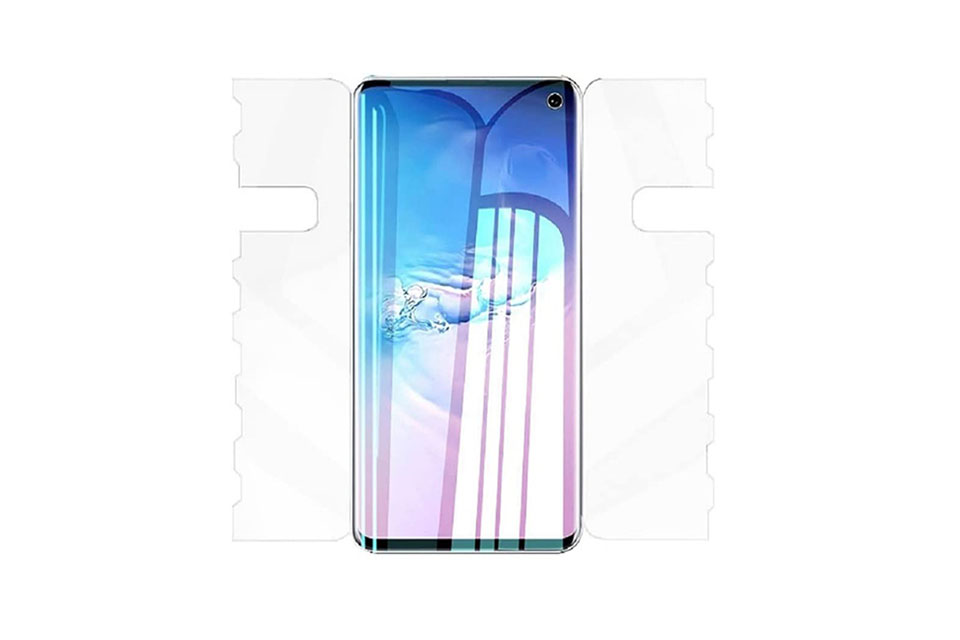
Karakteristika for hærdet glas til mobiltelefoner og TPU-skærmbeskyttelse til mobiltelefoner
Skærmbeskyttere af termoplastisk polyuretan (TPU) er fleksible, holdbare og
selvhelende plastfilm designet til at beskytte elektroniske enheders skærme mod
ridser, slag og andre potentielle skader.
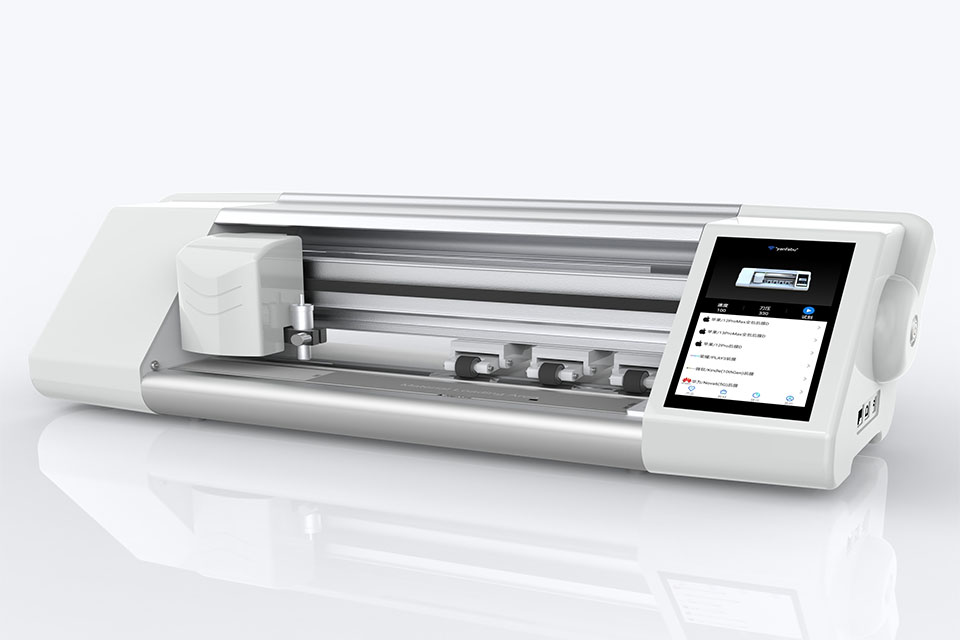
Revolutioner beskyttelsen af enheder med en skæremaskine
Uanset om du har en smartphone, en tablet eller et smartwatch, kan denne alsidige maskine rumme en lang række enheder. Den tilpasser sig problemfrit til dimensionerne på din gadget og giver en tilpasset pasform, som generiske beskyttere ikke kan matche.
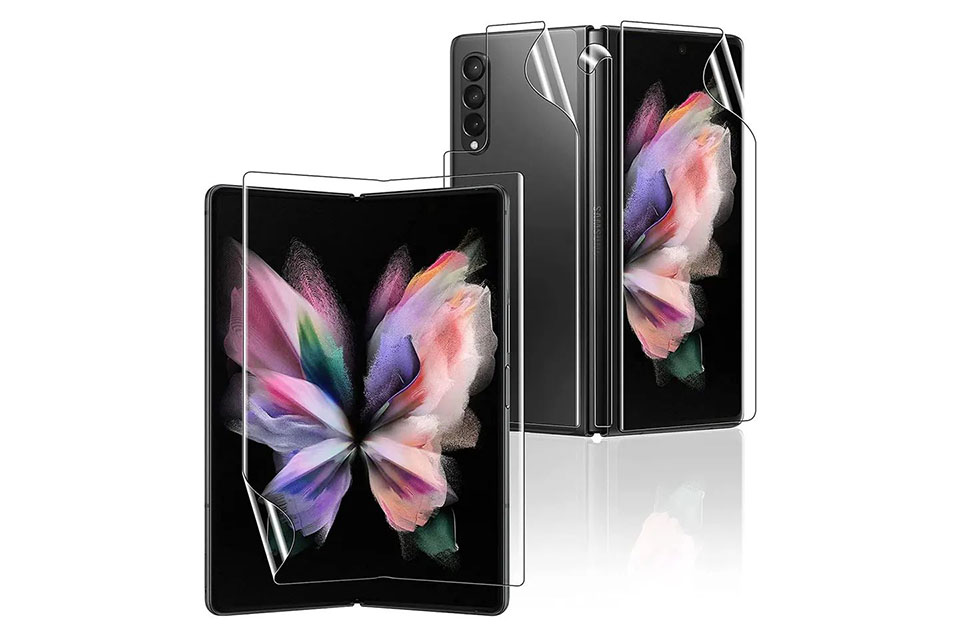
Livstidsgaranti på skærmbeskyttelse
En livstidsgaranti på skærmbeskyttelse er en garanti fra producenterne, der
lover at reparere eller udskifte en skærmbeskytter i hele produktets levetid på særlige vilkår.