
1. What Are Guide Stickers for Screen Protector Installation?
Guide stickers are small adhesive tabs that come with most tempered glass screen protector kits. They help align the protector on your phone screen before you commit to sticking it down. These stickers act as a “hinge,” holding the glass in place while allowing you to make final adjustments.Features of Guide Stickers
- Typically included with premium screen protector kits.
- Made from non-damaging adhesive that won’t leave residue on your phone.
- Designed to simplify the alignment process.
Did you know? Guide stickers are especially useful for larger devices like tablets, where precise alignment is even more challenging.
2. Why Are Guide Stickers Essential for a Perfect Application?
を適用する。 強化ガラス製スクリーンプロテクター manually can lead to problems like:- ずれ
- Air bubbles
- Dust getting trapped under the glass
Benefits of Using Guide Stickers
- Precision: Ensures perfect alignment with the edges of your phone.
- Convenience: Simplifies the process, even for beginners.
- Protection: Reduces the chance of dust contamination during application.

3. Step-by-Step Guide: How to Use the Guide Stickers for Screen Protector Installation
Follow these steps for a flawless screen protector installation using guide stickers:ステップ1:ワークスペースの準備
- Choose a clean, dust-free area. A well-lit room is best.
- Wash your hands to avoid transferring oils or dirt to the protector.
Step 2: Clean Your Screen
- Use the provided cleaning kit (usually includes an alcohol wipe and microfiber cloth) to remove fingerprints and dust.
- Use the dust removal sticker to pick up any remaining particles.
Step 3: Position the Guide Stickers
- Peel off the guide stickers and attach them to one end of the tempered glass screen protector.
- Align the protector with your phone screen while holding the guide stickers.
Step 4: Use the Stickers as Hinges
- Once aligned, press the guide stickers onto the back of your phone. They’ll act as hinges, holding the glass in the correct position.
Step 5: Remove the Backing Film
- Lift the glass protector using the guide stickers as a hinge.
- Peel off the backing film from the adhesive side of the glass.
Step 6: Apply the Protector
- Slowly lower the glass onto the phone screen. The adhesive will begin to bond automatically.
- Gently press from the center outward to eliminate bubbles.
Step 7: Final Adjustments
- Remove the guide stickers carefully.
- Check for bubbles or dust, and use the provided tools to fix any issues.
プロのヒント: Using a credit card wrapped in a microfiber cloth can help push out stubborn bubbles.
4. Common Mistakes to Avoid When Installing a Tempered Glass Screen Protector
Even with guide stickers, mistakes can happen. Avoid these common pitfalls:Mistake 1: Skipping the Cleaning Step
Dust or fingerprints will create bubbles under the protector. Always clean the screen thoroughly.Mistake 2: Misaligning the Protector
Take your time during the alignment step. Use the guide stickers as a reference.Mistake 3: Applying Too Much Force
Pressing too hard can crack the glass or create air bubbles. Be gentle and patient.Remember: A rushed installation often leads to a poor finish. Take your time!
5. What to Do If Bubbles or Dust Appear Under the Screen Protector?
Nobody likes dealing with air bubbles or dust under their screen protector. Here’s how to fix these issues:For Bubbles:
- Use a plastic card wrapped in a soft cloth to push bubbles toward the edges.
- For small, stubborn bubbles, apply light heat using a hairdryer to soften the adhesive.
For Dust:
- Carefully lift the edge of the screen protector using a piece of tape.
- Use a dust removal sticker to pick up the particle.
- Reapply the protector.
Quote: “Patience is key when installing a screen protector. A little extra effort goes a long way.”
6. Can You Reinstall a Screen Protector If It’s Misaligned?
Yes, but only if you act quickly. Most 強化ガラス製スクリーンプロテクター can be carefully removed and repositioned during the first few minutes of installation. Use the guide stickers to realign the protector, then press it back down.Warning: Repeated repositioning can weaken the adhesive and reduce the protector’s effectiveness.
7. Tips for Installing a Glass Screen Protector on Different Devices
Smartphones:
- Use guide stickers for precise alignment.
- Pay extra attention to curved screens, as they can be trickier to cover.
Tablets:
- Work slowly, as larger screens are more prone to bubbles.
- Consider enlisting a second person to help with alignment.
Smartwatches:
- Use a smaller version of the guide sticker method for these tiny screens.
- Ensure the protector is compatible with curved surfaces, if applicable.
8. The Role of Cleaning Kits in Screen Protector Installation
A clean screen is the foundation of a flawless protector installation. Most kits include:- Alcohol wipes to remove oils and dirt.
- Microfiber cloths to polish the screen.
- ホコリ除去ステッカー to pick up tiny particles.
9. How to Care for Your Screen Protector After Installation?
Once your 強化ガラス製スクリーンプロテクター is installed, take these steps to keep it in top condition:- Avoid using abrasive cleaning solutions. Stick to a microfiber cloth and water.
- Check periodically for dust buildup along the edges and clean as needed.
- Replace the protector if it cracks or chips.
10. FAQs About Using Guide Stickers for Tempered Glass Screen Protectors
Q1: Are guide stickers reusable?
No, guide stickers are designed for single use. Reusing them may reduce their adhesive strength.Q2: Can I install a screen protector without guide stickers?
Yes, but it’s more challenging. Guide stickers simplify the process and improve accuracy.Q3: How long does it take to install a screen protector?
With guide stickers, the process typically takes 5–10 minutes.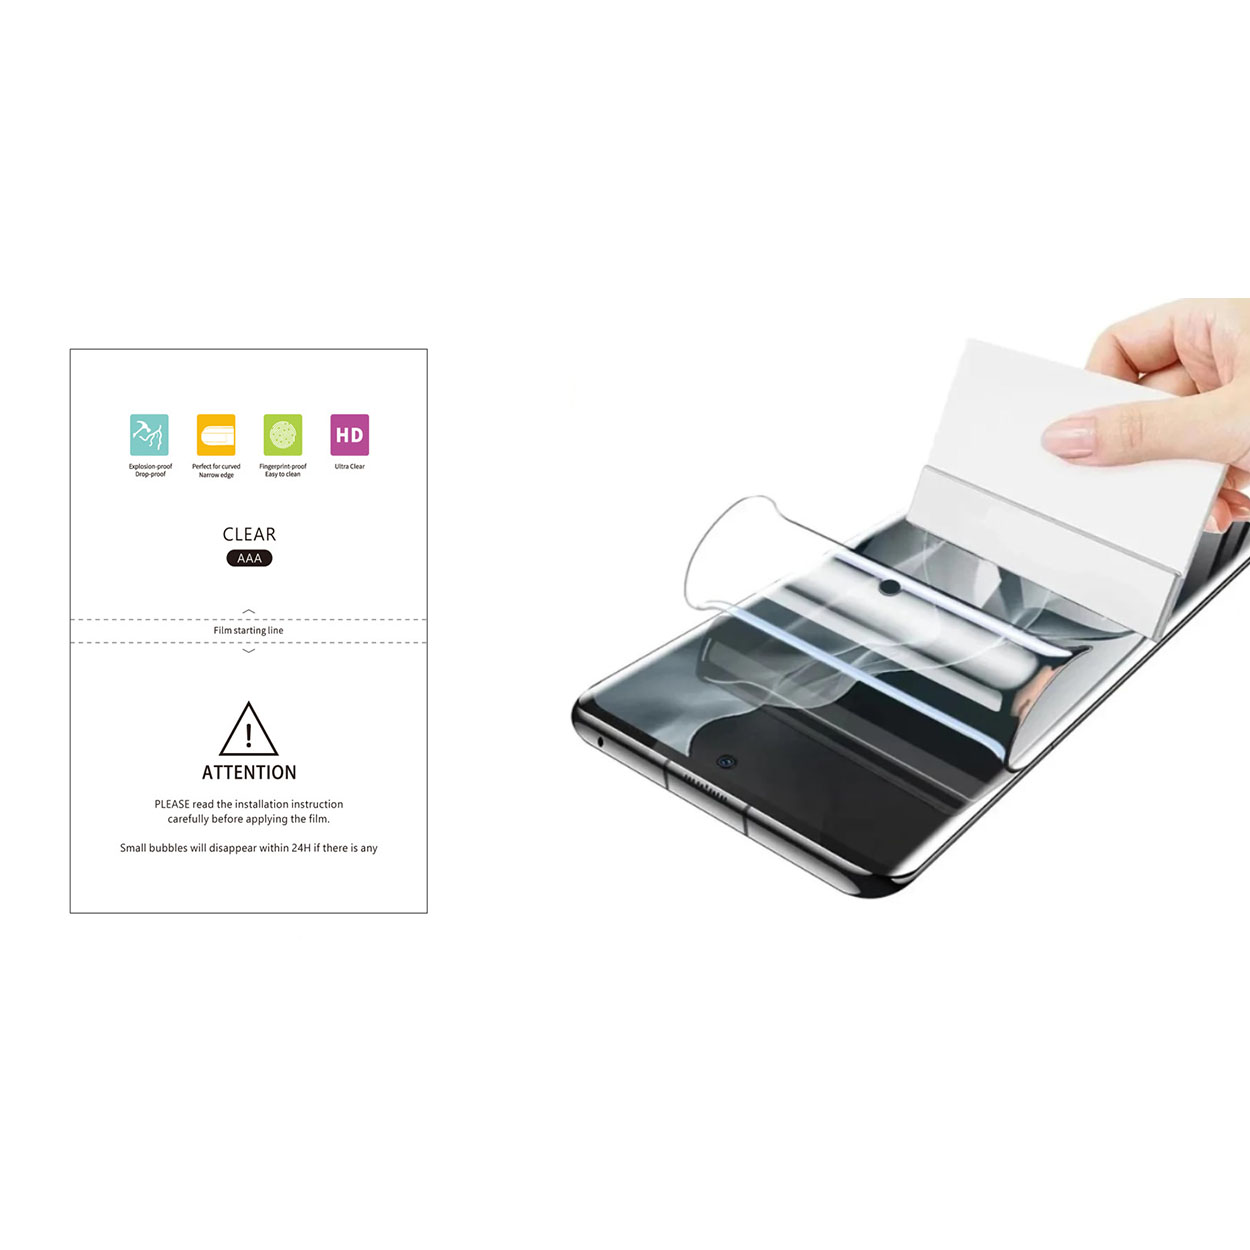

Wholesale Self Healing EPU Matte Screen Protector
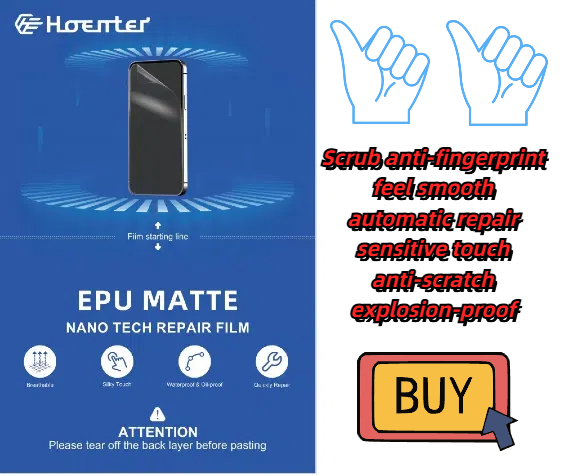
Looking for self healing screen protectors wholesale? Our EPU matte film offers unbeatable protection and clarity for your customers’ devices.
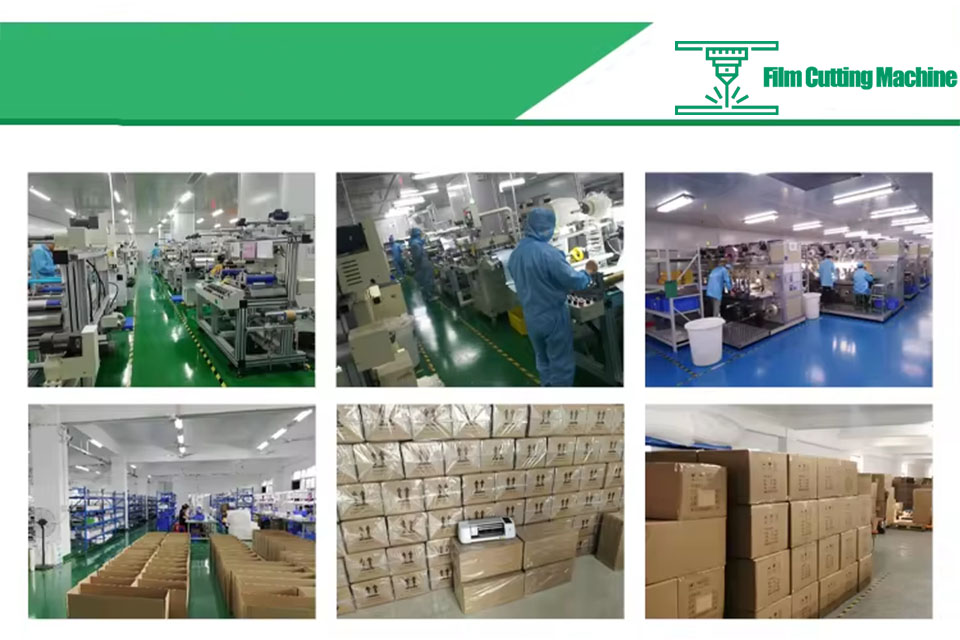
移動修理工場にインテリジェント・フィルム切断機が必要な理由
インテリジェントフィルムカッティングマシンの使用は、現代の移動修理工場においてますます重要なものとなっており、作業効率、精度、顧客満足度を大幅に向上させている。
スクリーンプロテクターから気泡を取り除く方法:専門家のヒントとトリック
貼ったばかりのスクリーンプロテクターの外観を台無しにする厄介な気泡にイライラしていませんか?あなただけではありません。多くのスマートフォンユーザーがこのよくある問題に頭を悩ませていますが、心配はいりません!この包括的なガイドでは、フィルムタイプでもガラスタイプでも、スクリーンプロテクターから気泡を効果的に取り除くさまざまな方法をご紹介します。予防方法からトラブルシューティングまで、気泡のない完璧な仕上がりをお約束します。
Is Hydrogel Good for Phones?
By understanding the differences between hydrogel and tempered glass screen protectors, you can make an informed decision that best suits your needs.
スクリーンプロテクターを外す方法は?
これらの手順とヒントに従うことで、スクリーン プロテクターを安全に取り外して交換することができ、デバイスが保護され、最高の状態を保つことができます。
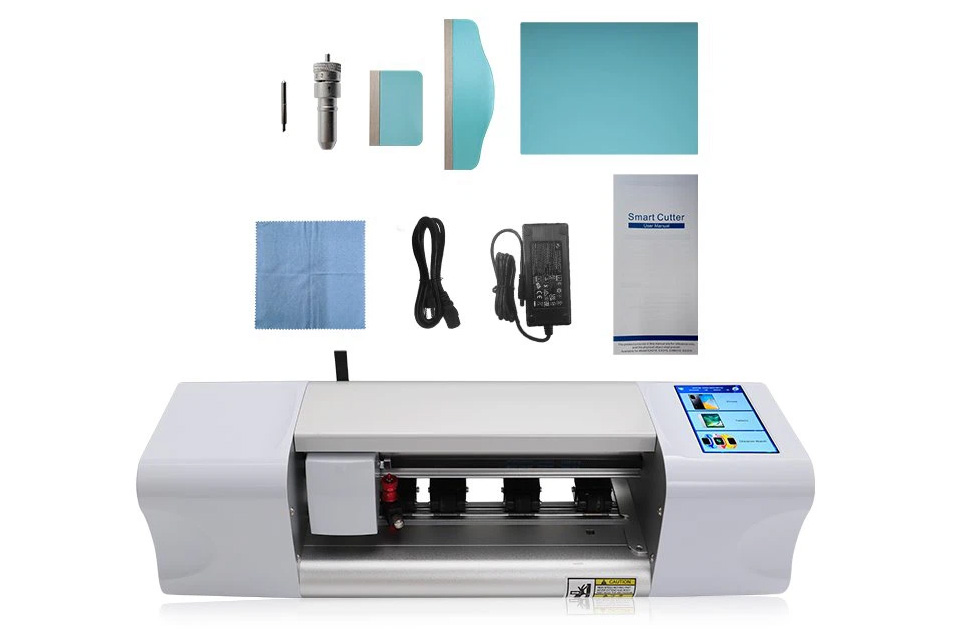
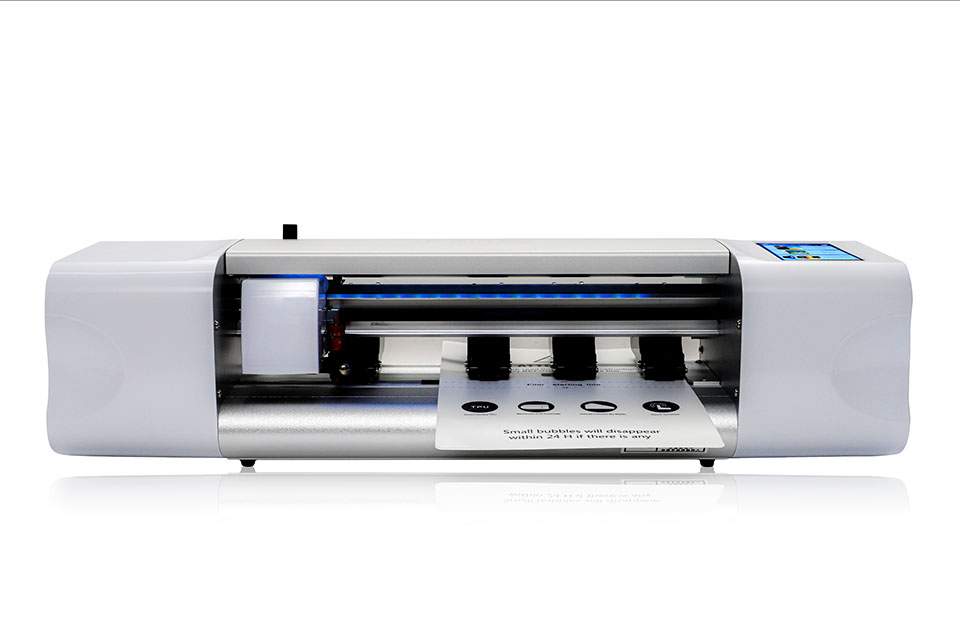
スクリーンプロテクター切断機とは?
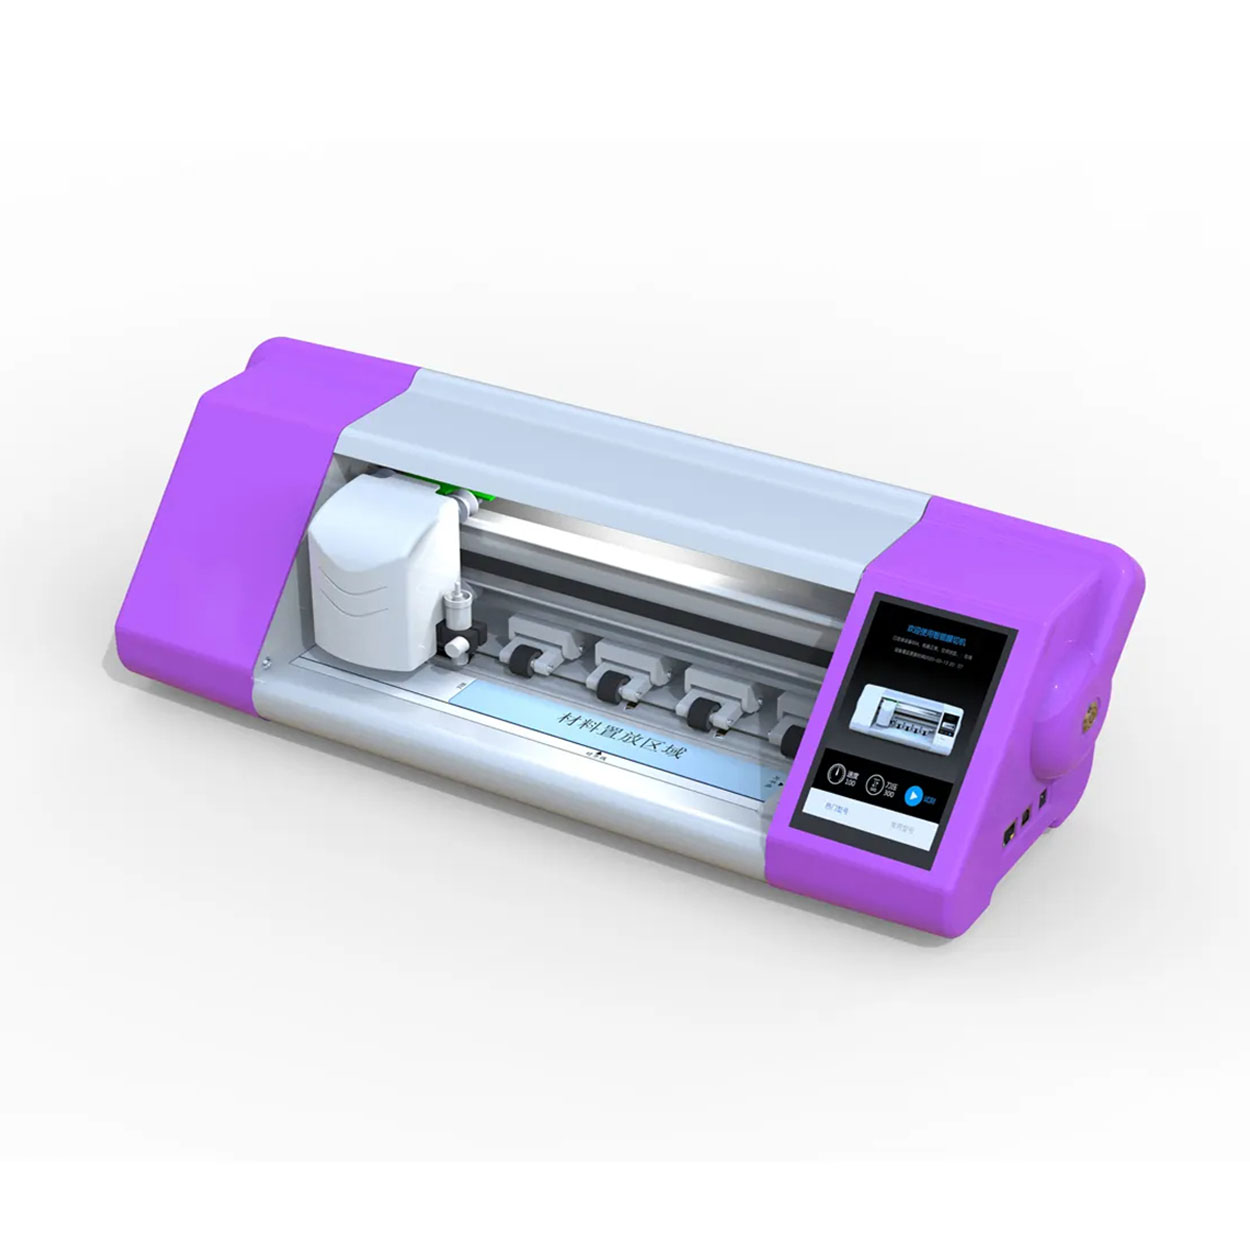
スクリーンプロテクター切断機は、スマートフォン、タブレット、スマートウォッチ、ノートパソコン、モニターなど、さまざまな電子機器にカスタムフィットするスクリーンプロテクターを製造するために設計された専用装置です。
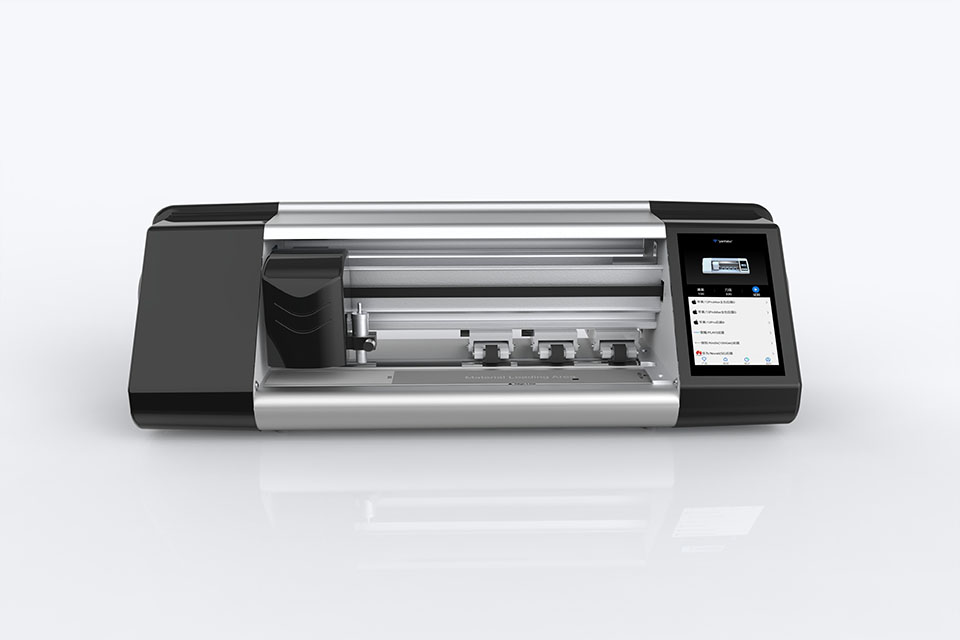
携帯電話スクリーンプロテクター切断機の仕組み?
携帯電話のスクリーンプロテクター切断機は、設計された洗練されたデバイスです。
様々なデジタル機器用にカスタマイズされたスクリーンプロテクターを高精度で製造する。
ションと効率性である。
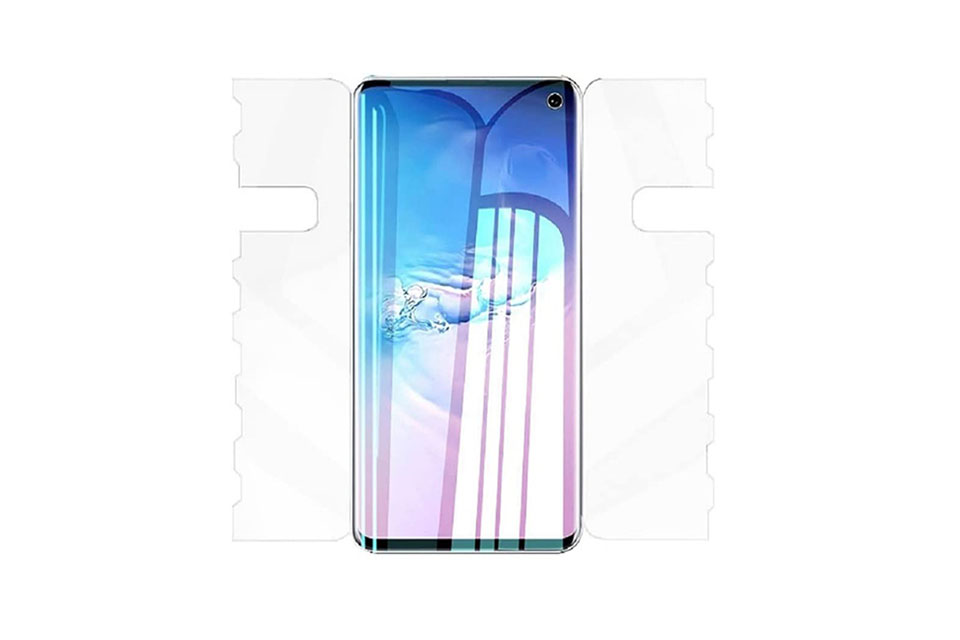
携帯電話強化ガラスと携帯電話TPUスクリーンプロテクターの特性
熱可塑性ポリウレタン(TPU)スクリーンプロテクターは、柔軟性、耐久性、耐久性に優れています。
電子機器の画面を保護する自己修復プラスチックフィルム
傷、衝撃、その他の潜在的な損傷。
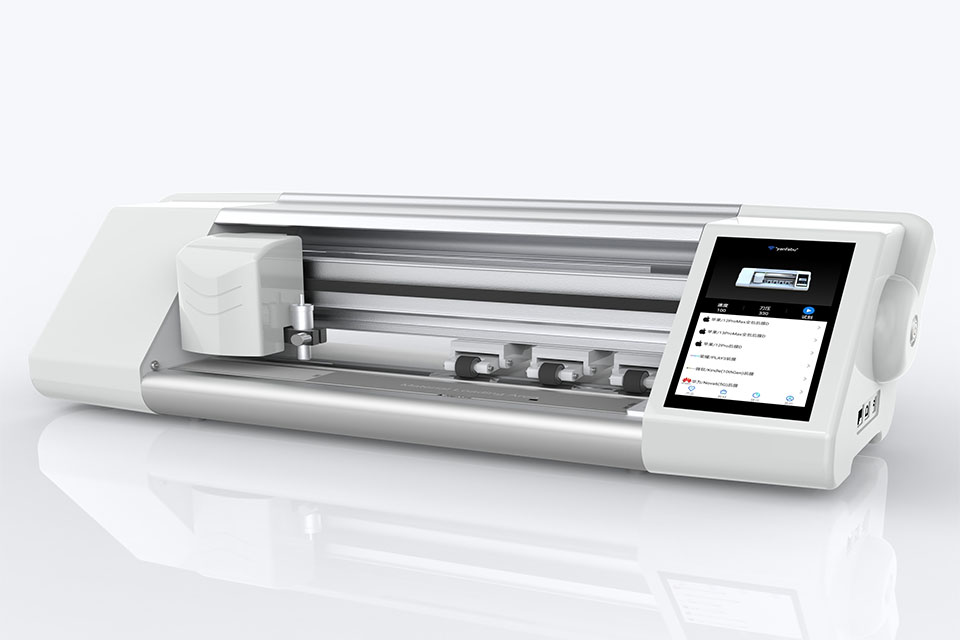
スクリーンガード切断機でデバイス保護に革命を起こす
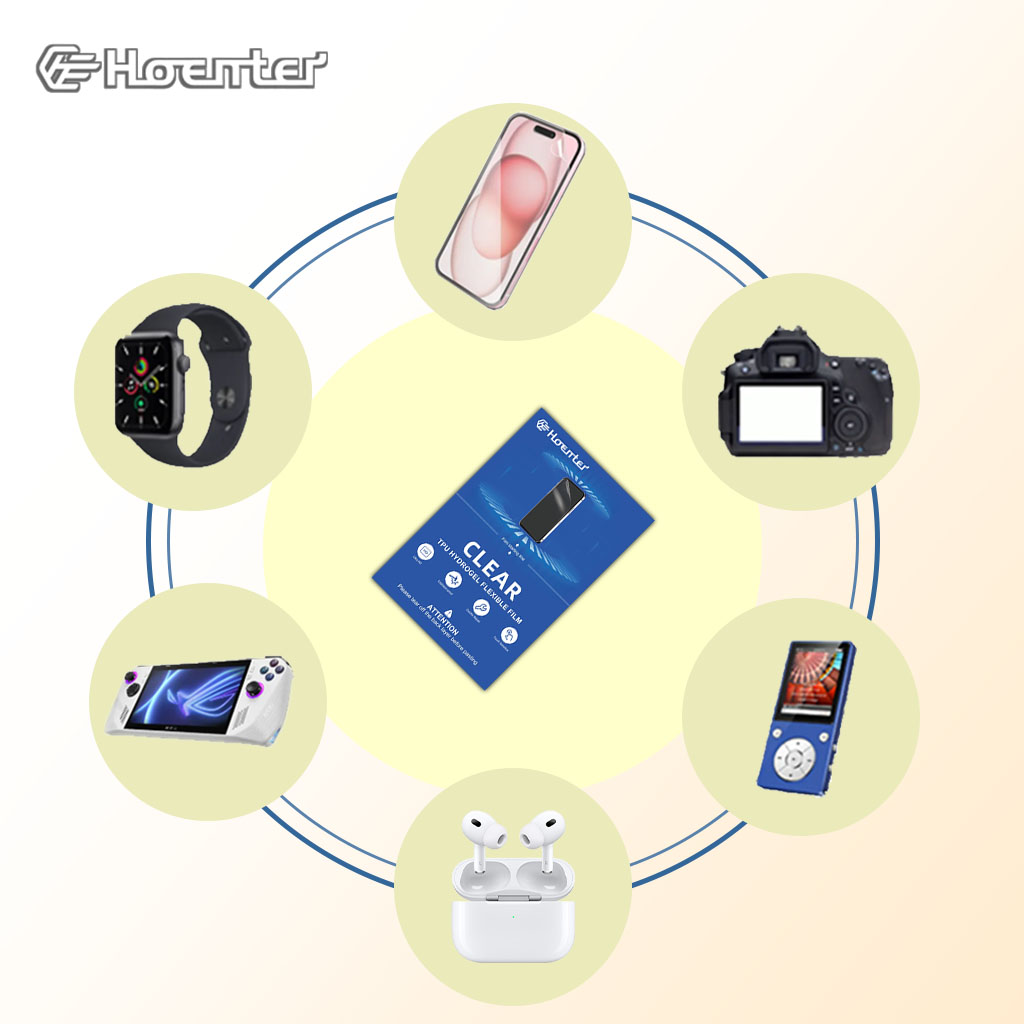
スマートフォン、タブレット、スマートウォッチなど、あらゆるデバイスに対応します。あなたのガジェットの寸法にシームレスに適応し、一般的なプロテクターにはないカスタムフィットを提供します。
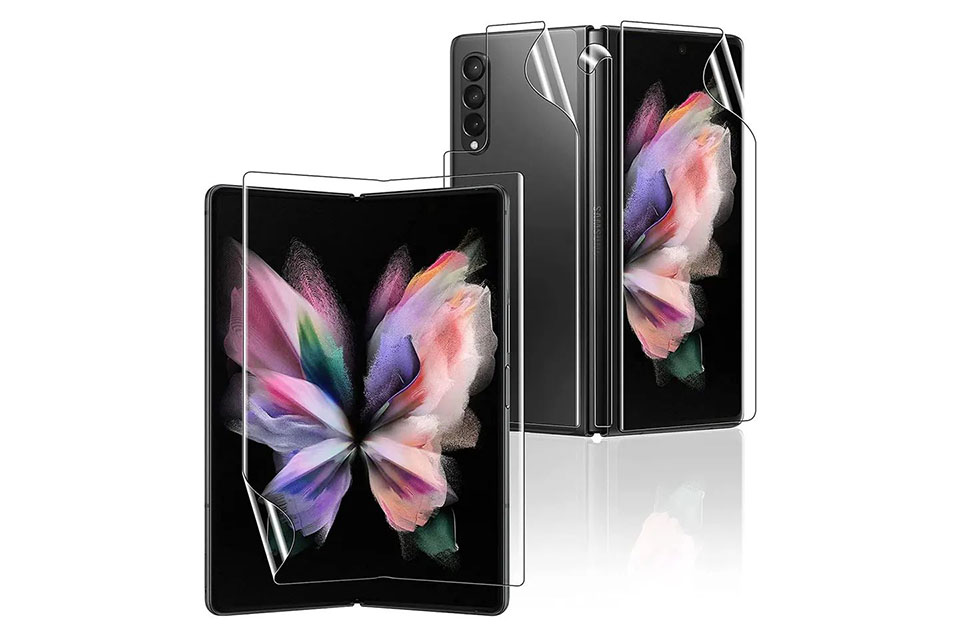
スクリーンプロテクター永久保証
スクリーンプロテクターの永久保証は、メーカーが提供する保証です。
スクリーンプロテクターは、特定の条件の下で、製品の寿命まで修理または交換することを約束します。