
1. What Are Guide Stickers for Screen Protector Installation?
Guide stickers are small adhesive tabs that come with most tempered glass screen protector kits. They help align the protector on your phone screen before you commit to sticking it down. These stickers act as a “hinge,” holding the glass in place while allowing you to make final adjustments.Features of Guide Stickers
- Typically included with premium screen protector kits.
- Made from non-damaging adhesive that won’t leave residue on your phone.
- Designed to simplify the alignment process.
Did you know? Guide stickers are especially useful for larger devices like tablets, where precise alignment is even more challenging.
2. Why Are Guide Stickers Essential for a Perfect Application?
Die Anwendung eines Displayschutzfolie aus gehärtetem Glas manually can lead to problems like:- Misalignment
- Air bubbles
- Dust getting trapped under the glass
Benefits of Using Guide Stickers
- Precision: Ensures perfect alignment with the edges of your phone.
- Convenience: Simplifies the process, even for beginners.
- Protection: Reduces the chance of dust contamination during application.

3. Step-by-Step Guide: How to Use the Guide Stickers for Screen Protector Installation
Follow these steps for a flawless screen protector installation using guide stickers:Schritt 1: Bereiten Sie Ihren Arbeitsbereich vor
- Choose a clean, dust-free area. A well-lit room is best.
- Wash your hands to avoid transferring oils or dirt to the protector.
Step 2: Clean Your Screen
- Use the provided cleaning kit (usually includes an alcohol wipe and microfiber cloth) to remove fingerprints and dust.
- Use the dust removal sticker to pick up any remaining particles.
Step 3: Position the Guide Stickers
- Peel off the guide stickers and attach them to one end of the tempered glass screen protector.
- Align the protector with your phone screen while holding the guide stickers.
Step 4: Use the Stickers as Hinges
- Once aligned, press the guide stickers onto the back of your phone. They’ll act as hinges, holding the glass in the correct position.
Step 5: Remove the Backing Film
- Lift the glass protector using the guide stickers as a hinge.
- Peel off the backing film from the adhesive side of the glass.
Step 6: Apply the Protector
- Slowly lower the glass onto the phone screen. The adhesive will begin to bond automatically.
- Gently press from the center outward to eliminate bubbles.
Step 7: Final Adjustments
- Remove the guide stickers carefully.
- Check for bubbles or dust, and use the provided tools to fix any issues.
Profi-Tipp: Using a credit card wrapped in a microfiber cloth can help push out stubborn bubbles.
4. Common Mistakes to Avoid When Installing a Tempered Glass Screen Protector
Even with guide stickers, mistakes can happen. Avoid these common pitfalls:Mistake 1: Skipping the Cleaning Step
Dust or fingerprints will create bubbles under the protector. Always clean the screen thoroughly.Mistake 2: Misaligning the Protector
Take your time during the alignment step. Use the guide stickers as a reference.Mistake 3: Applying Too Much Force
Pressing too hard can crack the glass or create air bubbles. Be gentle and patient.Remember: A rushed installation often leads to a poor finish. Take your time!
5. What to Do If Bubbles or Dust Appear Under the Screen Protector?
Nobody likes dealing with air bubbles or dust under their screen protector. Here’s how to fix these issues:For Bubbles:
- Use a plastic card wrapped in a soft cloth to push bubbles toward the edges.
- For small, stubborn bubbles, apply light heat using a hairdryer to soften the adhesive.
For Dust:
- Carefully lift the edge of the screen protector using a piece of tape.
- Use a dust removal sticker to pick up the particle.
- Reapply the protector.
Quote: “Patience is key when installing a screen protector. A little extra effort goes a long way.”
6. Can You Reinstall a Screen Protector If It’s Misaligned?
Yes, but only if you act quickly. Most Bildschirmschutzfolien aus gehärtetem Glas can be carefully removed and repositioned during the first few minutes of installation. Use the guide stickers to realign the protector, then press it back down.Warning: Repeated repositioning can weaken the adhesive and reduce the protector’s effectiveness.
7. Tips for Installing a Glass Screen Protector on Different Devices
Smartphones:
- Use guide stickers for precise alignment.
- Pay extra attention to curved screens, as they can be trickier to cover.
Tablets:
- Work slowly, as larger screens are more prone to bubbles.
- Consider enlisting a second person to help with alignment.
Smartwatches:
- Use a smaller version of the guide sticker method for these tiny screens.
- Ensure the protector is compatible with curved surfaces, if applicable.
8. The Role of Cleaning Kits in Screen Protector Installation
A clean screen is the foundation of a flawless protector installation. Most kits include:- Alcohol wipes to remove oils and dirt.
- Microfiber cloths to polish the screen.
- Aufkleber zur Staubentfernung to pick up tiny particles.
9. How to Care for Your Screen Protector After Installation?
Once your Displayschutzfolie aus gehärtetem Glas is installed, take these steps to keep it in top condition:- Avoid using abrasive cleaning solutions. Stick to a microfiber cloth and water.
- Check periodically for dust buildup along the edges and clean as needed.
- Replace the protector if it cracks or chips.
10. FAQs About Using Guide Stickers for Tempered Glass Screen Protectors
Q1: Are guide stickers reusable?
No, guide stickers are designed for single use. Reusing them may reduce their adhesive strength.Q2: Can I install a screen protector without guide stickers?
Yes, but it’s more challenging. Guide stickers simplify the process and improve accuracy.Q3: How long does it take to install a screen protector?
With guide stickers, the process typically takes 5–10 minutes.
Die Kunst beherrschen: Wie man eine Displayschutzfolie wie ein Profi anbringt
Haben Sie es satt, sich mit Blasen und Fehlstellungen herumzuschlagen, wenn Sie eine Displayschutzfolie auf Ihr wertvolles Gerät aufbringen? Dann suchen Sie nicht weiter! In diesem umfassenden Leitfaden erfahren Sie, wie Sie eine Displayschutzfolie wie ein erfahrener Profi anbringen. Ganz gleich, ob es sich um eine Schutzfolie aus gehärtetem Glas oder eine Standardfolie handelt, wir haben alles für Sie parat. Lesen Sie weiter, um Tipps, Tricks und Techniken von Experten zu entdecken, die jedes Mal eine perfekte, blasenfreie Anbringung gewährleisten.
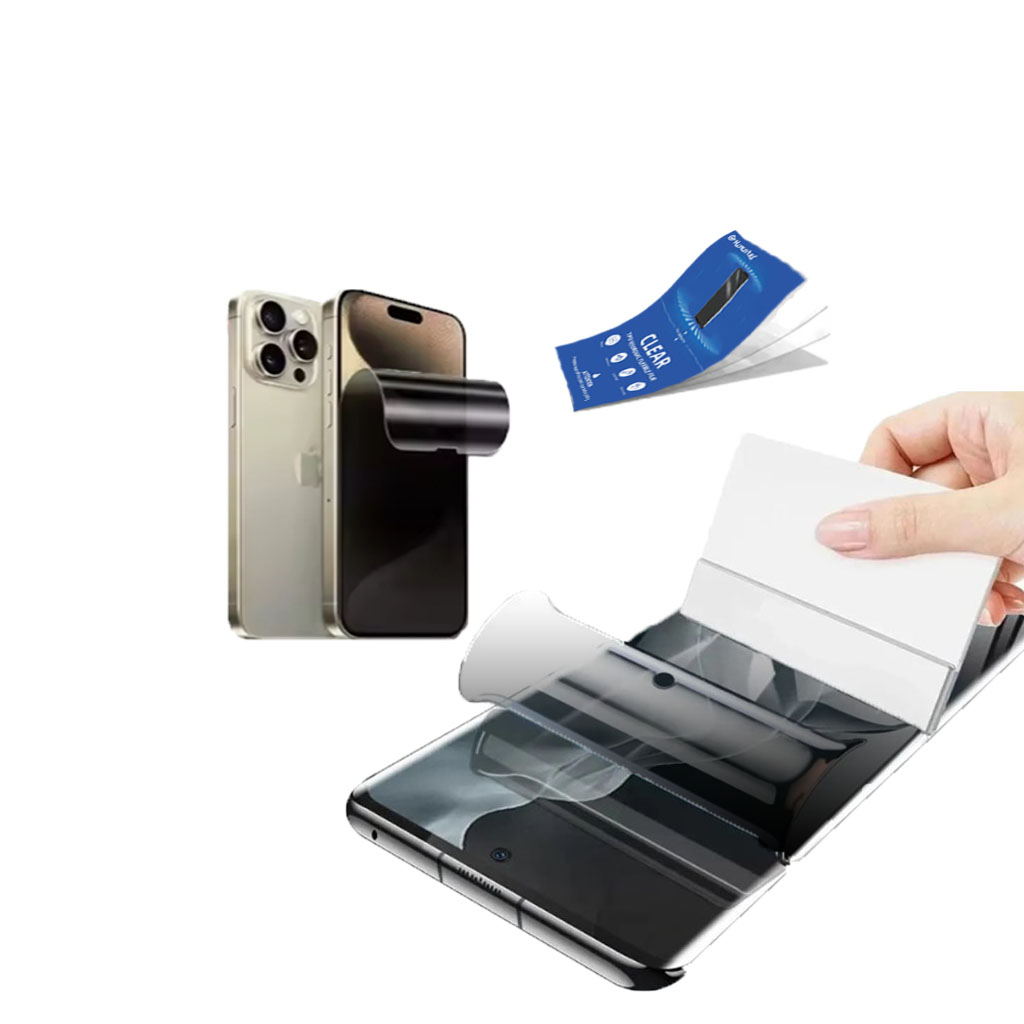
Hydrogel Film Bildschirmschutz
Der Bildschirmschutz bietet 30° echten Sichtschutz mit fortschrittlicher Lamellenverschlüsselung und gewährleistet so eine sichere Nutzung in öffentlichen Bereichen, während die Sicht auf die Vorderseite des Geräts für den Benutzer frei bleibt. Sie besteht aus TPU in optischer Qualität, bewahrt die makellose Displayqualität und unterstützt die nahtlose Entsperrung des Geräts, das sowohl mit 3D-gekrümmten als auch flachen Bildschirmen kompatibel ist. Dank der AG-Ätztechnologie werden diagonale Linien und Geisterbilder eliminiert und die Belastung der Augen reduziert. Die Schutzfolie lässt sich leicht anbringen und entfernen und hinterlässt keine Rückstände.
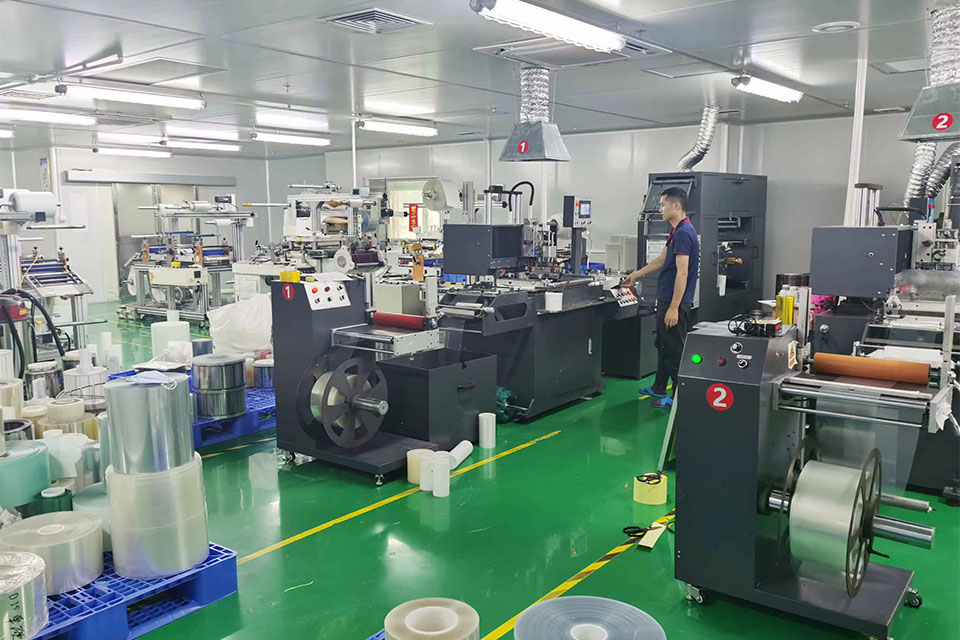
Die wichtigsten Merkmale, die Sie bei einer Hydrogel-Klingenschneidemaschine beachten sollten
Hydrogel-Schneidemaschinen sind Spezialgeräte zum präzisen Schneiden von Hydrogel-Folien, die häufig in Anwendungen wie Bildschirmschutzfolien für elektronische Geräte und verschiedene medizinische Anwendungen eingesetzt werden.
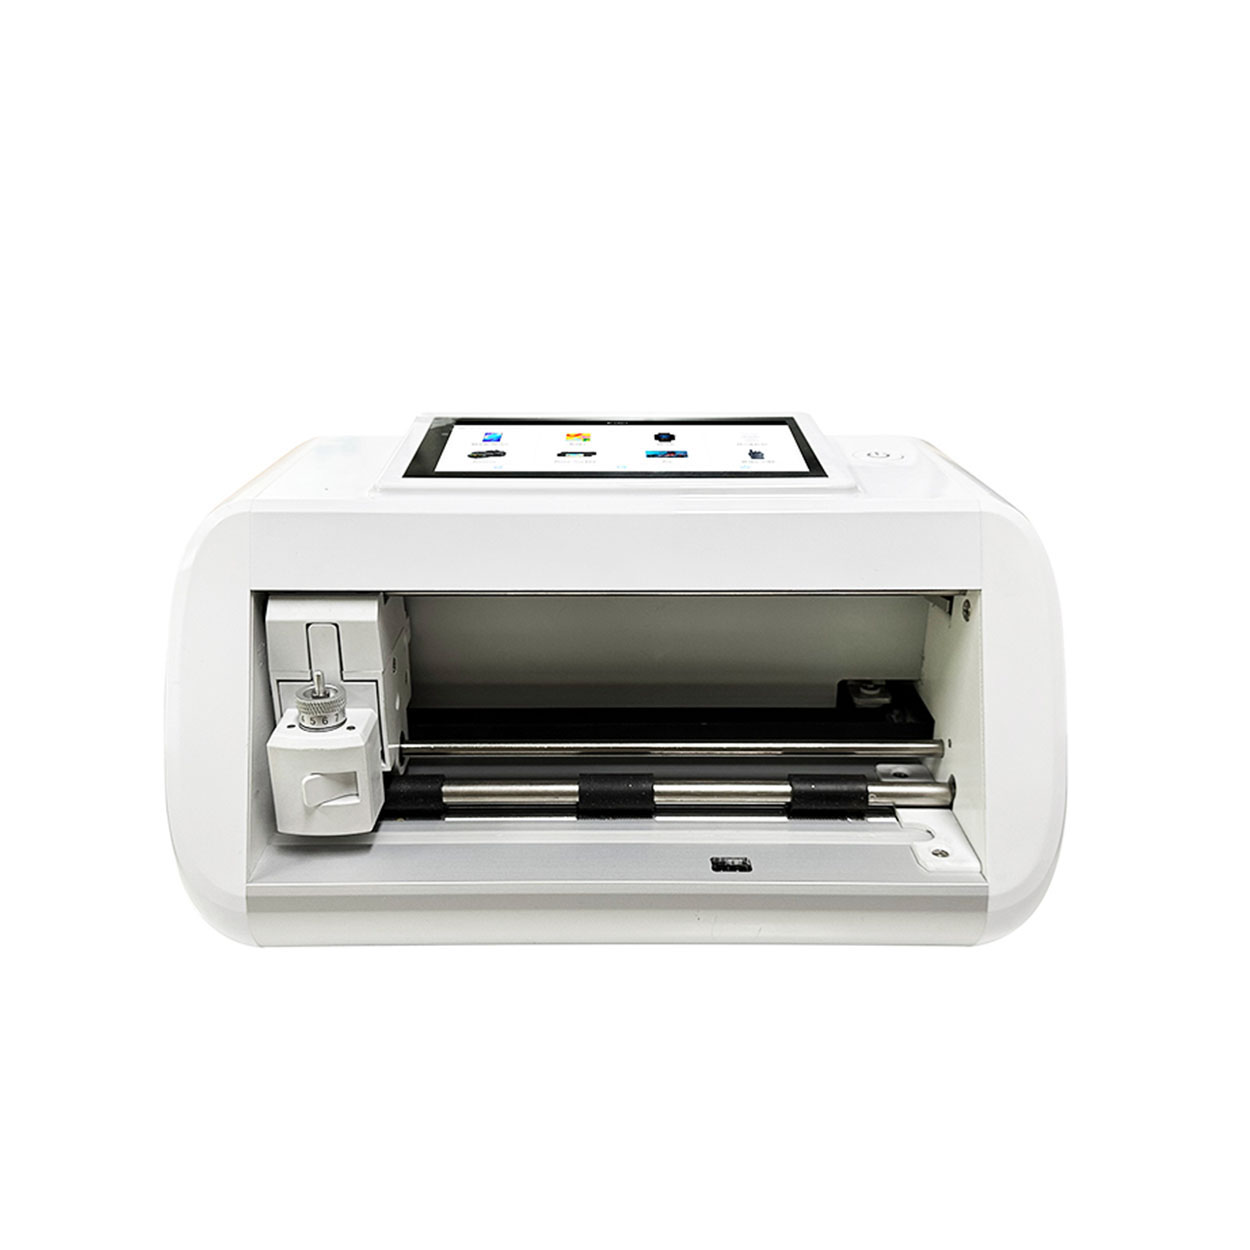
Mini Displayschutzfolie Schneidemaschine Hersteller
Home Mini-Bildschirmschutzfolie Schneidemaschine E-Mail What'sApp Produktparameter STEUERUNG:APP-Steuerung / Bluetooth LCD TOUCH SCREEN : 5.5″ HD
How to Repair Apple Watch to Phone
By following these guidelines, you’ll be able to effectively manage and troubleshoot your Apple Watch and iPhone, ensuring a smooth and integrated tech experience.
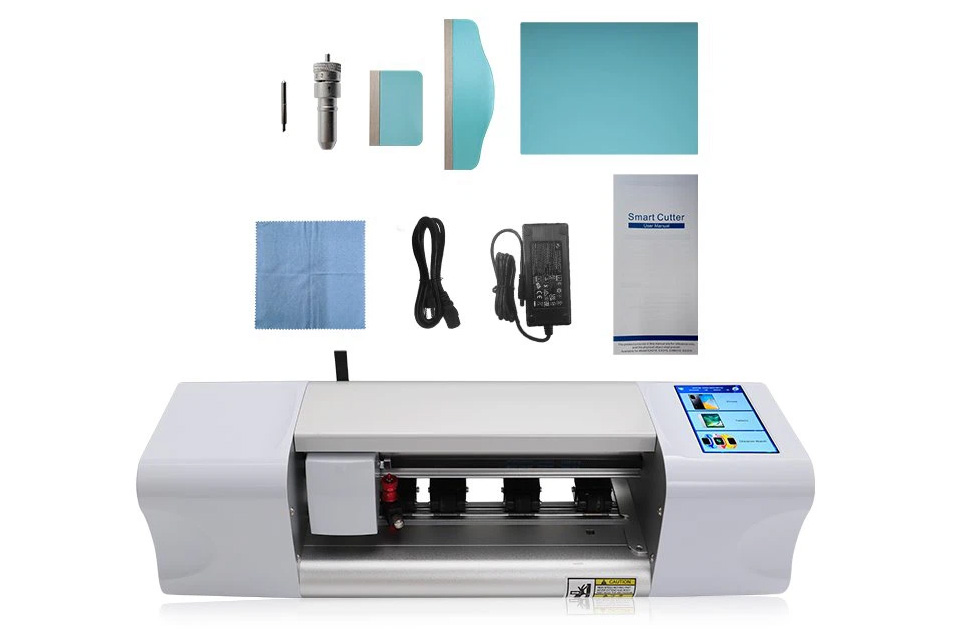
Welche Folienschneidemaschine und ihre Anwendung
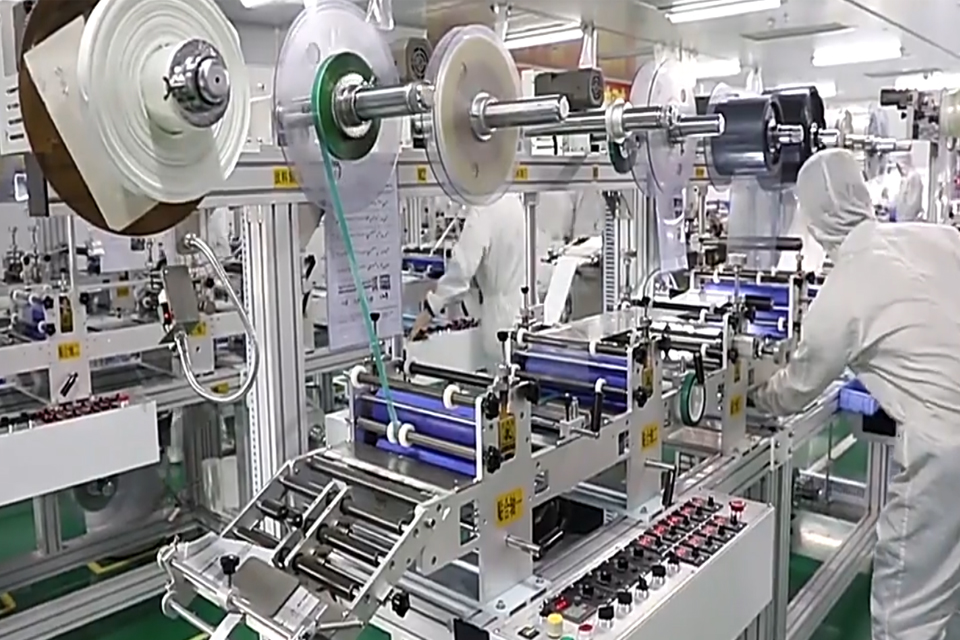
Filmschneidemaschinen haben bei der Entwicklung des Filmschaffens und verschiedener industrieller Prozesse eine entscheidende Rolle gespielt, da sie das präzise Schneiden und Verbinden von Filmmaterialien ermöglichen.
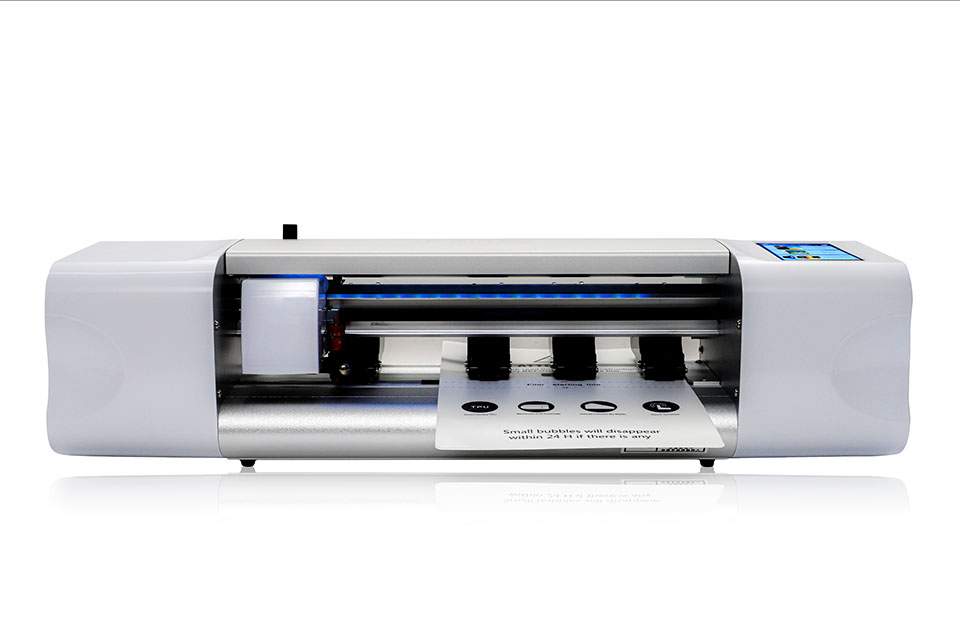
Was ist eine Maschine zum Schneiden von Bildschirmschutzfolien?
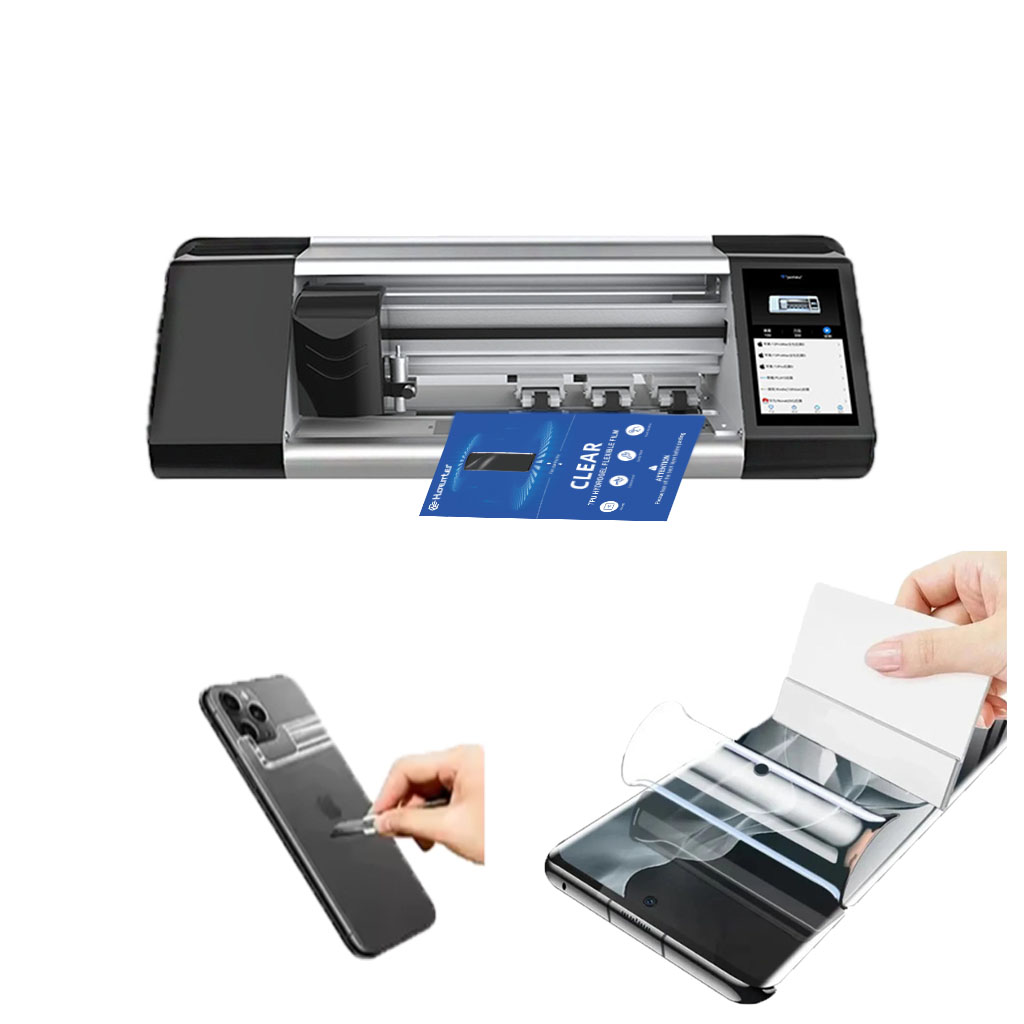
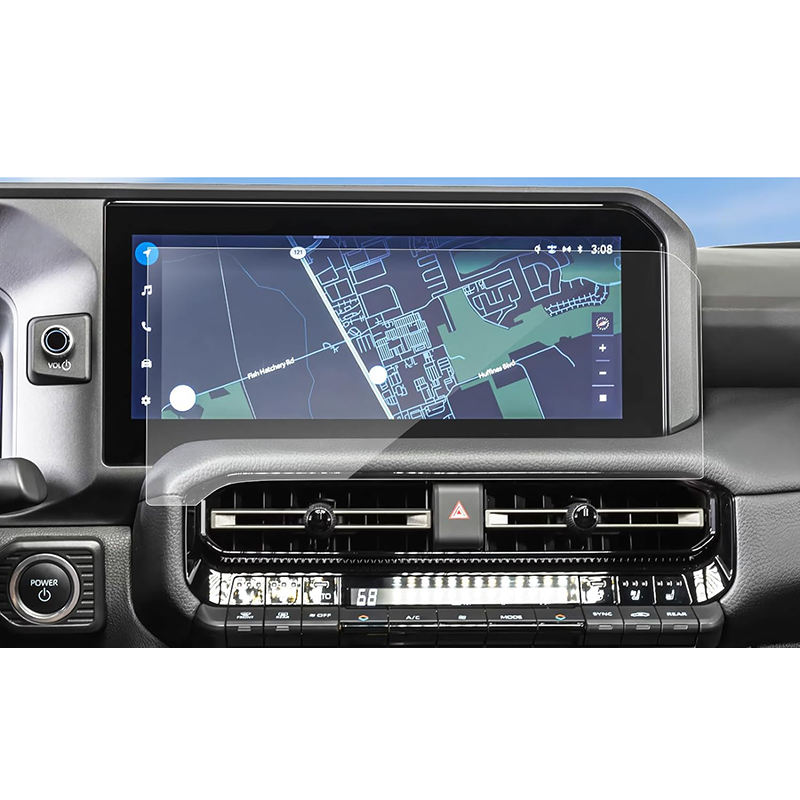
Eine Schneidemaschine für Displayschutzfolien ist ein spezielles Gerät zur Herstellung von passgenauen Displayschutzfolien für verschiedene elektronische Geräte, darunter Smartphones, Tablets, Smartwatches, Laptops und Monitore.
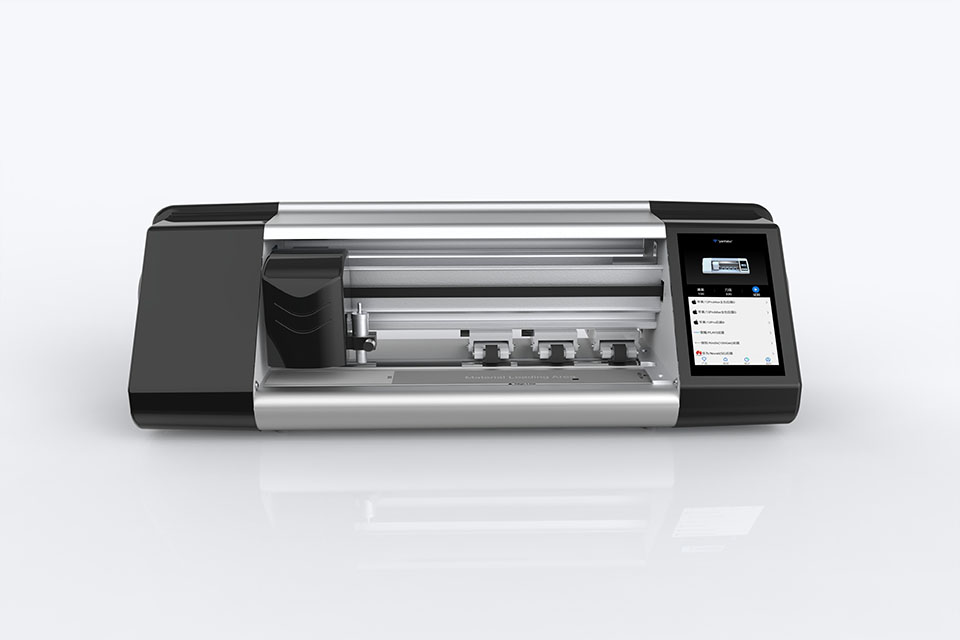
Wie Handy-Bildschirmschutzfolie Schneidemaschine arbeiten?
Eine Maschine zum Schneiden von Displayschutzfolien für Mobiltelefone ist ein hochentwickeltes Gerät, das
zur Herstellung von kundenspezifischen Bildschirmschutzfolien für verschiedene digitale Geräte mit hoher Präzision
sion und Effizienz.
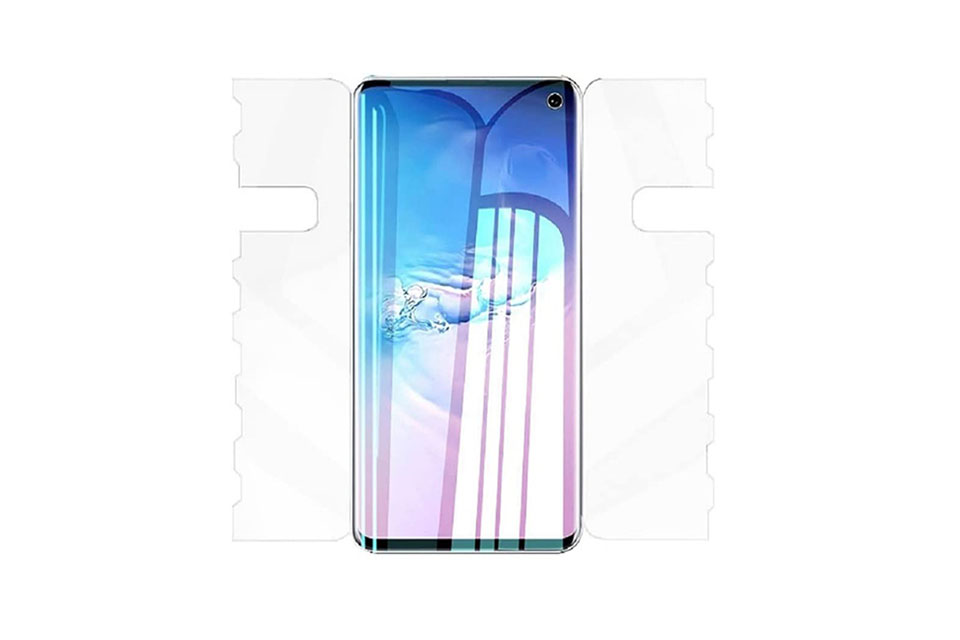
Eigenschaften von gehärtetem Handyglas und TPU-Bildschirmschutz für Mobiltelefone
Displayschutzfolien aus thermoplastischem Polyurethan (TPU) sind flexibel, langlebig und
selbstheilende Kunststofffolien zum Schutz von Bildschirmen elektronischer Geräte vor
Kratzer, Stöße und andere mögliche Schäden.
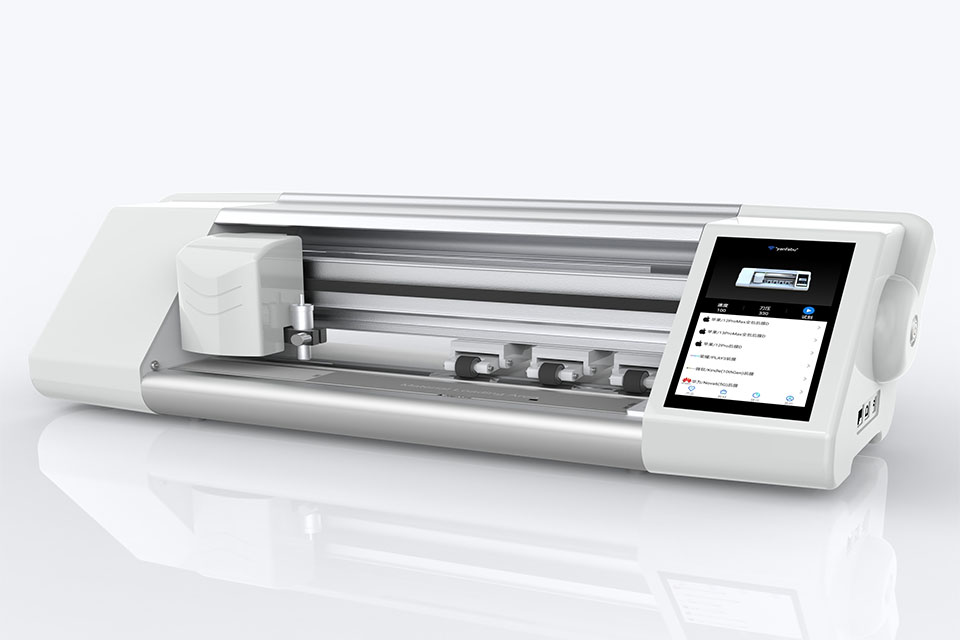
Revolutionieren Sie den Geräteschutz mit der Screen Guard Cutting Machine
Egal, ob Sie ein Smartphone, ein Tablet oder eine Smartwatch besitzen, dieses vielseitige Gerät eignet sich für eine breite Palette von Geräten. Es passt sich nahtlos an die Abmessungen Ihres Geräts an und bietet eine individuelle Passform, die generische Schutzfolien nicht erreichen können.
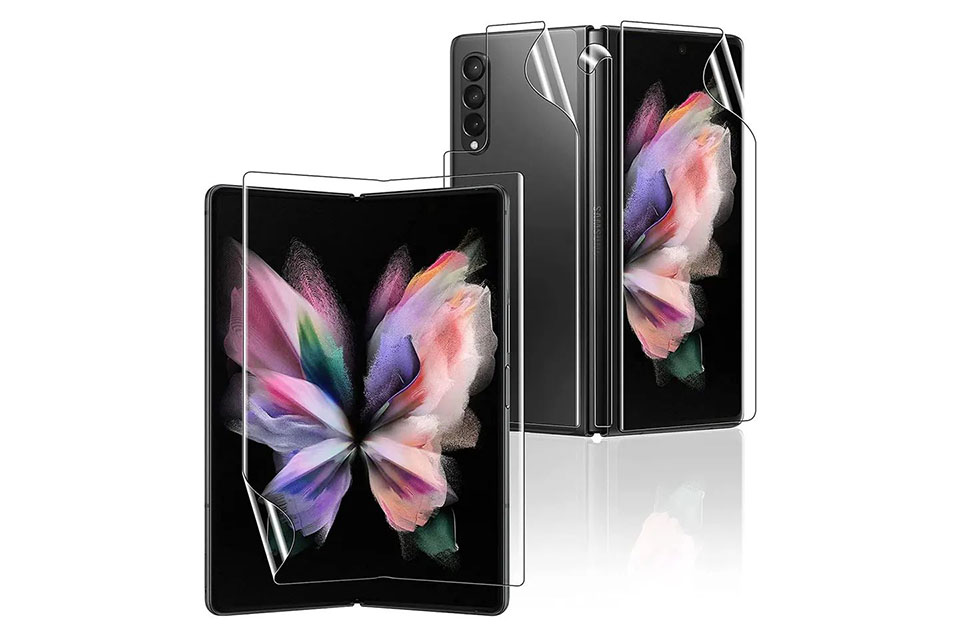
Lebenslange Garantie für Bildschirmschutz
Eine lebenslange Garantie für Bildschirmschutzfolien ist eine von den Herstellern gewährte Garantie, die
verpflichtet sich, eine Bildschirmschutzfolie während der gesamten Lebensdauer des Produkts unter bestimmten Bedingungen zu reparieren oder zu ersetzen.