How to Apply iPad Screen Protector?
Table of Contents
Summary
- Always clean your iPad screen thoroughly before applying a screen protector.
- Choose the right type of protector based on your needs (glass, plastic, or Paperlike).
- Take your time during installation to avoid bubbles and misalignment.
- Use tools like a squeegee and dust removal stickers for a professional finish.
- Replace your screen protector as needed to maintain optimal protection.
1. Why You Need a Screen Protector for Your iPad
Your iPad is an investment, and its screen is one of its most vulnerable components. A screen protector acts as a shield, protecting your device from scratches, smudges, and even cracks caused by accidental drops.Key Benefits of Using a Screen Protector:- Scratch Resistance: Prevents scratches from keys, pens, or other sharp objects.
- Anti-Glare Options: Reduces glare for better visibility in bright environments.
- Enhanced Durability: Protects the screen from wear and tear over time.
2. Types of iPad Screen Protectors: Glass vs. Plastic vs. Paperlike
Choosing the right screen protector is just as important as applying it correctly. Here’s a breakdown of the most popular types:3. What You’ll Need Before Installing a Screen Protector
Before you begin, gather the following items to ensure a smooth installation process:- The screen protector (glass, plastic, or Paperlike).
- A microfiber cloth to clean the screen.
- Dust removal stickers or tape.
- A cleaning solution or alcohol wipes.
- A squeegee or credit card to smooth out bubbles.

4. How to Prepare Your iPad for Installation
Preparation is key to a successful installation. Follow these steps to get your iPad ready:- Clean Your Workspace: Choose a clean, dust-free environment to avoid particles sticking to the screen.
- Wash Your Hands: This prevents oils or dirt from transferring to the screen.
- Turn Off Your iPad: This reduces distractions and makes it easier to see dust or smudges on the screen.
- Clean the Screen: Use a microfiber cloth and cleaning solution to remove fingerprints, smudges, and dust.
5. Step-by-Step Guide to Applying a Screen Protector Without Bubbles
Here’s the moment you’ve been waiting for! Follow these steps to apply your screen protector like a pro:- Align the Protector: Before peeling off the adhesive backing, place the screen protector on your iPad to check alignment. Use the camera and edges as guides.
- Peel and Stick: Slowly peel off the backing while aligning the protector with the screen. Start from one edge and work your way across.
- Smooth Out Bubbles: Use a squeegee or credit card to gently press out any air bubbles, starting from the center and moving outward.
6. Common Mistakes to Avoid During Installation
Even with the best intentions, mistakes can happen. Here are some common pitfalls to avoid:- Skipping the Cleaning Step: Dust and smudges can ruin the installation.
- Rushing the Process: Take your time to align the protector properly.
- Using Too Much Force: Pressing too hard can crack a glass screen protector.

7. How to Fix Bubbles After Applying a Screen Protector
Bubbles can be frustrating, but they’re not the end of the world. Here’s how to fix them:- Small Bubbles: Use a squeegee or credit card to push them toward the edges.
- Dust Bubbles: Lift the protector with tape, remove the dust, and reapply.
- Persistent Bubbles: If bubbles remain after several attempts, consider reapplying the protector.
8. Benefits of Using a Paperlike Screen Protector for Artists and Note-Takers
If you’re an artist or someone who loves taking handwritten notes, a Paperlike screen protector can transform your iPad experience. Here’s why:- Improved Precision: The textured surface provides better control for drawing and writing.
- Reduced Glare: Makes it easier to work in bright environments.
- Enhanced Feel: Mimics the sensation of writing on paper, making it more enjoyable.
9. How Often Should You Replace Your iPad Screen Protector?
The lifespan of a screen protector depends on its material and usage. Here are some general guidelines:- Glass Protectors: Replace if cracked or chipped.
- Plastic Protectors: Replace every 6-12 months as they wear down.
- Paperlike Protectors: Replace when the texture starts to fade.
10. FAQs About iPad Screen Protector Installation
Q: Can I reuse a screen protector after removing it? A: It’s not recommended, as the adhesive may lose its effectiveness and dust can stick to it.Q: Do I need a screen protector if I use a case? A: Yes, a case protects the edges and back, but a screen protector safeguards the display.Q: What’s the best screen protector for the Apple Pencil? A: A Paperlike screen protector is ideal for Apple Pencil users, as it provides a natural writing experience.Comments
Tags

Innovations in Flexible Hydrogel Film Technology
Innovations in flexible hydrogel film technology represent a significant advancement in materials science, combining the principles of polymer chemistry with diverse applications across healthcare, electronics, and environmental sustainability.

How to choose the right smart screen protector cutter for devices of different sizes
To effectively meet the growing demand for custom-fit screen protectors across various devices, selecting the right smart screen protector cutter involves a careful evaluation of machine compatibility, precision, ease of use, and cost, ensuring both immediate functionality and future adaptability.
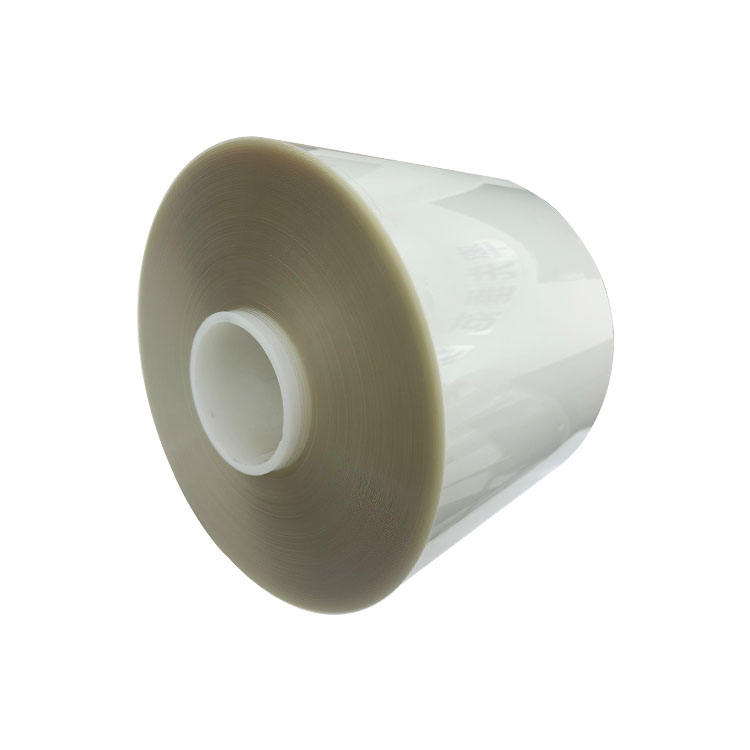
EPU vs. TPU Screen Protectors: The Ultimate Showdown for Your Phone’s Display!
Choosing between EPU and TPU screen protectors? Learn the differences in self-healing to find the perfect protection for your phone’s display.
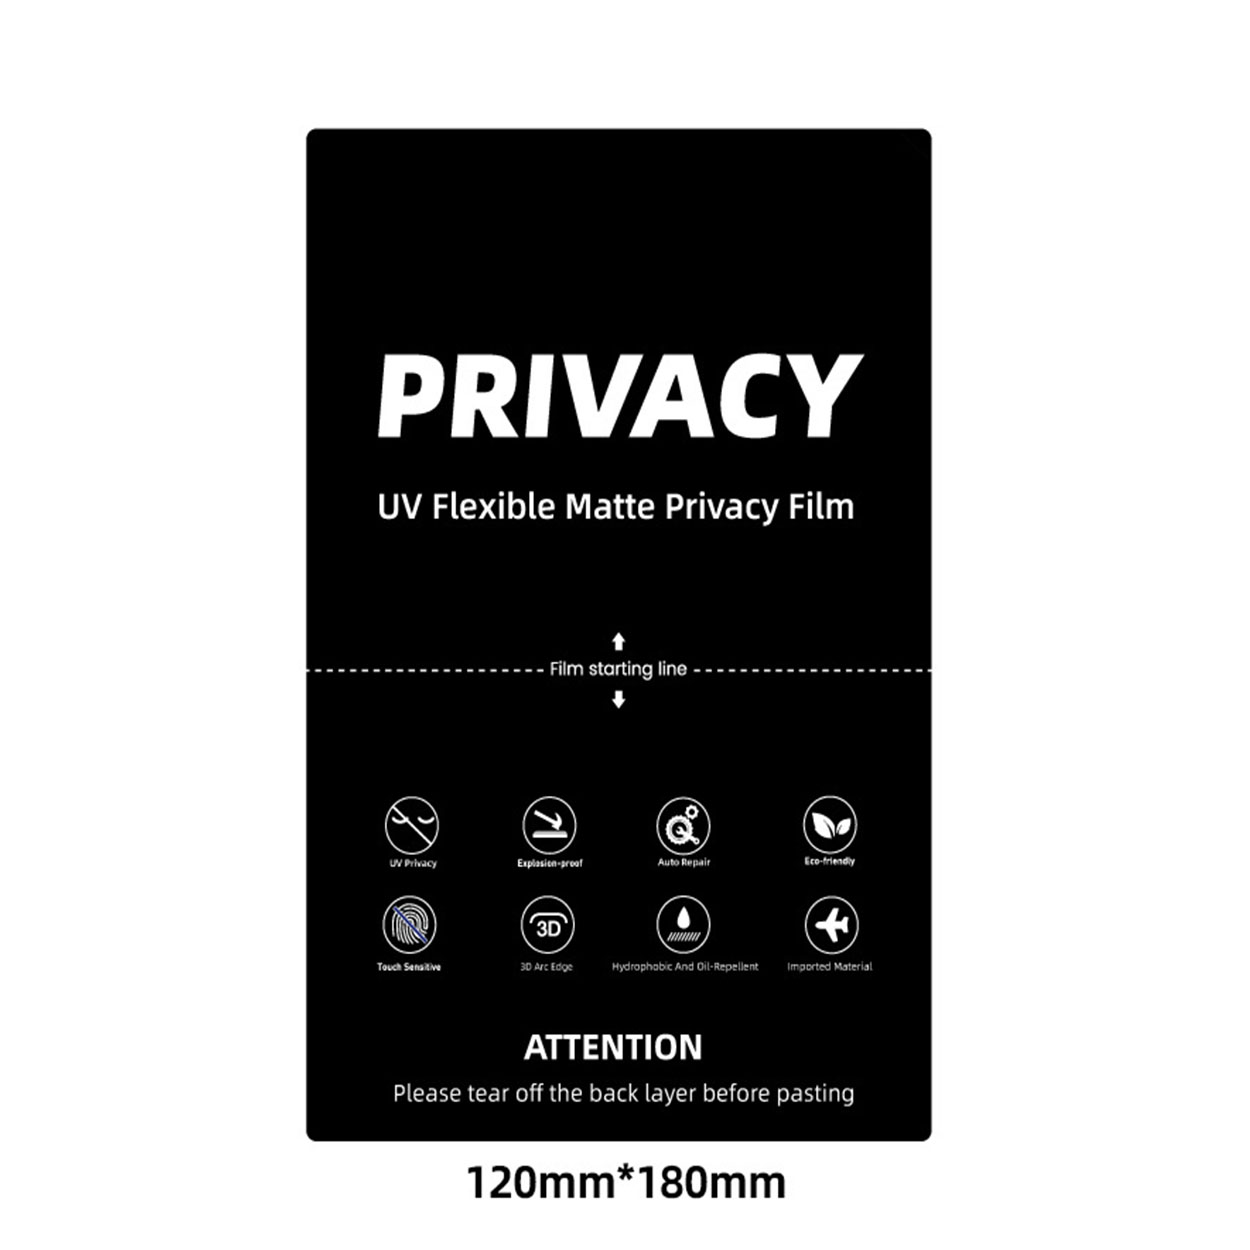
Intelligent UV Matte Privacy Screen Protector For Cutter
Discover the future of mobile protection with our guide to screen protector cutting machines. Learn how film cutters create custom screen protectors
Are Hydrogel Screen Protectors Good?
For everyday use and minor protection, hydrogel protectors are a great choice.
Find All knowledge and trends from our blog, get the wholesale price and best quality from our factory.
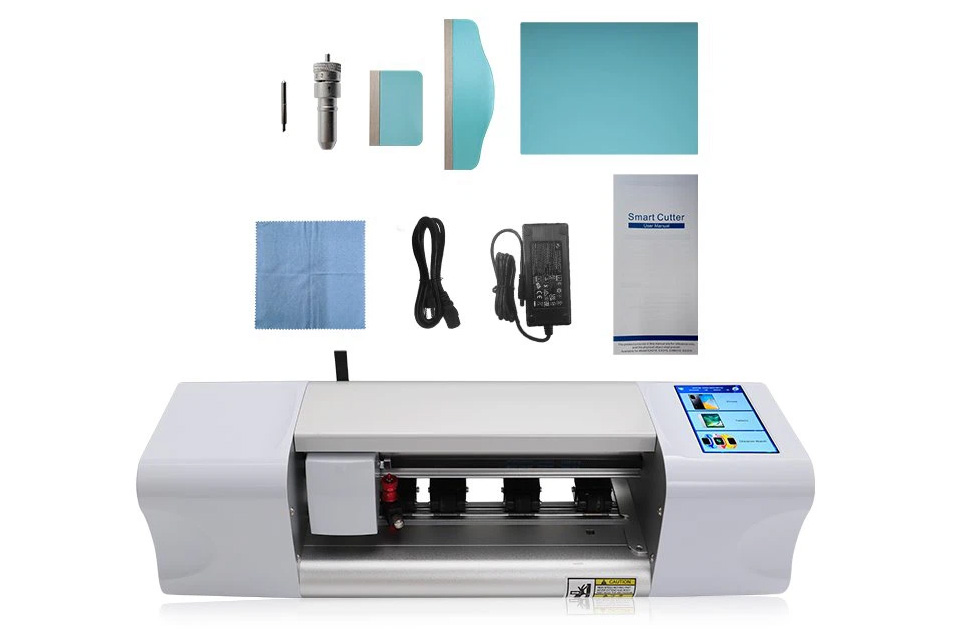
What Film Cutting Machine and Its Application
Film cutting machines have played a crucial role in the evolution of filmmaking and various industrial processes by enabling precise cutting and splicing of film materials.
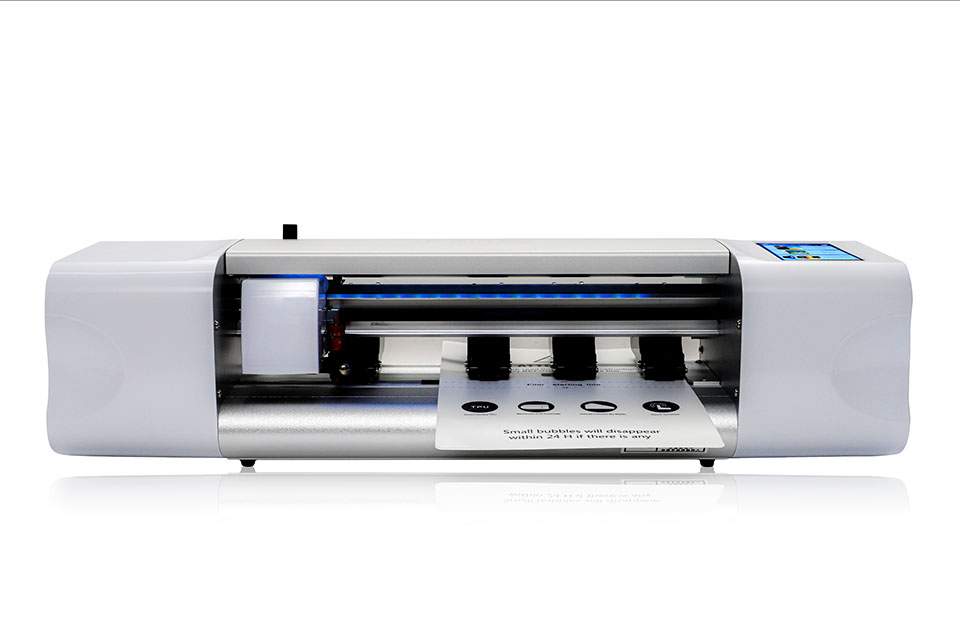
What Is a Screen Protector Cutting Machine?
A screen protector cutting machine is a specialized device designed to produce custom-fit screen protectors for various electronic devices, including smartphones, tablets, smartwatches, laptops, and monitors.
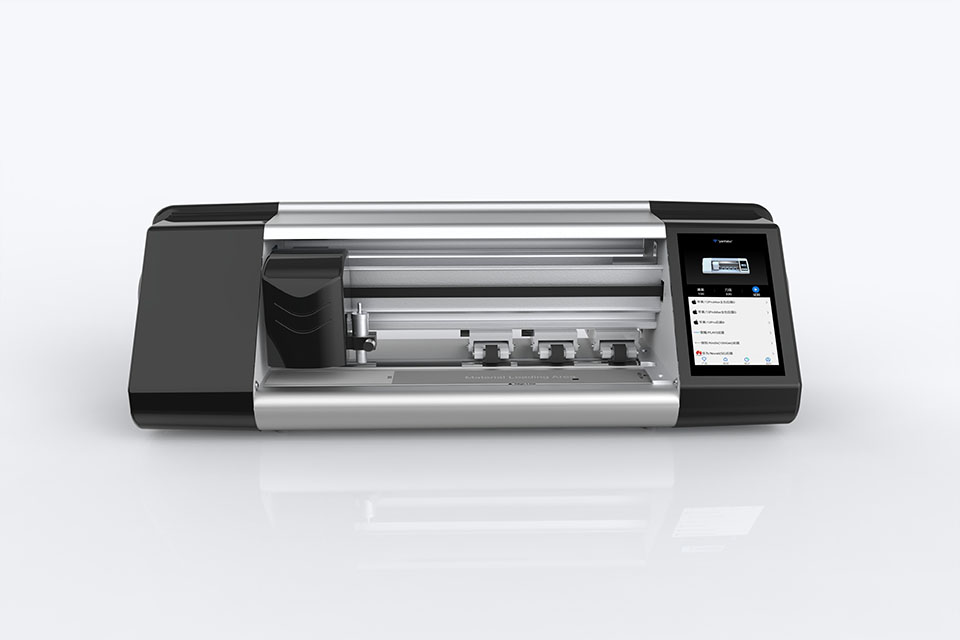
How Mobile Phone Screen Protector Cutting Machine Work?
A mobile phone screen protector cutting machine is a sophisticated device designed
to produce customized screen protectors for various digital devices with high preci
sion and efficiency.
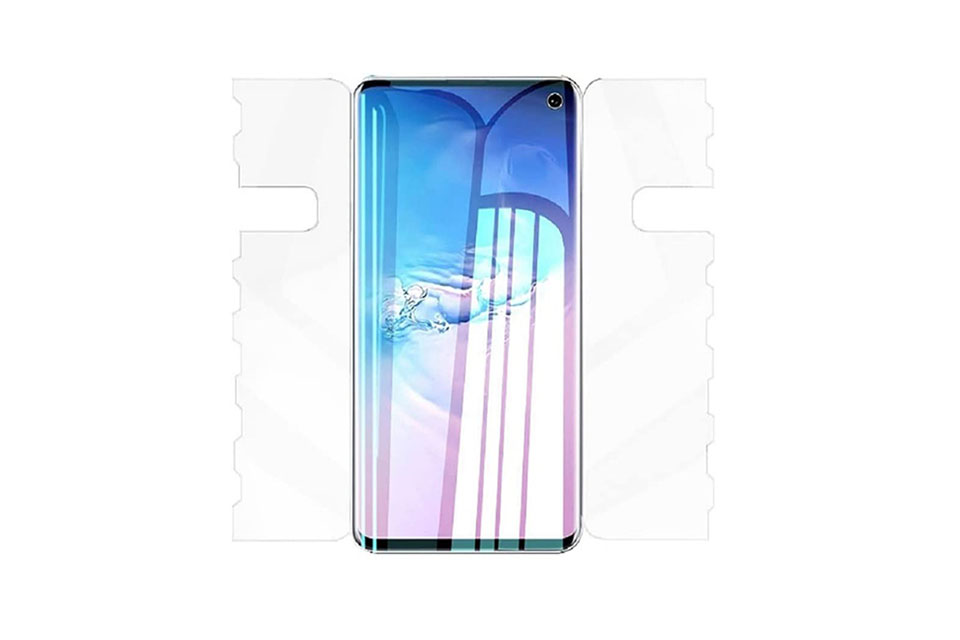
Characteristics of Mobile Phone Tempered Glass and Mobile Phone TPU Screen Protector
Thermoplastic polyurethane (TPU) screen protectors are flexible, durable, and
self-healing plastic films designed to protect electronic device screens from
scratches, impacts, and other potential damages.
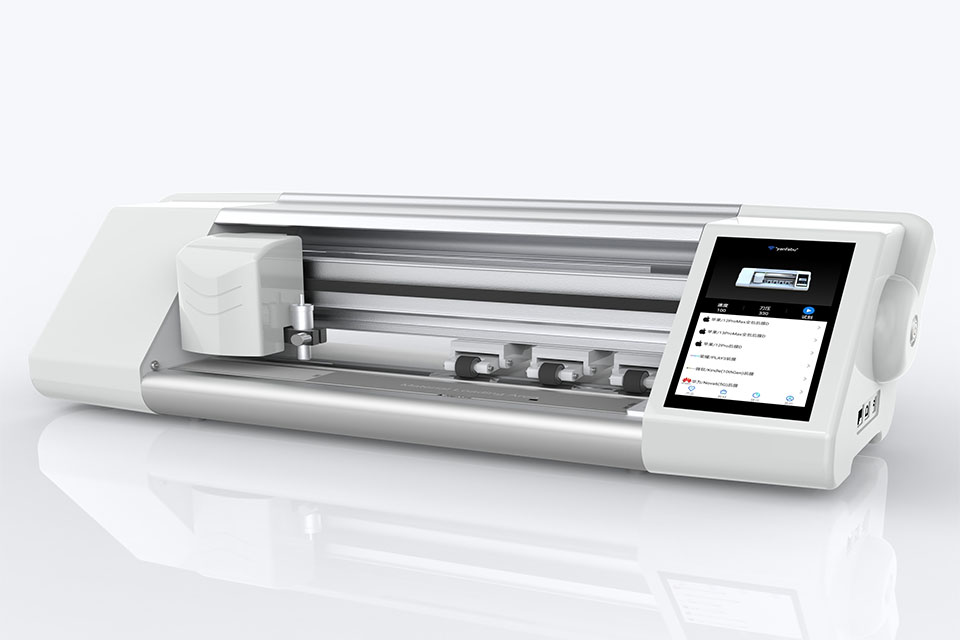
Revolutionize Device Protection with Screen Guard Cutting Machine
Whether you possess a smartphone, tablet, or smartwatch, this versatile machine accommodates a vast array of devices. It seamlessly adapts to the dimensions of your gadget, offering a custom fit that generic protectors can’t match.
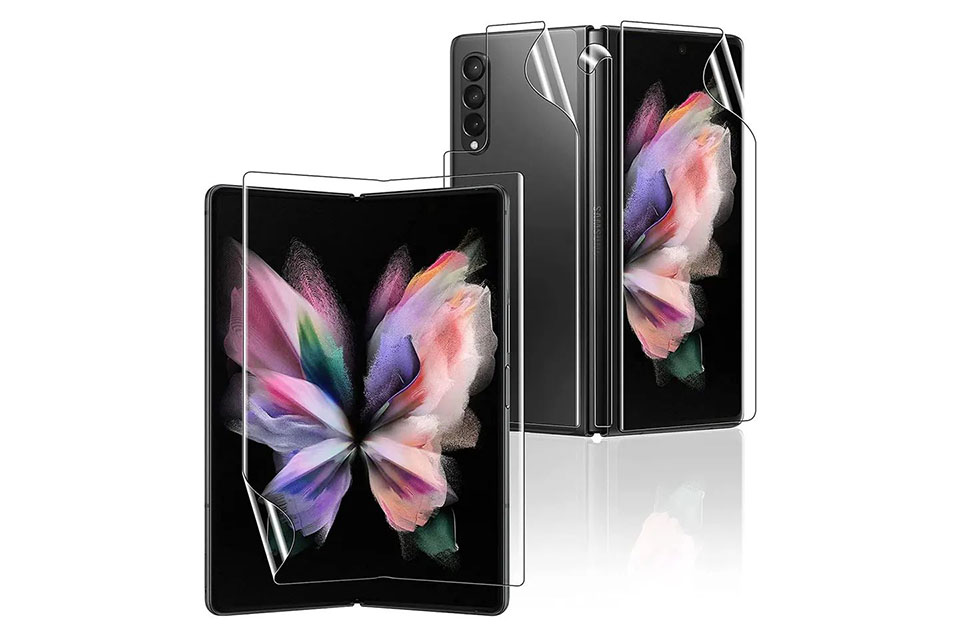
Screen Protector Lifetime Warranty
A screen protector lifetime warranty is a guarantee provided by manufacturers that
promises to repair or replace a screen protector for the lifetime of the product, under specific terms and conditions.


