How to Apply a Screen Protector to a Camera?
목차
요약
- Cleanliness is Key: Always clean your lens thoroughly before installation.
- Choose Wisely: Select a high-quality, compatible lens protector for your device.
- Patience Pays Off: Take your time during installation to avoid common mistakes.
- 정기 유지 관리: Keep your lens protector clean and protected for optimal performance.
Understanding the Importance of a Camera Lens Protector
Camera lens protectors are essential for anyone who values their device’s camera quality. Why are they so important? They shield the lens from scratches, dust, and accidental drops, which can significantly degrade image quality over time. By investing in a lens protector, you’re ensuring that your camera remains in top condition, ready to capture life’s moments with clarity.Moreover, lens protectors are often made from tempered glass, which is both durable and transparent. This means you won’t have to compromise on image quality while keeping your lens safe. 알고 계셨나요? A good lens protector can absorb impacts that would otherwise damage your lens, acting as a first line of defense.Choosing the Right Lens Protector for Your Device
Selecting the right lens protector is crucial. What should you look for? Consider the material, compatibility, and ease of installation. Tempered glass is a popular choice due to its strength and clarity. Ensure the protector is specifically designed for your device model, whether it’s an iPhone, Canon, or another brand.프로 팁: Check user reviews and ratings to gauge the protector’s performance and durability. A well-reviewed product is more likely to meet your expectations and provide the protection your camera needs.Preparing Your Camera for Installation
Before you begin the installation process, it’s important to prepare your camera. How do you do this? Start by cleaning the lens thoroughly with a microfiber cloth to remove any dust or fingerprints. This ensures that the protector adheres properly and doesn’t trap any particles that could affect image quality.Next, gather all necessary tools, such as the lens protector, cleaning wipes, and an alignment tool if provided. 기억하다: A clean and organized workspace will make the installation process smoother and more efficient.
Step-by-Step Guide to Installing a Camera Lens Protector
- Clean the Lens: Use a microfiber cloth and cleaning solution to wipe the lens clean.
- 보호자 정렬: Carefully align the protector with the lens, ensuring all edges match up perfectly.
- 보호제를 바르세요: Gently press the protector onto the lens, starting from the center and moving outward to remove air bubbles.
- Secure the Protector: Use a soft cloth to press down on the protector, ensuring it adheres firmly to the lens.
설치 중 피해야 할 일반적인 실수
Installing a lens protector might seem straightforward, but there are common mistakes to avoid. What are they? One major mistake is not cleaning the lens thoroughly, which can lead to trapped dust and reduced image quality. Another is misaligning the protector, which can cause it to peel off over time.Avoid These Pitfalls: Take your time during installation and double-check alignment before pressing down the protector. Patience is key to a successful installation.
How to Remove a Camera Lens Protector Safely
Removing a lens protector can be tricky if not done correctly. How can you do it safely? Start by gently lifting one corner of the protector with a thin plastic card. Slowly peel it off, applying even pressure to avoid damaging the lens.Safety Tip: Avoid using metal tools, as they can scratch the lens. If the protector is stubborn, apply a bit of heat with a hairdryer to loosen the adhesive.Maintaining Your Camera Lens Protector
Once installed, maintaining your lens protector is crucial for its longevity. How do you maintain it? Regularly clean the protector with a microfiber cloth to remove smudges and dust. Avoid using harsh chemicals that could damage the glass.Maintenance Tip: Store your camera in a protective case when not in use to prevent accidental scratches or impacts.FAQs About Camera Lens Protectors
Q: Do lens protectors affect image quality?A: High-quality lens protectors are designed to be transparent and should not affect image quality. Ensure you choose a reputable brand.Q: Can I reuse a lens protector after removal?A: It’s not recommended to reuse a lens protector, as the adhesive may not be as effective, and it could trap dust or debris.
Troubleshooting Installation Issues
If you encounter issues during installation, don’t worry. What can you do? If air bubbles persist, try reapplying the protector using the credit card method mentioned earlier. For alignment issues, carefully remove and realign the protector.Troubleshooting Tip: If problems persist, consider seeking professional help or contacting the manufacturer’s customer service for guidance.댓글
태그
Can I Put a Screen Protector on a Cracked Screen?
By following these steps, you can effectively protect your phone’s screen, even if it’s cracked.
기포 없이 화면 보호기를 적용하는 방법: 완벽한 가이드
화면 보호기를 씌울 때 성가신 기포 때문에 고생하는 데 지치셨나요? 여러분은 혼자가 아닙니다! 많은 사람들이 아래에 공기가 끼지 않도록 보호 스크린을 붙이는 것이 어렵다고 생각합니다. 하지만 걱정하지 마세요. 이 종합 가이드는 화면 보호기를 완벽하게 부착하는 과정을 안내하여 기포 없이 기기를 깨끗하게 유지할 수 있도록 도와드립니다. 기술 초보자이든 가젯 전문가이든 상관없이 다음 화면 보호기를 쉽게 적용할 수 있는 유용한 팁과 요령을 찾을 수 있습니다.

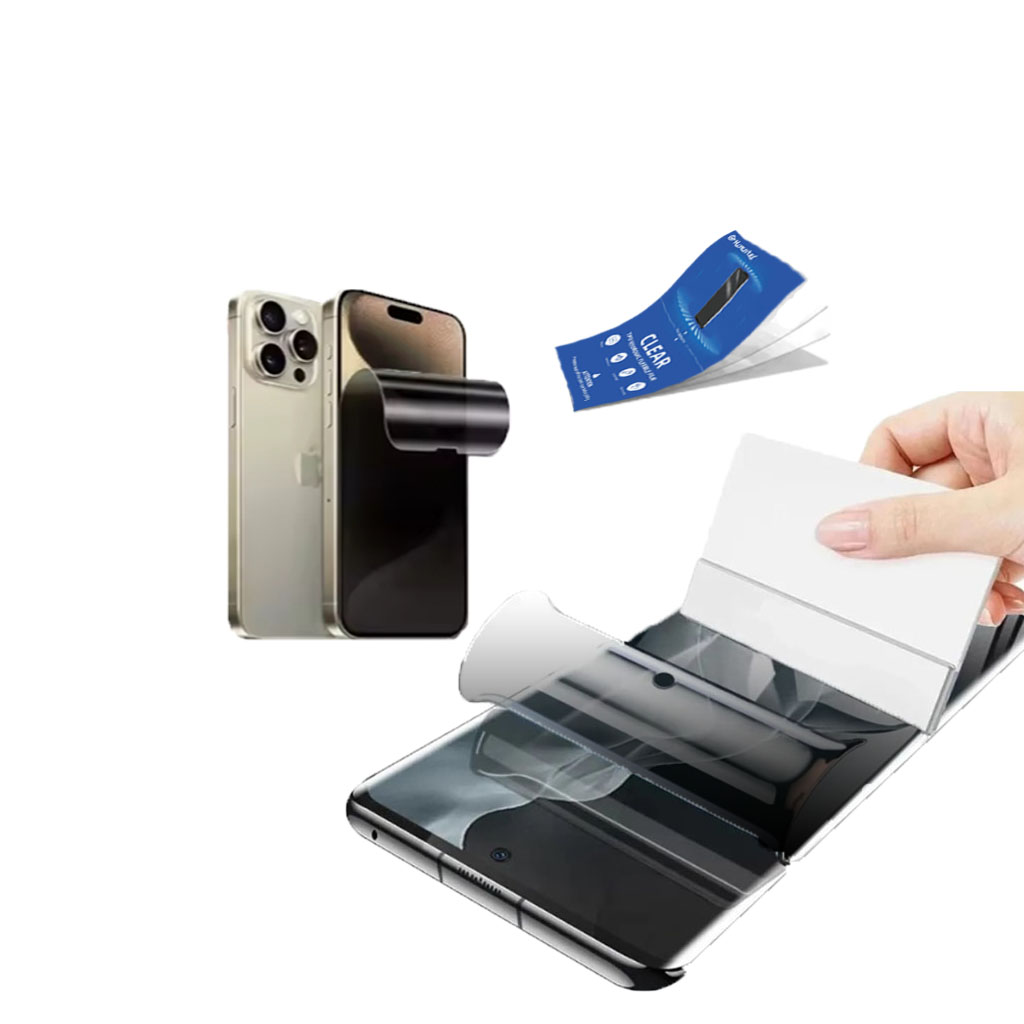
플렉시블 하이드로겔 필름과 기존 보호 필름의 비교
유연한 하이드로젤 필름과 기존 보호 필름 중 선택은 유연성, 내구성 및 적용 용이성에 대한 요구 사항에 따라 달라지며, 하이드로젤 필름은 다목적의 현대적인 솔루션을 제공하고 기존 필름은 평면 스크린을 강력하게 보호할 수 있습니다.
블로그에서 모든 지식과 트렌드를 찾고, 공장에서 도매 가격과 최고의 품질을 얻으십시오.
화면 보호기 커팅기란 무엇인가요?
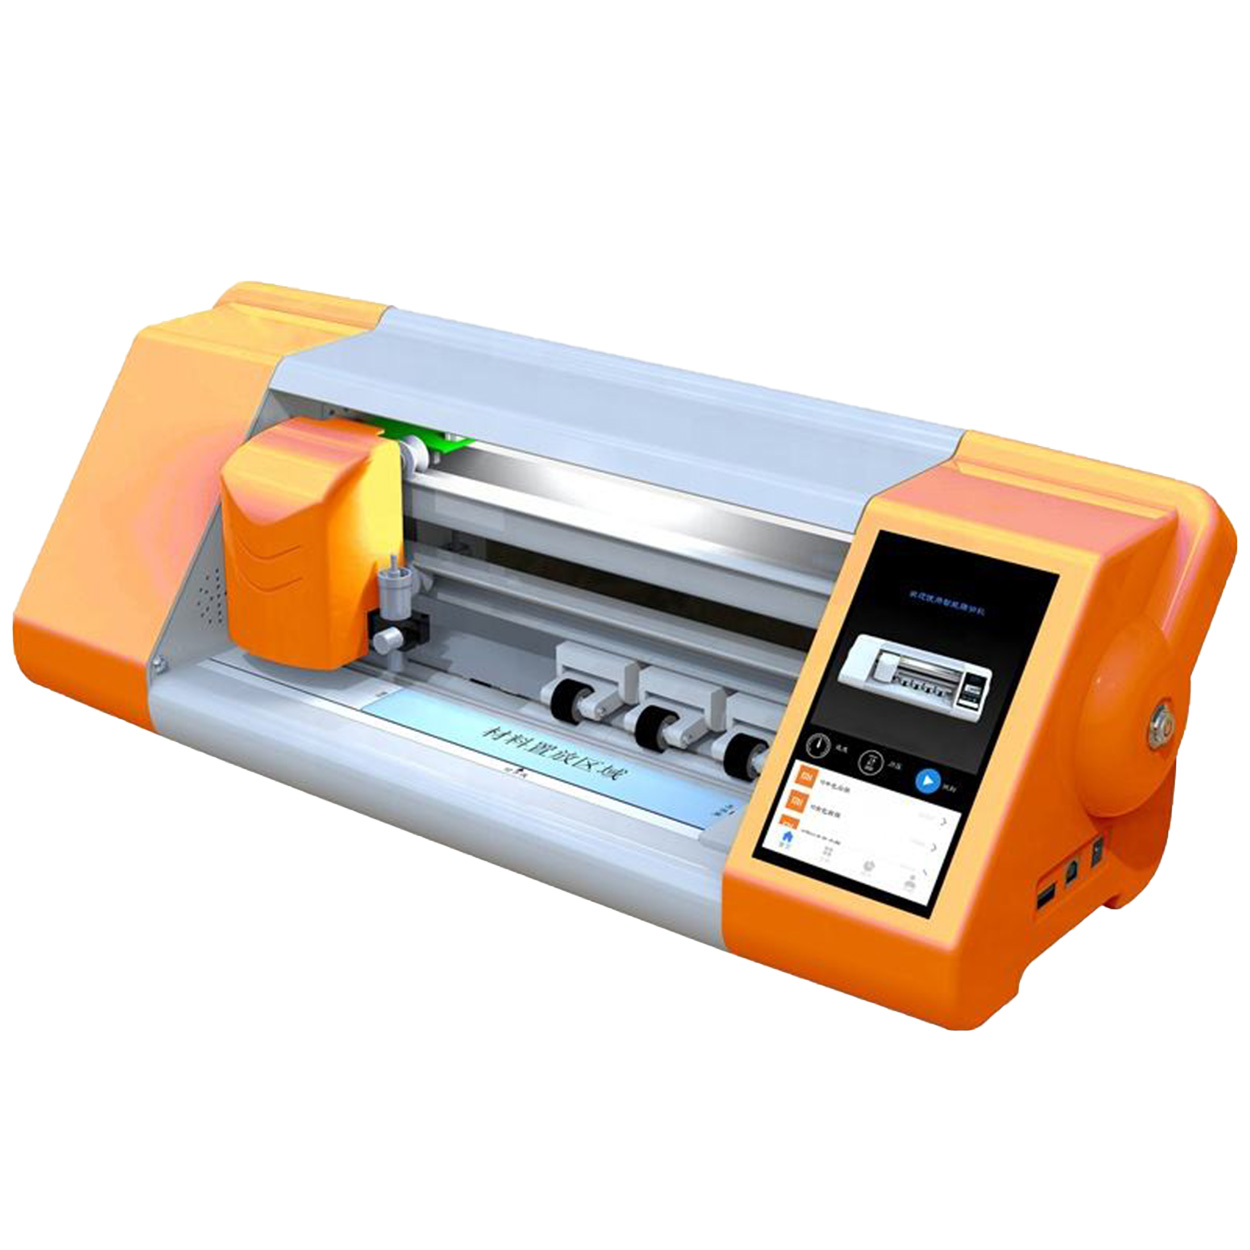
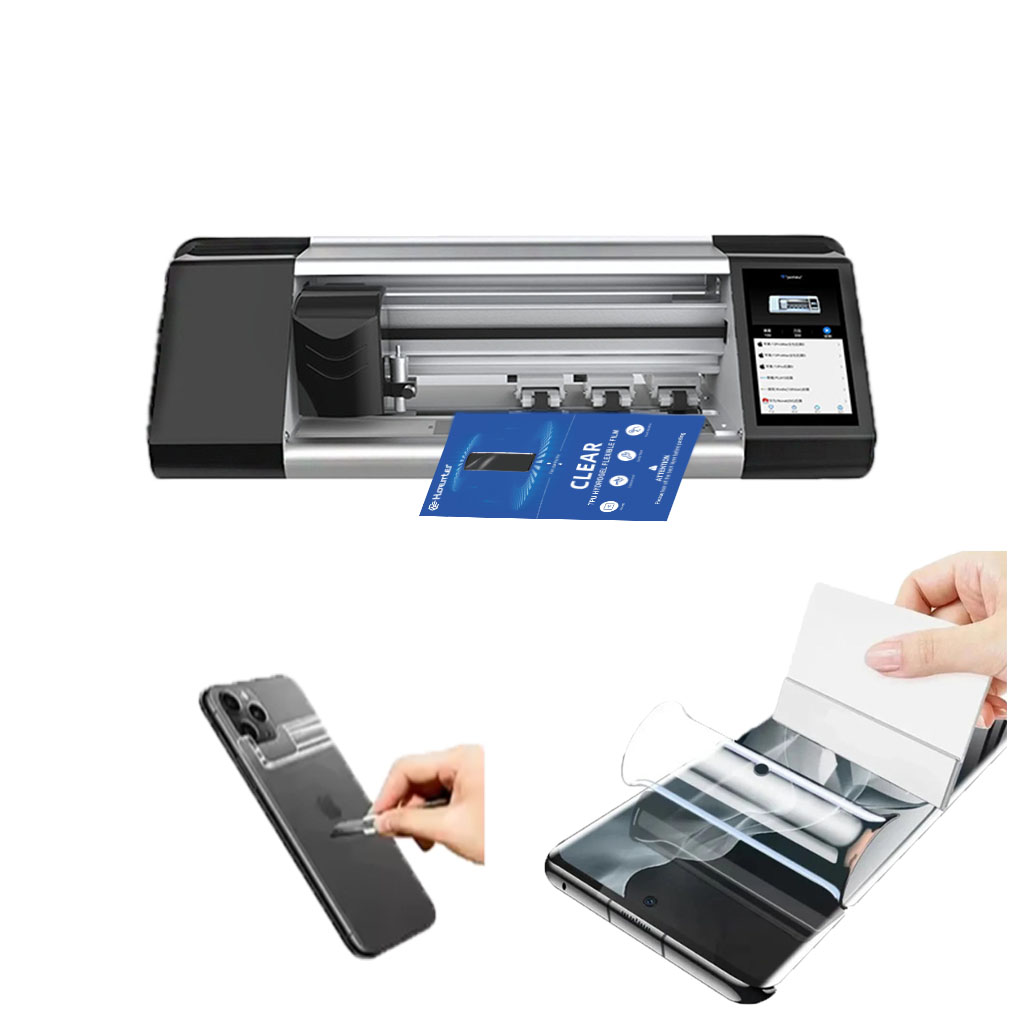
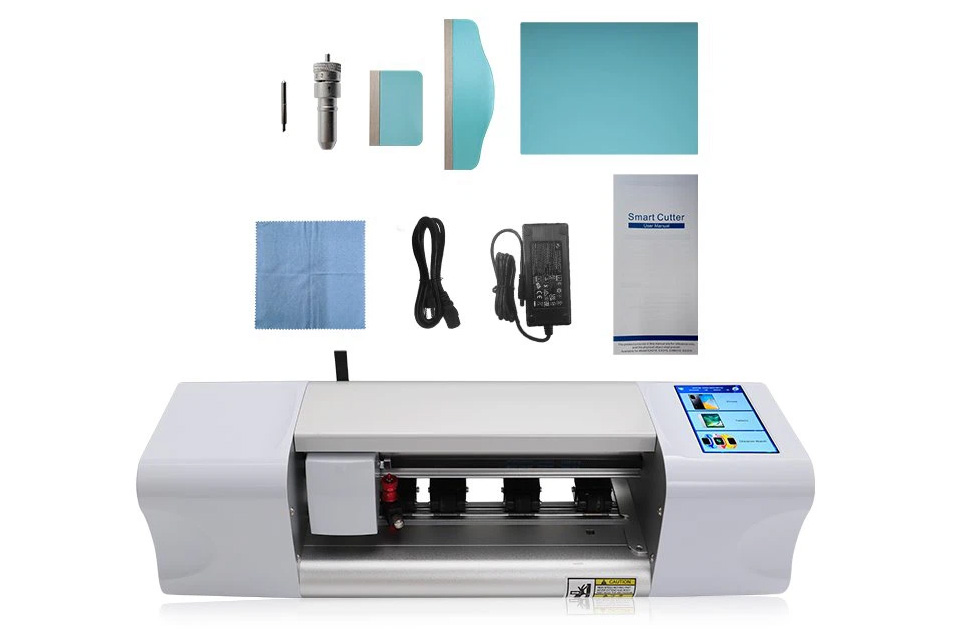
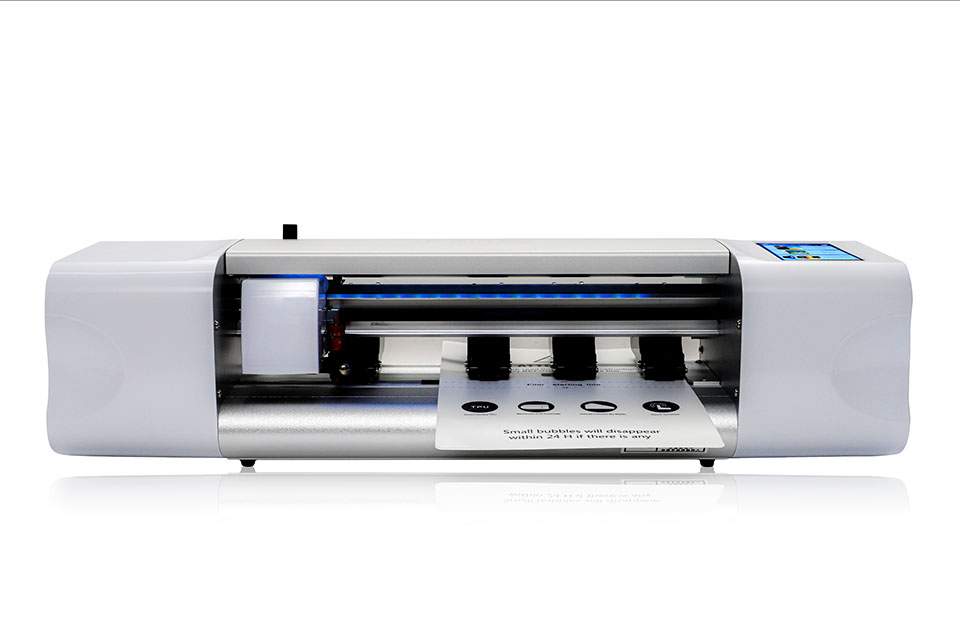
화면 보호기 커팅기는 스마트폰, 태블릿, 스마트워치, 노트북, 모니터 등 다양한 전자기기에 맞는 맞춤형 화면 보호기를 제작하기 위해 고안된 전문 장비입니다.
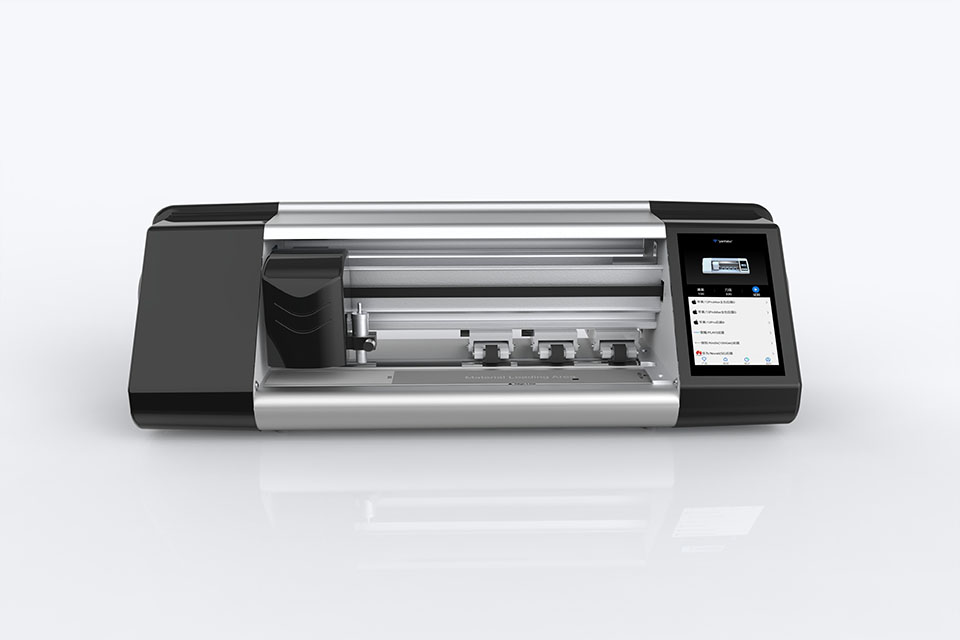
휴대폰 화면 보호기 절단기는 어떻게 작동합니까?
휴대폰 화면 보호기 절단기는 다음과 같이 설계된 정교한 장치입니다.
고가의 다양한 디지털 기기를 위한 맞춤형 화면 보호기를 생산합니다.
효율성.
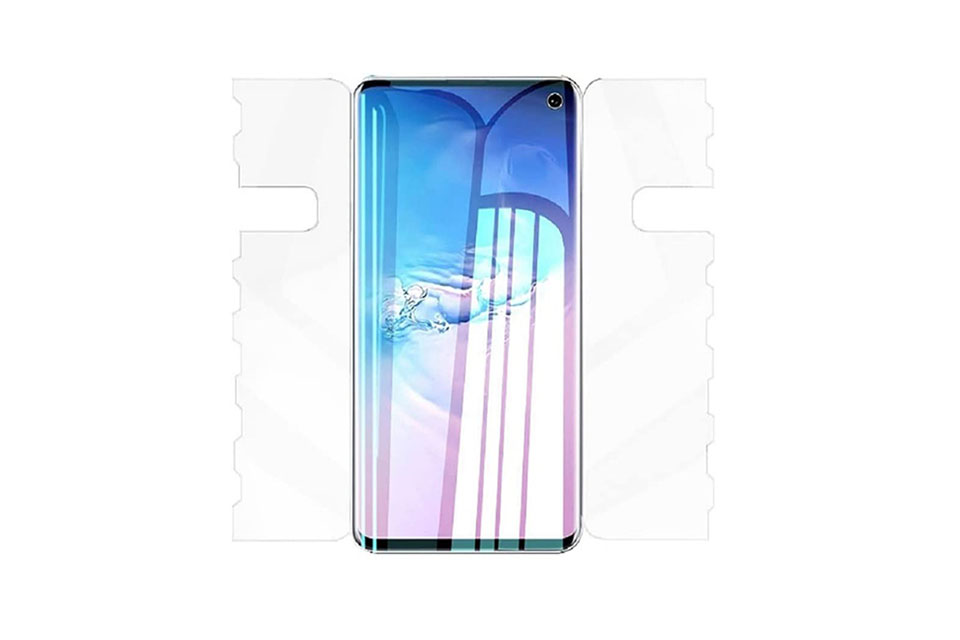
휴대폰 강화 유리 및 휴대폰 TPU 화면 보호기의 특성
열가소성 폴리우레탄(TPU) 화면 보호기는 유연하고 내구성이 뛰어나며
전자 기기 화면을 보호하도록 설계된 자가 치유 플라스틱 필름은 다음과 같습니다.
긁힘, 충격 및 기타 잠재적 손상.
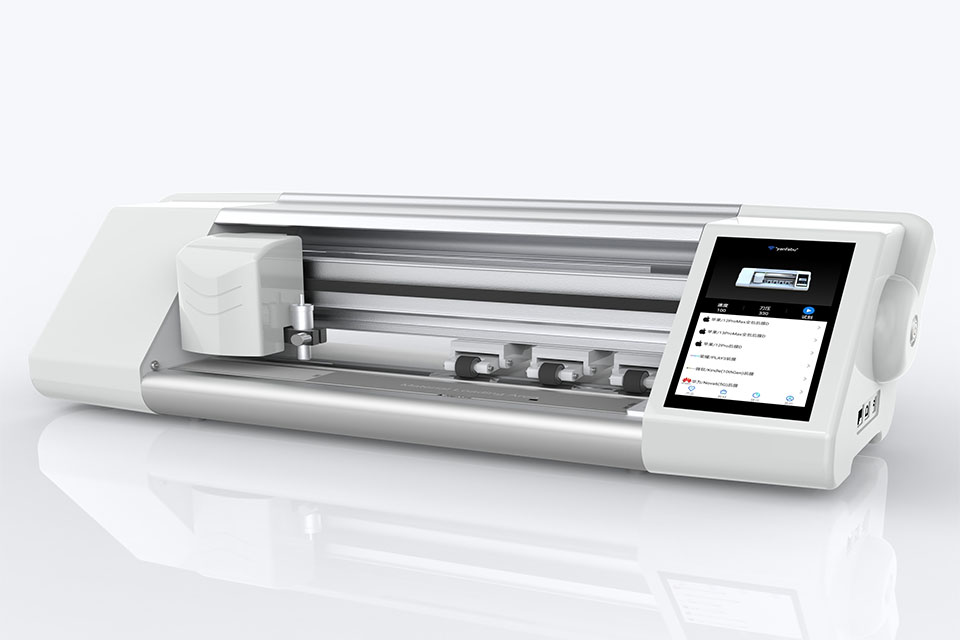
스크린 가드 절단기로 디바이스 보호 혁신
스마트폰, 태블릿, 스마트워치 등 다양한 기기를 사용할 수 있는 다목적 기기입니다. 기기의 크기에 맞춰 매끄럽게 조정되어 일반 보호기는 따라잡을 수 없는 맞춤형 핏을 제공합니다.
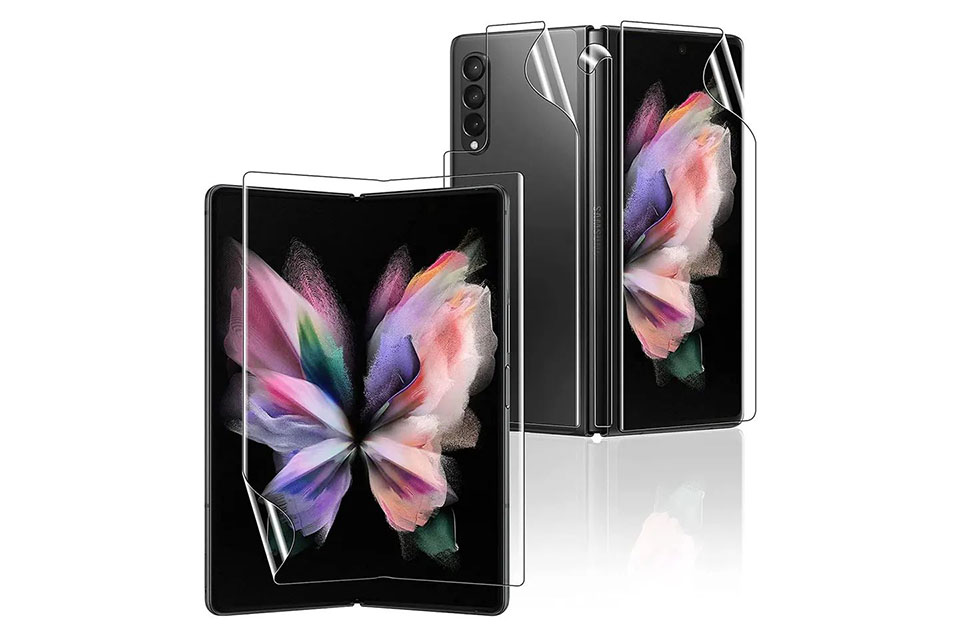
화면 보호기 평생 보증
화면 보호기 평생 보증은 제조업체에서 제공하는 보증입니다.
는 특정 이용 약관에 따라 제품 수명 기간 동안 화면 보호기를 수리 또는 교체할 것을 약속합니다.

