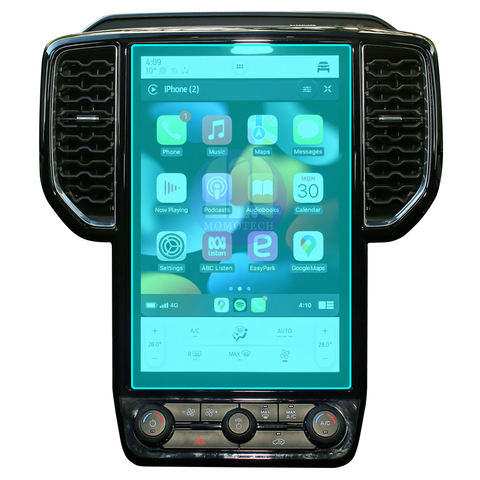
How to Apply a Screen Protector to a Camera?
Inhoudsopgave
Samenvatting
- Cleanliness is Key: Always clean your lens thoroughly before installation.
- Choose Wisely: Select a high-quality, compatible lens protector for your device.
- Patience Pays Off: Take your time during installation to avoid common mistakes.
- Regelmatig onderhoud: Keep your lens protector clean and protected for optimal performance.
Understanding the Importance of a Camera Lens Protector
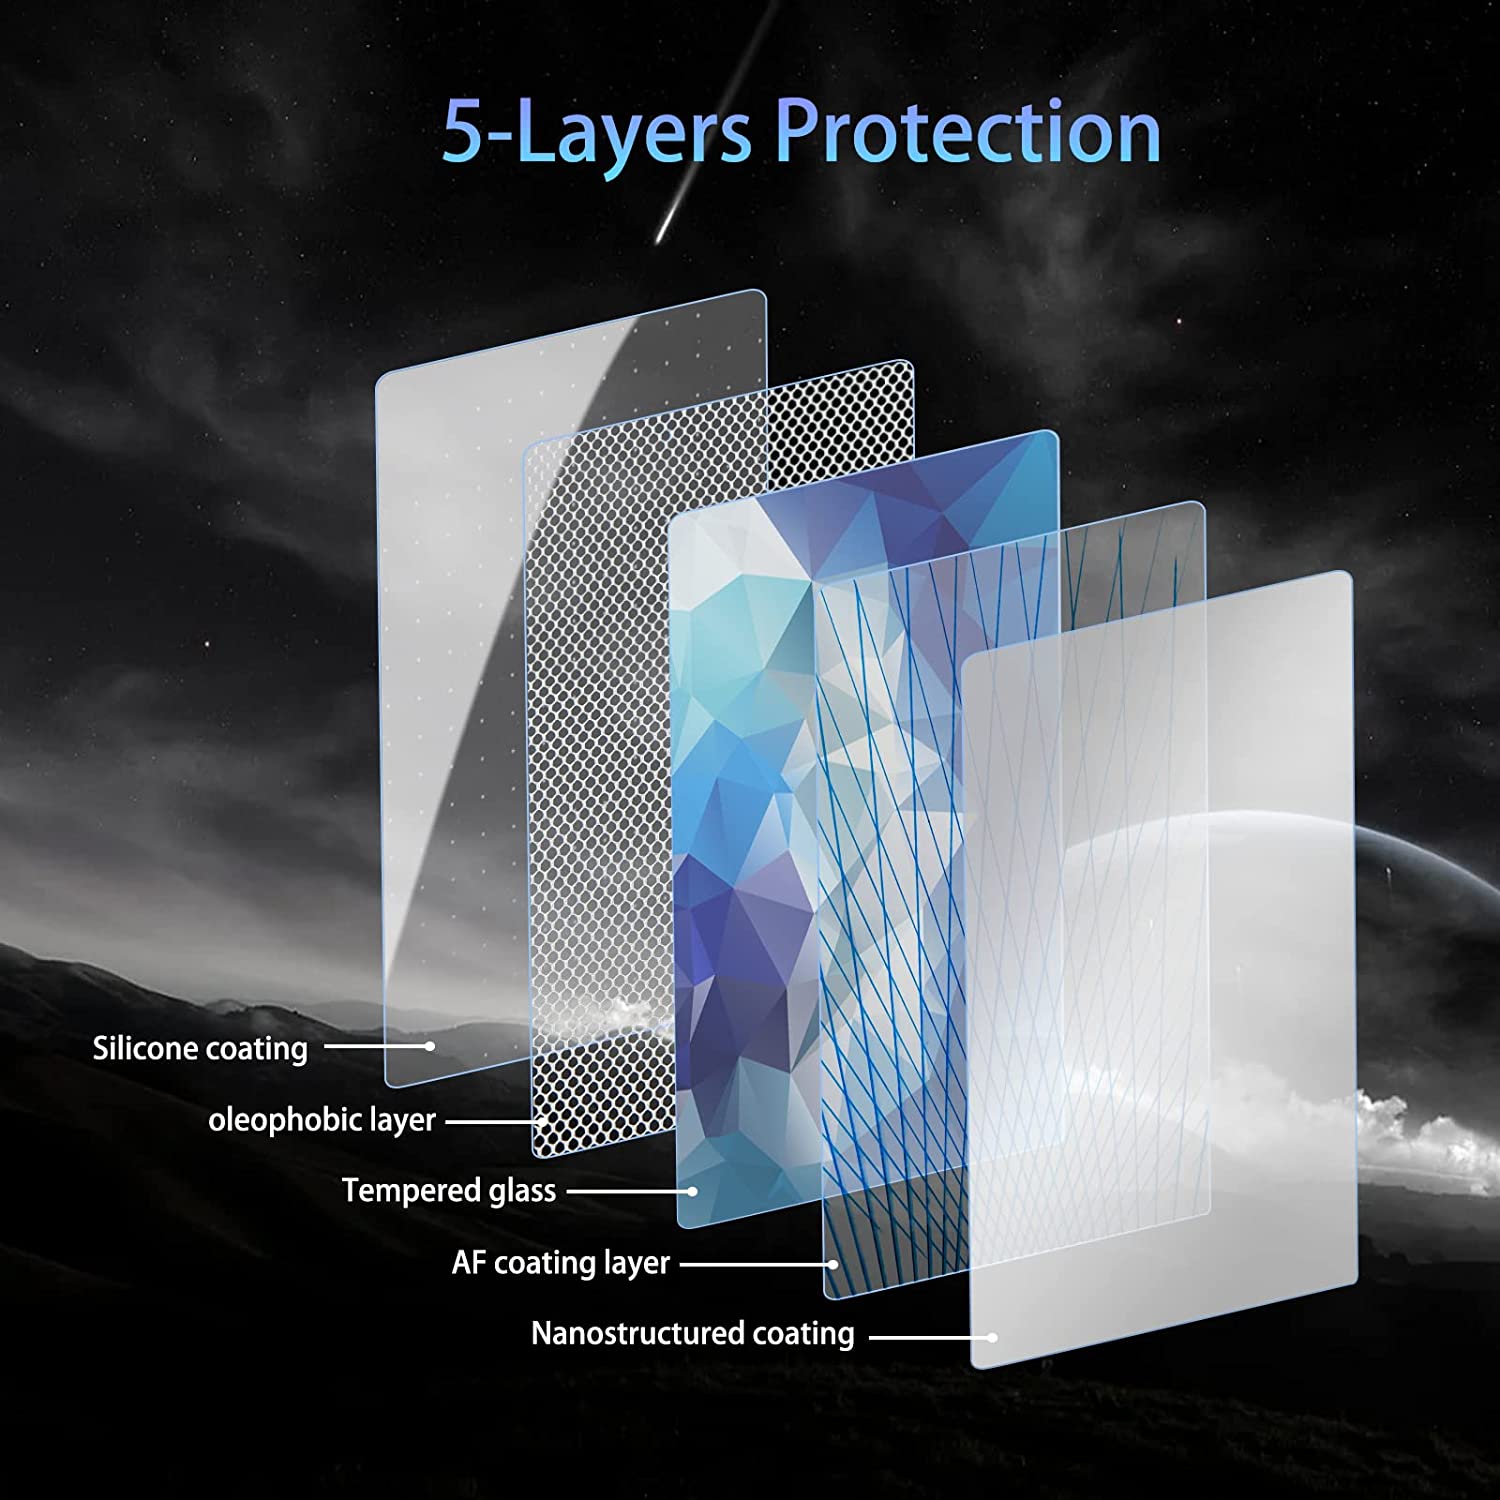
Camera lens protectors are essential for anyone who values their device’s camera quality. Why are they so important? They shield the lens from scratches, dust, and accidental drops, which can significantly degrade image quality over time. By investing in a lens protector, you’re ensuring that your camera remains in top condition, ready to capture life’s moments with clarity.Moreover, lens protectors are often made from tempered glass, which is both durable and transparent. This means you won’t have to compromise on image quality while keeping your lens safe. Did you know? A good lens protector can absorb impacts that would otherwise damage your lens, acting as a first line of defense.Choosing the Right Lens Protector for Your Device
Selecting the right lens protector is crucial. What should you look for? Consider the material, compatibility, and ease of installation. Tempered glass is a popular choice due to its strength and clarity. Ensure the protector is specifically designed for your device model, whether it’s an iPhone, Canon, or another brand.Professionele tip: Check user reviews and ratings to gauge the protector’s performance and durability. A well-reviewed product is more likely to meet your expectations and provide the protection your camera needs.Preparing Your Camera for Installation
Before you begin the installation process, it’s important to prepare your camera. How do you do this? Start by cleaning the lens thoroughly with a microfiber cloth to remove any dust or fingerprints. This ensures that the protector adheres properly and doesn’t trap any particles that could affect image quality.Next, gather all necessary tools, such as the lens protector, cleaning wipes, and an alignment tool if provided. Remember: A clean and organized workspace will make the installation process smoother and more efficient.
Step-by-Step Guide to Installing a Camera Lens Protector
- Clean the Lens: Use a microfiber cloth and cleaning solution to wipe the lens clean.
- Lijn de beschermer uit: Carefully align the protector with the lens, ensuring all edges match up perfectly.
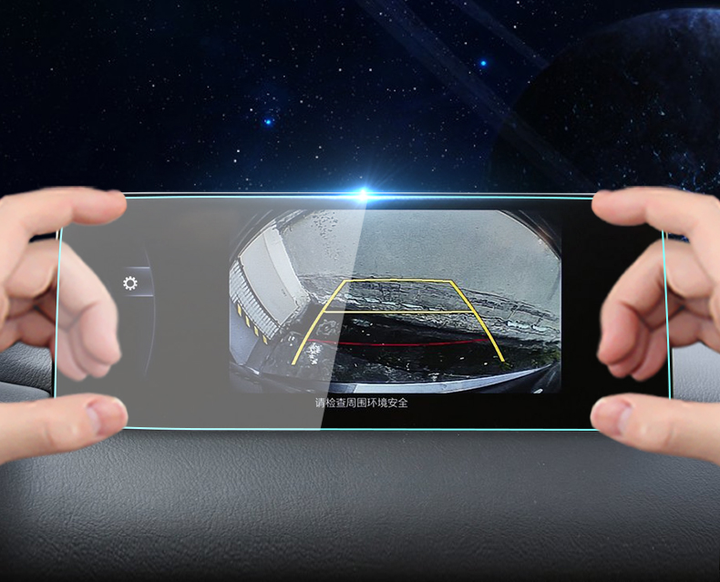
- Apply the Protector: Gently press the protector onto the lens, starting from the center and moving outward to remove air bubbles.
- Secure the Protector: Use a soft cloth to press down on the protector, ensuring it adheres firmly to the lens.
Common Mistakes to Avoid During Installation
Installing a lens protector might seem straightforward, but there are common mistakes to avoid. What are they? One major mistake is not cleaning the lens thoroughly, which can lead to trapped dust and reduced image quality. Another is misaligning the protector, which can cause it to peel off over time.Avoid These Pitfalls: Take your time during installation and double-check alignment before pressing down the protector. Patience is key to a successful installation.
How to Remove a Camera Lens Protector Safely
Removing a lens protector can be tricky if not done correctly. How can you do it safely? Start by gently lifting one corner of the protector with a thin plastic card. Slowly peel it off, applying even pressure to avoid damaging the lens.Veiligheidstip: Avoid using metal tools, as they can scratch the lens. If the protector is stubborn, apply a bit of heat with a hairdryer to loosen the adhesive.Maintaining Your Camera Lens Protector
Once installed, maintaining your lens protector is crucial for its longevity. How do you maintain it? Regularly clean the protector with a microfiber cloth to remove smudges and dust. Avoid using harsh chemicals that could damage the glass.Maintenance Tip: Store your camera in a protective case when not in use to prevent accidental scratches or impacts.FAQs About Camera Lens Protectors
Q: Do lens protectors affect image quality?A: High-quality lens protectors are designed to be transparent and should not affect image quality. Ensure you choose a reputable brand.Q: Can I reuse a lens protector after removal?A: It’s not recommended to reuse a lens protector, as the adhesive may not be as effective, and it could trap dust or debris.
Troubleshooting Installation Issues
If you encounter issues during installation, don’t worry. What can you do? If air bubbles persist, try reapplying the protector using the credit card method mentioned earlier. For alignment issues, carefully remove and realign the protector.Troubleshooting Tip: If problems persist, consider seeking professional help or contacting the manufacturer’s customer service for guidance.Reacties
Tags
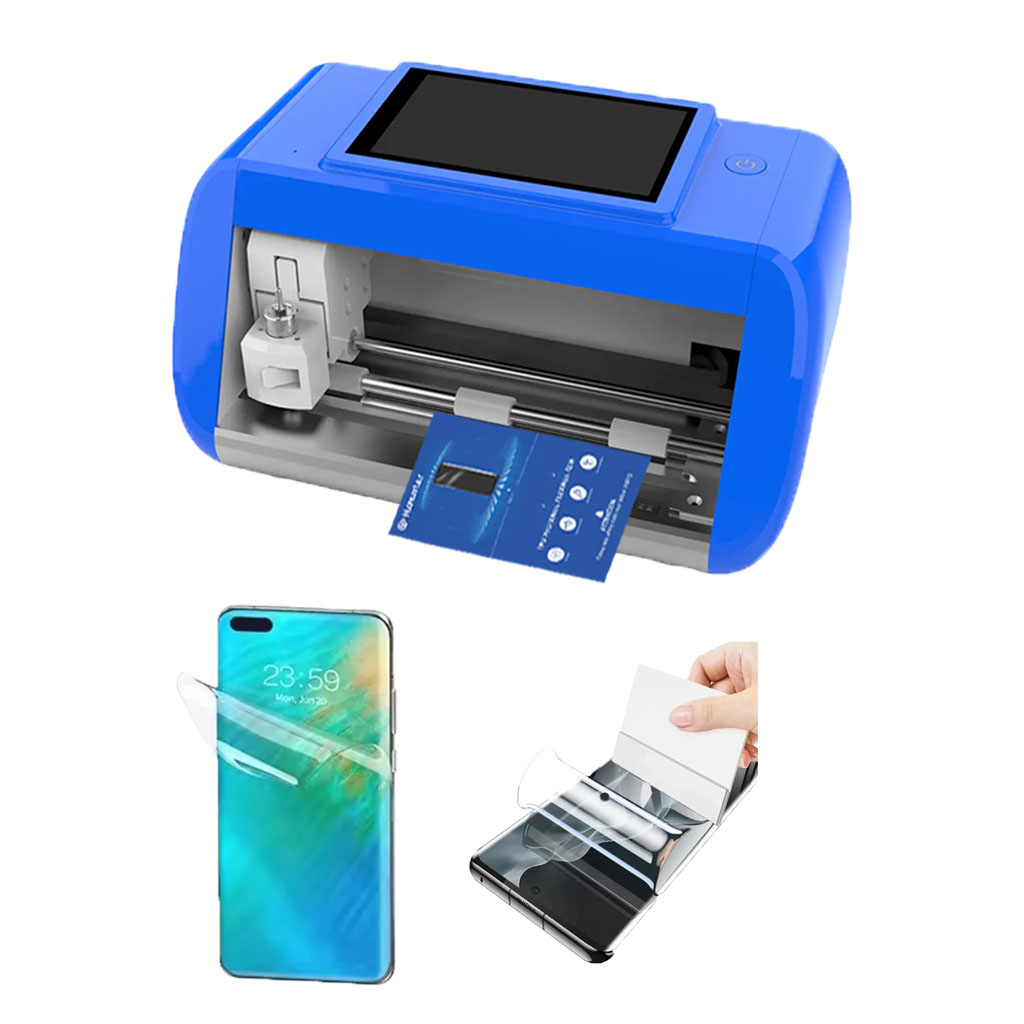
Mobiele schermbeveiligingssnijmachine
Home mini screen protector snijmachine Email What'sApp Product Parameters CONTROL:APP controle / Bluetooth LCD TOUCH SCREEN : 5.5″ HD

Do Screen Protectors Prevent Cracking?
A screen protector is a valuable investment for anyone looking to protect their device.
Hoe repareer je een gebarsten telefoonscherm
Met deze tips en trucs kunt u gebarsten schermen efficiënt aanpakken en onnodige kosten vermijden.
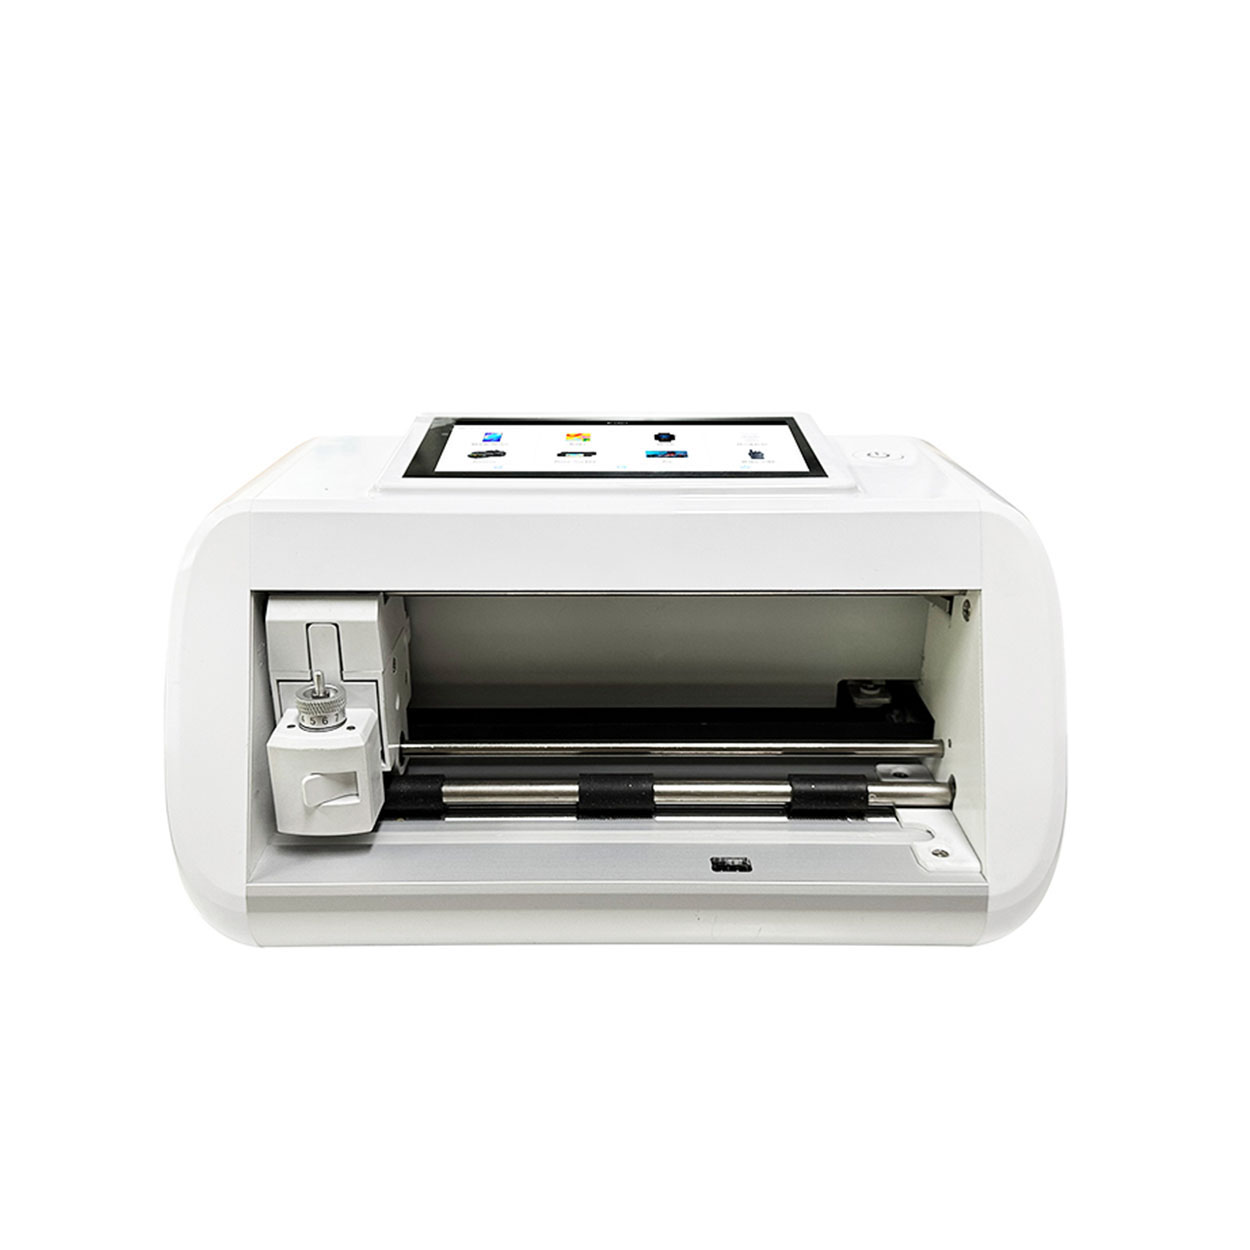
Mini schermbeschermer snijmachine fabrikant
Home mini screen protector snijmachine Email What'sApp Product Parameters CONTROL:APP controle / Bluetooth LCD TOUCH SCREEN : 5.5″ HD

Factoren die de prijs van snijmachines voor schermbeschermers beïnvloeden
In de snelle wereld van mobiele accessoires zijn snijmachines voor screenprotectors een essentieel hulpmiddel geworden voor bedrijven die op maat gemaakte oplossingen willen bieden voor een breed scala aan apparaten.
Vind alle kennis en trends uit onze blog, krijg de groothandelsprijs en beste kwaliteit van onze fabriek.
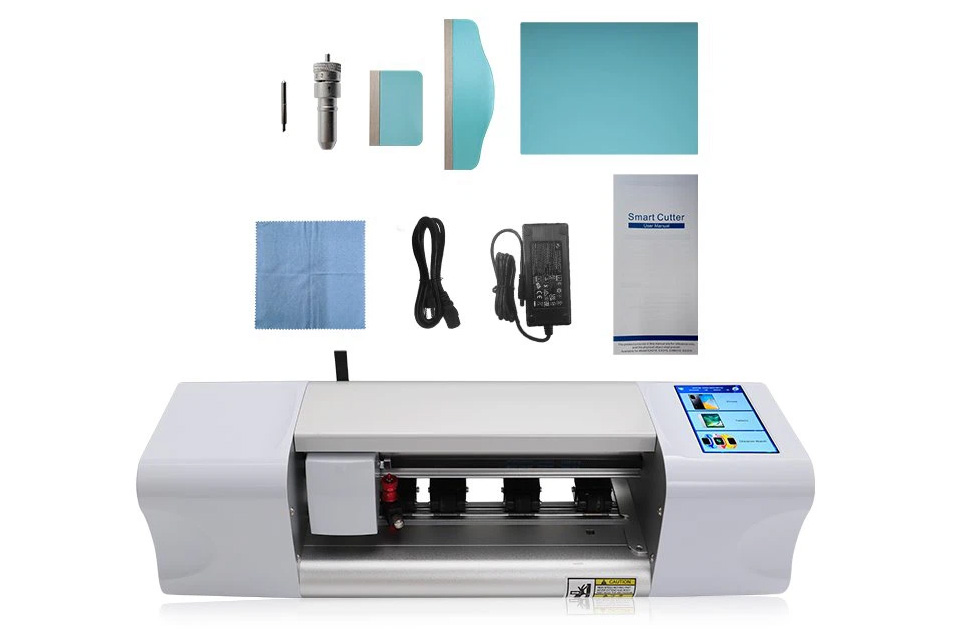
Welke Film Snijmachine en Zijn Toepassing
Filmsnijmachines hebben een cruciale rol gespeeld in de evolutie van het filmmaken en verschillende industriële processen door nauwkeurig snijden en verbinden van filmmateriaal mogelijk te maken.
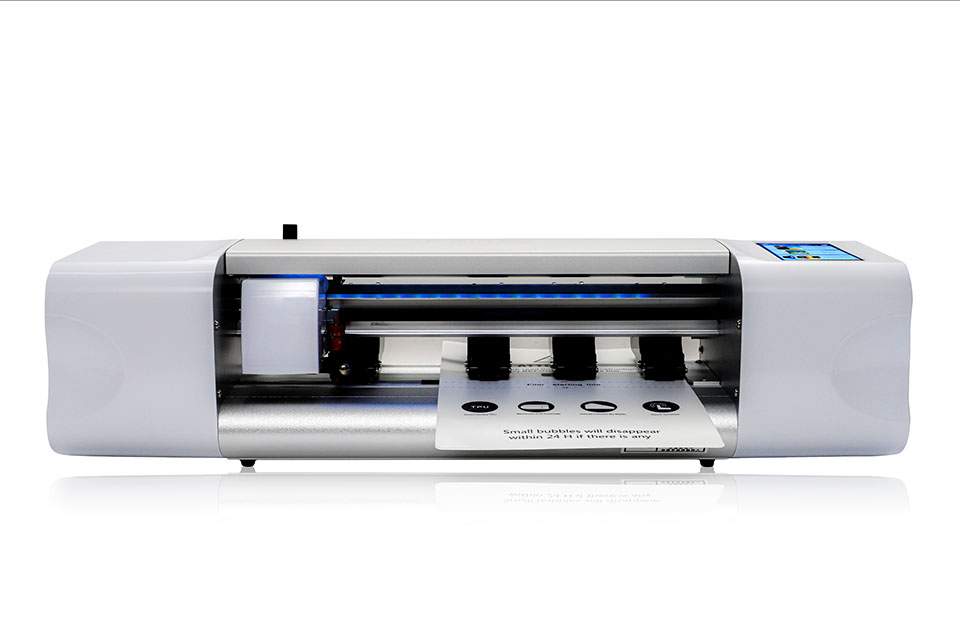
Wat is een snijmachine voor schermbeschermers?
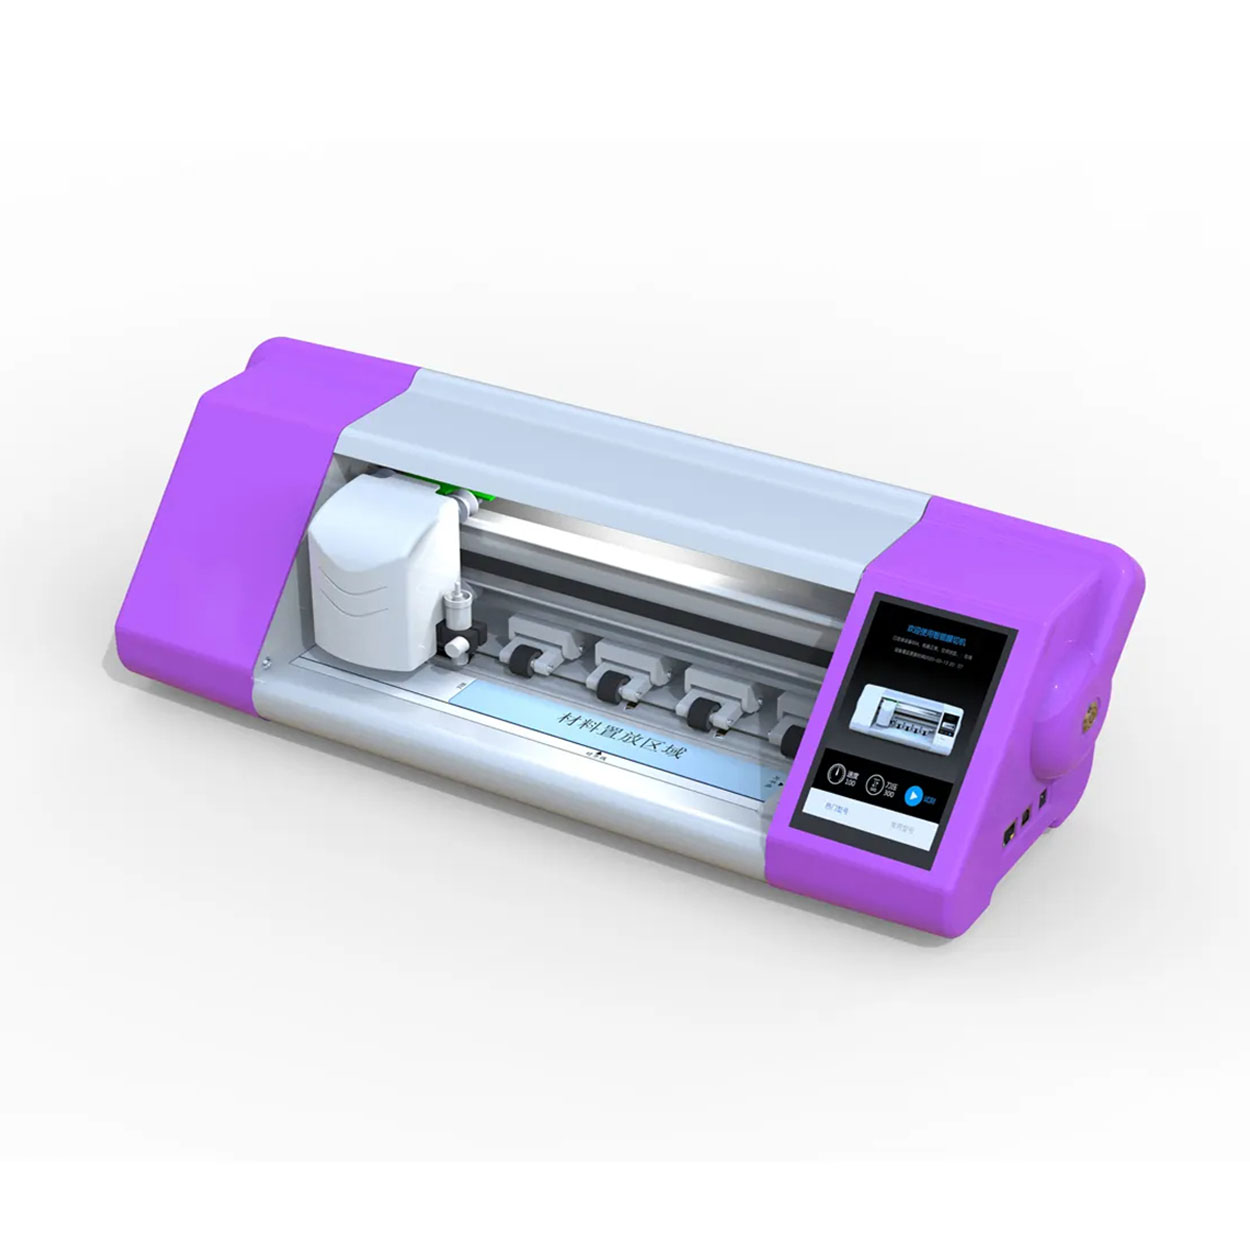
Een snijmachine voor screenprotectors is een gespecialiseerd apparaat dat is ontworpen om op maat gemaakte screenprotectors te maken voor verschillende elektronische apparaten, waaronder smartphones, tablets, smartwatches, laptops en monitors.
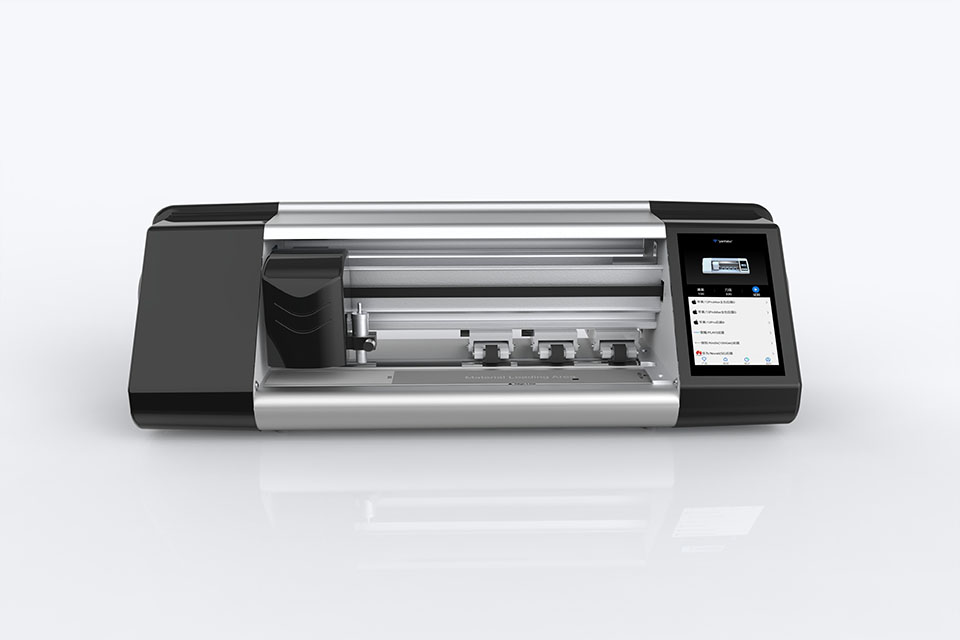
Hoe mobiele telefoon scherm beschermer snijmachine werk?
Een snijmachine voor schermbeschermers van mobiele telefoons is een geavanceerd apparaat dat is ontworpen
om op maat gemaakte schermbeschermers te produceren voor verschillende digitale apparaten met hoge preci
en efficiëntie.
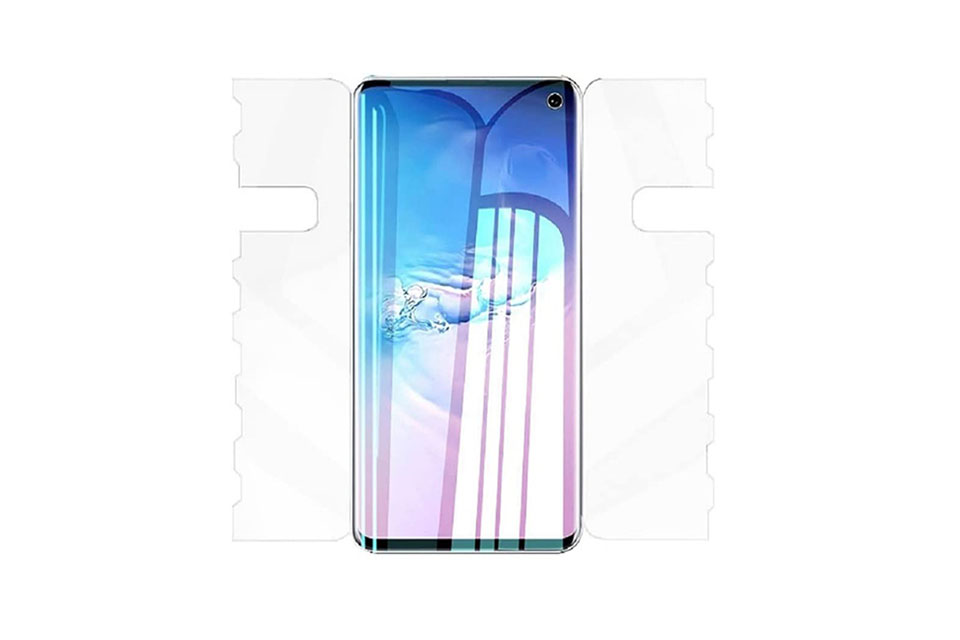
Kenmerken van Mobiele Telefoon Gehard Glas en Mobiele Telefoon TPU Screen Protector
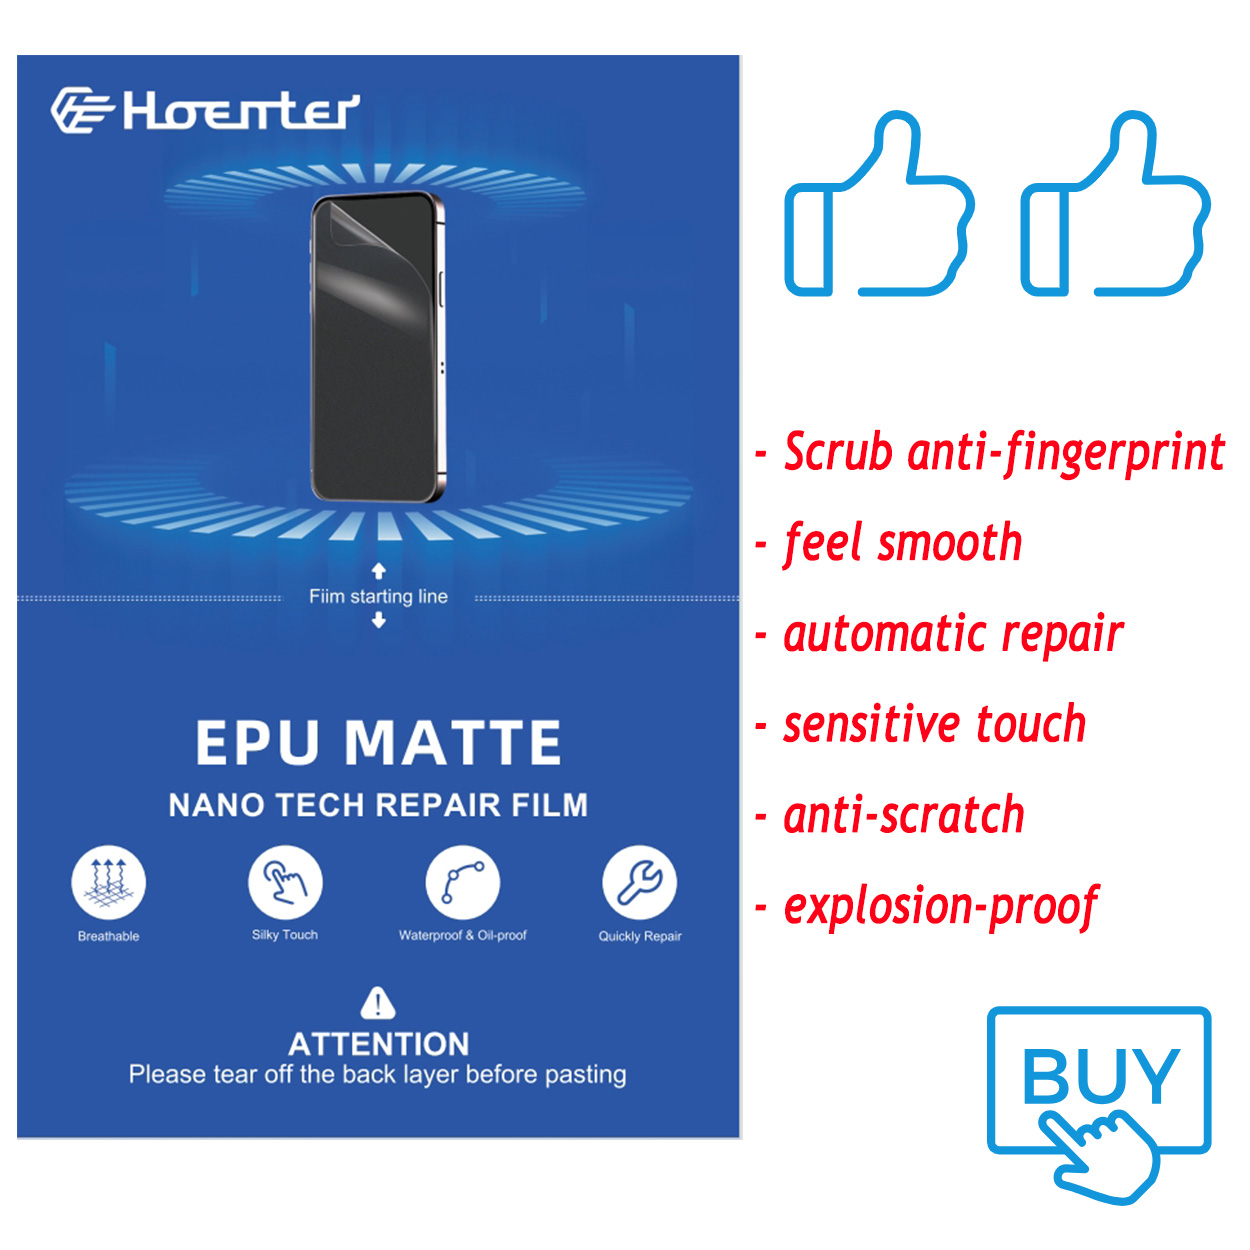
Thermoplastisch polyurethaan (TPU) schermbeschermers zijn flexibel, duurzaam en
zelfherstellende plastic films ontworpen om schermen van elektronische apparaten te beschermen tegen
krassen, stoten en andere potentiële schade.
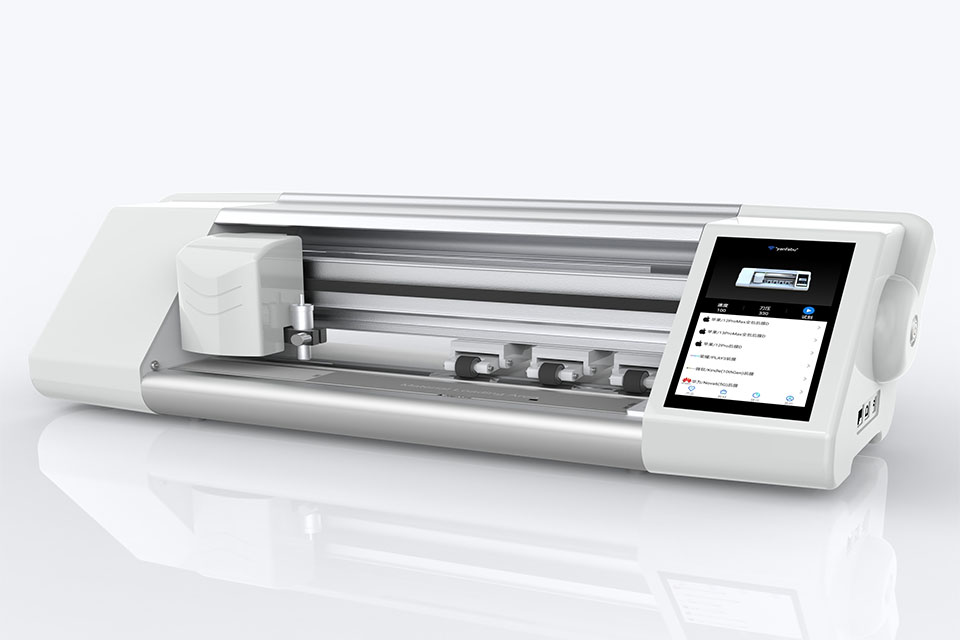
Revolutie in apparaatbeveiliging met snijmachine voor schermbeveiliging
Of je nu een smartphone, tablet of smartwatch hebt, dit veelzijdige apparaat is geschikt voor een groot aantal apparaten. Het past zich naadloos aan de afmetingen van je gadget aan en biedt een aangepaste pasvorm waar generieke beschermers niet aan kunnen tippen.
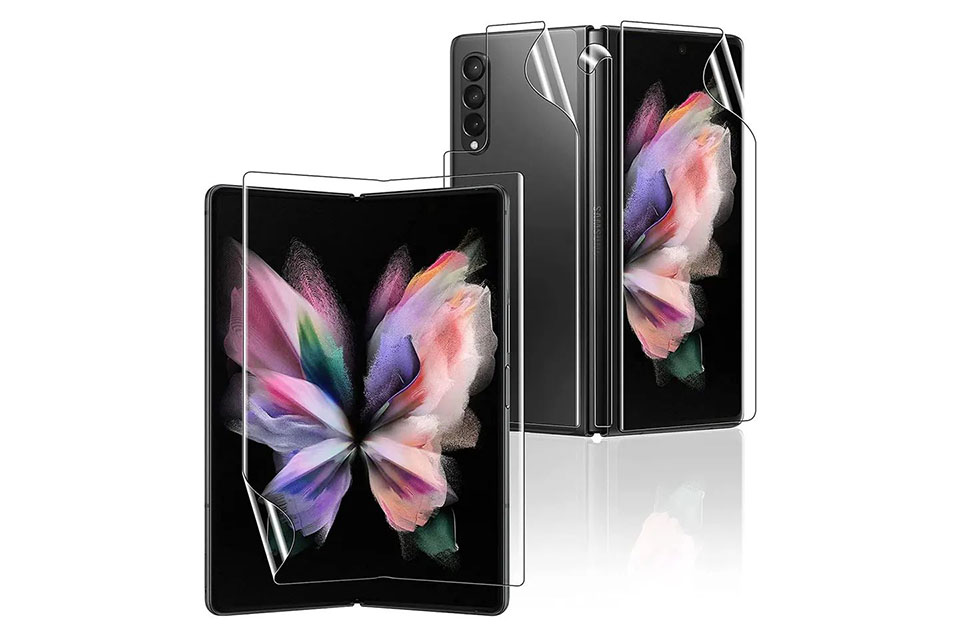
Levenslange garantie op de screenprotector
Een levenslange garantie op screenprotectors is een garantie van fabrikanten dat
belooft een screenprotector te repareren of te vervangen gedurende de levensduur van het product, onder specifieke voorwaarden.

