How to Use Guide Stickers for Screen Protector?
Spis treści
Podsumowanie
- Guide stickers are essential tools for aligning a screen protector perfectly.
- Always clean your screen thoroughly before installation.
- Work in a dust-free environment to avoid contamination.
- Take your time to ensure proper alignment and a bubble-free finish.
- If mistakes happen, use dust removal stickers or reposition the protector carefully.
1. What Are Guide Stickers for Screen Protector Installation?
Guide stickers are small adhesive tabs that come with most tempered glass screen protector kits. They help align the protector on your phone screen before you commit to sticking it down. These stickers act as a “hinge,” holding the glass in place while allowing you to make final adjustments.Features of Guide Stickers
- Typically included with premium screen protector kits.
- Made from non-damaging adhesive that won’t leave residue on your phone.
- Designed to simplify the alignment process.
Did you know? Guide stickers are especially useful for larger devices like tablets, where precise alignment is even more challenging.
2. Why Are Guide Stickers Essential for a Perfect Application?
Stosowanie Ochraniacz ekranu ze szkła hartowanego manually can lead to problems like:- Misalignment
- Air bubbles
- Dust getting trapped under the glass
Benefits of Using Guide Stickers
- Precision: Ensures perfect alignment with the edges of your phone.
- Convenience: Simplifies the process, even for beginners.
- Protection: Reduces the chance of dust contamination during application.

3. Step-by-Step Guide: How to Use the Guide Stickers for Screen Protector Installation
Follow these steps for a flawless screen protector installation using guide stickers:Krok 1: Przygotowanie miejsca pracy
- Choose a clean, dust-free area. A well-lit room is best.
- Wash your hands to avoid transferring oils or dirt to the protector.
Step 2: Clean Your Screen
- Use the provided cleaning kit (usually includes an alcohol wipe and microfiber cloth) to remove fingerprints and dust.
- Use the dust removal sticker to pick up any remaining particles.
Step 3: Position the Guide Stickers
- Peel off the guide stickers and attach them to one end of the tempered glass screen protector.
- Align the protector with your phone screen while holding the guide stickers.
Step 4: Use the Stickers as Hinges
- Once aligned, press the guide stickers onto the back of your phone. They’ll act as hinges, holding the glass in the correct position.
Step 5: Remove the Backing Film
- Lift the glass protector using the guide stickers as a hinge.
- Peel off the backing film from the adhesive side of the glass.
Step 6: Apply the Protector
- Slowly lower the glass onto the phone screen. The adhesive will begin to bond automatically.
- Gently press from the center outward to eliminate bubbles.
Step 7: Final Adjustments
- Remove the guide stickers carefully.
- Check for bubbles or dust, and use the provided tools to fix any issues.
Wskazówka: Using a credit card wrapped in a microfiber cloth can help push out stubborn bubbles.
4. Common Mistakes to Avoid When Installing a Tempered Glass Screen Protector
Even with guide stickers, mistakes can happen. Avoid these common pitfalls:Mistake 1: Skipping the Cleaning Step
Dust or fingerprints will create bubbles under the protector. Always clean the screen thoroughly.Mistake 2: Misaligning the Protector
Take your time during the alignment step. Use the guide stickers as a reference.Mistake 3: Applying Too Much Force
Pressing too hard can crack the glass or create air bubbles. Be gentle and patient.Remember: A rushed installation often leads to a poor finish. Take your time!
5. What to Do If Bubbles or Dust Appear Under the Screen Protector?
Nobody likes dealing with air bubbles or dust under their screen protector. Here’s how to fix these issues:For Bubbles:
- Use a plastic card wrapped in a soft cloth to push bubbles toward the edges.
- For small, stubborn bubbles, apply light heat using a hairdryer to soften the adhesive.
For Dust:
- Carefully lift the edge of the screen protector using a piece of tape.
- Use a dust removal sticker to pick up the particle.
- Reapply the protector.
Cytat: “Patience is key when installing a screen protector. A little extra effort goes a long way.”
6. Can You Reinstall a Screen Protector If It’s Misaligned?
Yes, but only if you act quickly. Most Ochraniacze ekranu ze szkła hartowanego can be carefully removed and repositioned during the first few minutes of installation. Use the guide stickers to realign the protector, then press it back down.Warning: Repeated repositioning can weaken the adhesive and reduce the protector’s effectiveness.
7. Tips for Installing a Glass Screen Protector on Different Devices
Smartphones:
- Use guide stickers for precise alignment.
- Pay extra attention to curved screens, as they can be trickier to cover.
Tablets:
- Work slowly, as larger screens are more prone to bubbles.
- Consider enlisting a second person to help with alignment.
Smartwatches:
- Use a smaller version of the guide sticker method for these tiny screens.
- Ensure the protector is compatible with curved surfaces, if applicable.
8. The Role of Cleaning Kits in Screen Protector Installation
A clean screen is the foundation of a flawless protector installation. Most kits include:- Alcohol wipes to remove oils and dirt.
- Microfiber cloths to polish the screen.
- Naklejki do usuwania kurzu to pick up tiny particles.
9. How to Care for Your Screen Protector After Installation?
Once your Ochraniacz ekranu ze szkła hartowanego is installed, take these steps to keep it in top condition:- Avoid using abrasive cleaning solutions. Stick to a microfiber cloth and water.
- Check periodically for dust buildup along the edges and clean as needed.
- Replace the protector if it cracks or chips.
10. FAQs About Using Guide Stickers for Tempered Glass Screen Protectors
Q1: Are guide stickers reusable?
No, guide stickers are designed for single use. Reusing them may reduce their adhesive strength.Q2: Can I install a screen protector without guide stickers?
Yes, but it’s more challenging. Guide stickers simplify the process and improve accuracy.Q3: How long does it take to install a screen protector?
With guide stickers, the process typically takes 5–10 minutes.Komentarze
Tagi

Co wpływa na cenę urządzenia do ochrony ekranu telefonu?
Branża ochraniaczy ekranu telefonu odnotowała znaczny wzrost w ciągu ostatnich kilku lat, napędzany rosnącym popytem na ochronę urządzeń mobilnych.
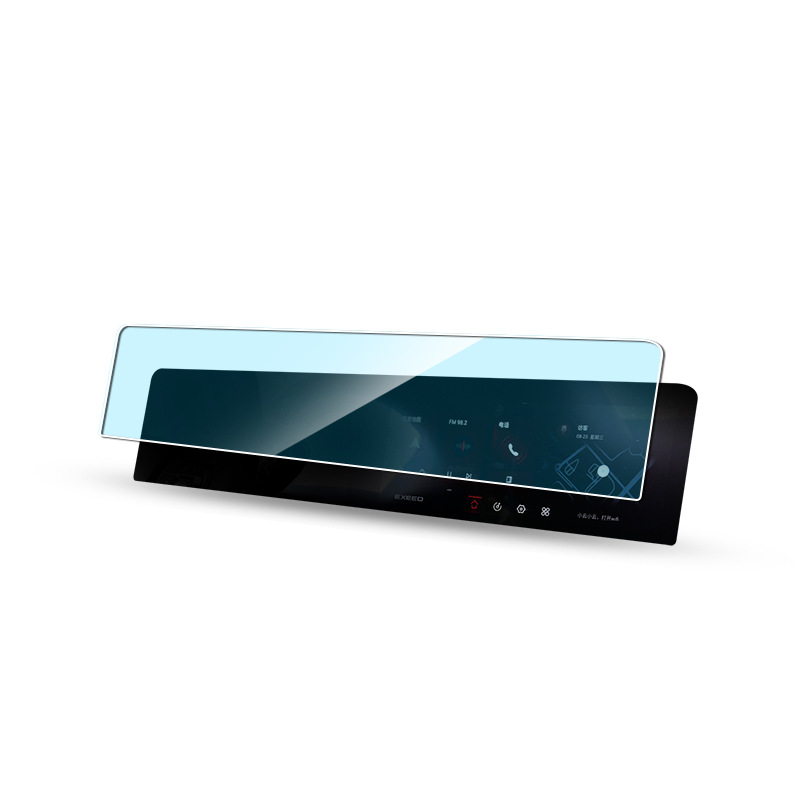
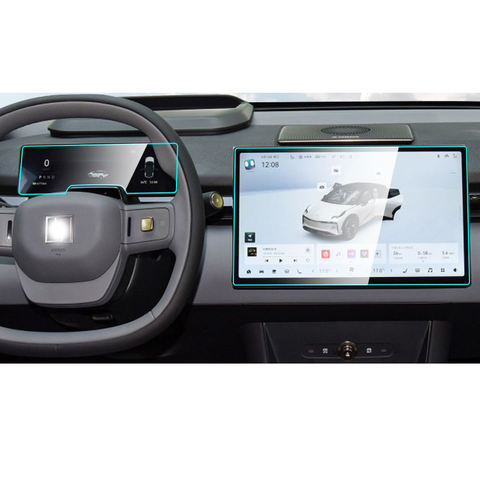
Hongqi HS9 2023 Navigation Tempered Glass
Protect your investment with a high-quality Hongqi HS9 2023 Screen Protector. Prevent scratches and damage to your new HS9’s navigation display.
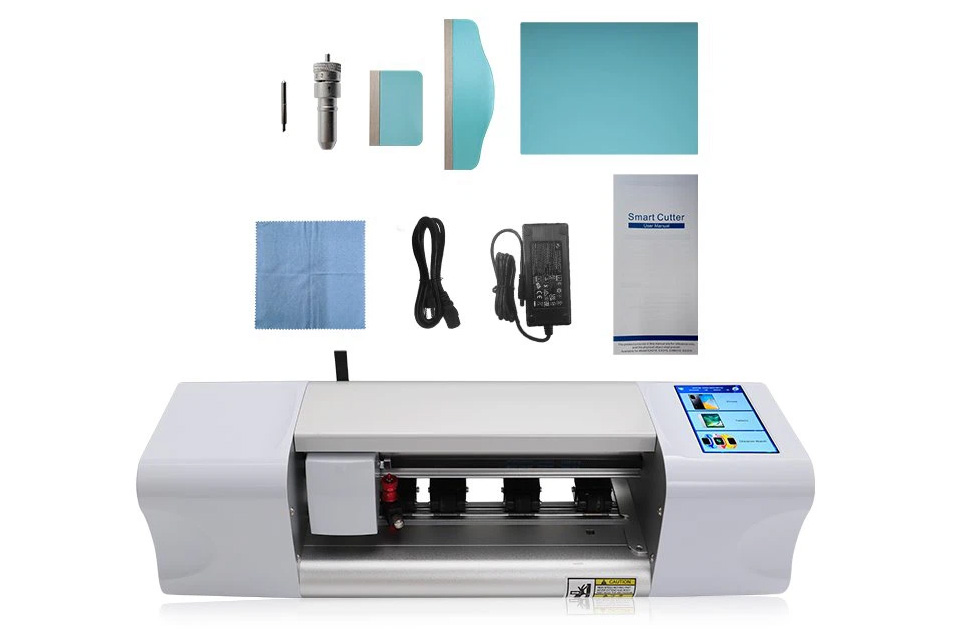
Jaka maszyna do cięcia folii i jej zastosowanie
Maszyny do cięcia folii odegrały kluczową rolę w ewolucji produkcji filmowej i różnych procesów przemysłowych, umożliwiając precyzyjne cięcie i łączenie materiałów filmowych.

Top 5 niedrogich maszyn do cięcia ochraniaczy ekranu dla małych firm
W szybko ewoluującym świecie akcesoriów mobilnych, dostarczanie niestandardowych ochraniaczy ekranu dla szerokiej gamy urządzeń stało się niezbędne dla małych firm, a inwestycja w odpowiednią maszynę do cięcia ochraniaczy ekranu ma kluczowe znaczenie dla sukcesu.

Inteligentna maszyna do cięcia ekranów prywatności: Kompletny przewodnik dla firm
Inteligentne maszyny do cięcia ekranów prywatności to zaawansowane urządzenia integrujące inteligentną technologię w celu wydajnego tworzenia niestandardowych ekranów prywatności, zaspokajając rosnące obawy dotyczące prywatności cyfrowej w różnych branżach.
Znajdź całą wiedzę i trendy z naszego bloga, uzyskaj hurtową cenę i najlepszą jakość z naszej fabryki.

Jaka maszyna do cięcia folii i jej zastosowanie
Maszyny do cięcia folii odegrały kluczową rolę w ewolucji produkcji filmowej i różnych procesów przemysłowych, umożliwiając precyzyjne cięcie i łączenie materiałów filmowych.
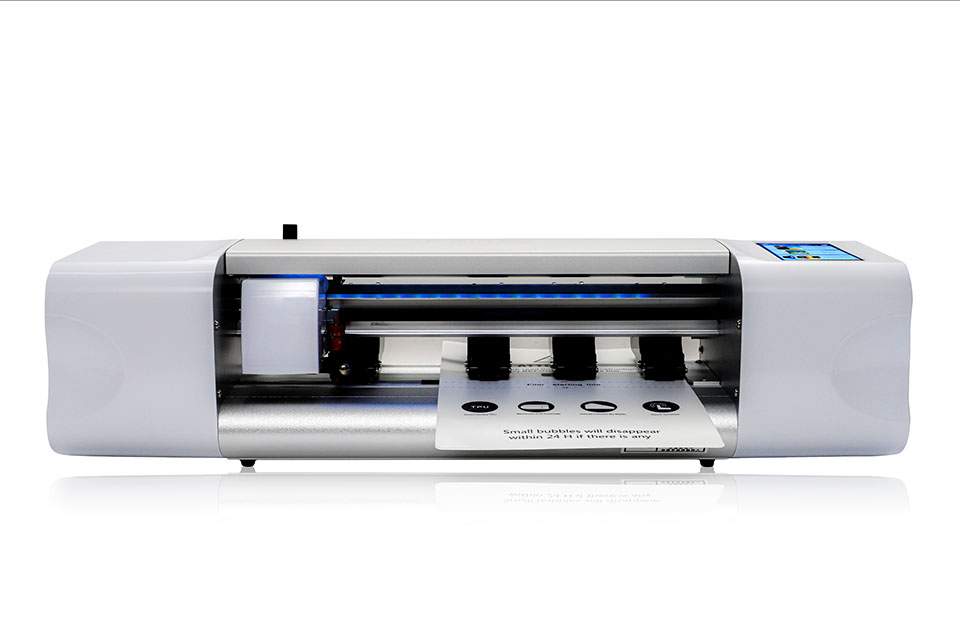
Co to jest maszyna do cięcia ochraniaczy ekranu?
Maszyna do cięcia ochraniaczy ekranu to specjalistyczne urządzenie zaprojektowane do produkcji niestandardowych ochraniaczy ekranu dla różnych urządzeń elektronicznych, w tym smartfonów, tabletów, smartwatchy, laptopów i monitorów.
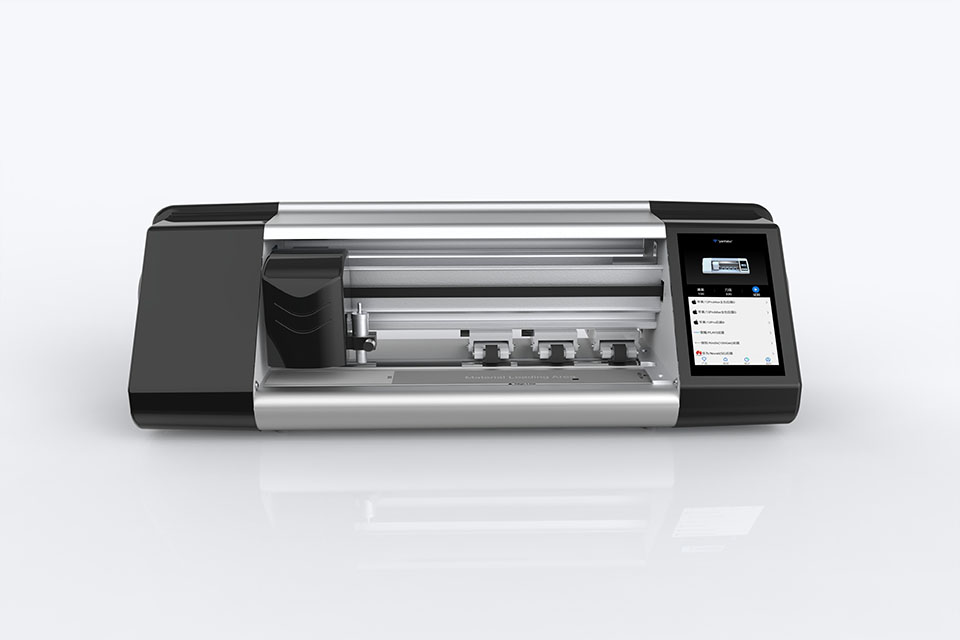
Jak działa maszyna do cięcia ochraniaczy ekranu telefonu komórkowego?
Maszyna do cięcia ochraniaczy ekranu telefonu komórkowego jest zaawansowanym urządzeniem zaprojektowanym
do produkcji niestandardowych ochraniaczy ekranu dla różnych urządzeń cyfrowych z wysoką ceną
i wydajność.
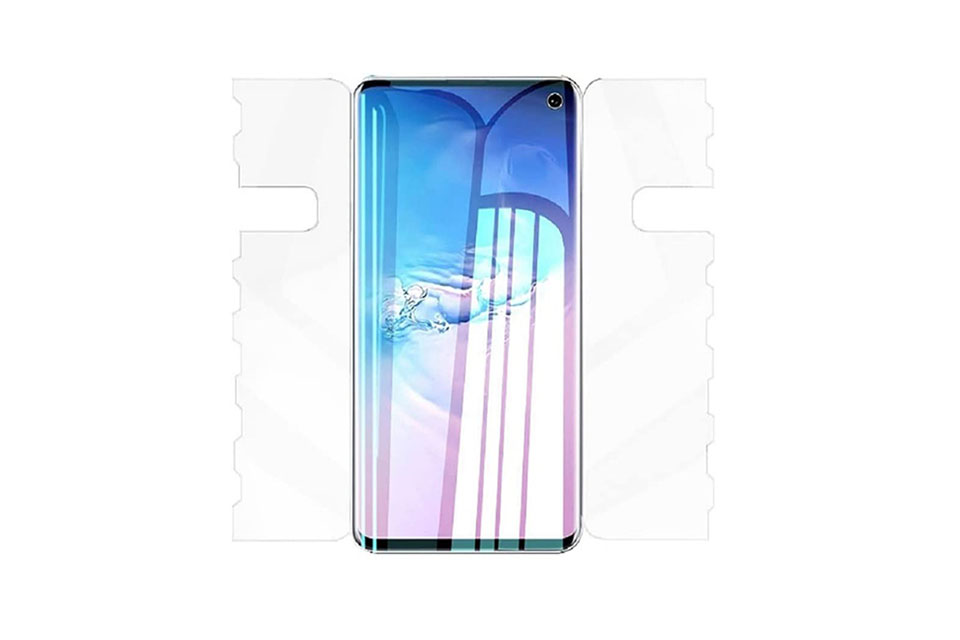
Charakterystyka szkła hartowanego na telefon komórkowy i ochraniacza ekranu TPU na telefon komórkowy
Ochraniacze ekranu z termoplastycznego poliuretanu (TPU) są elastyczne, trwałe i wytrzymałe.
samoregenerujące się folie z tworzyw sztucznych przeznaczone do ochrony ekranów urządzeń elektronicznych przed
zadrapania, uderzenia i inne potencjalne uszkodzenia.
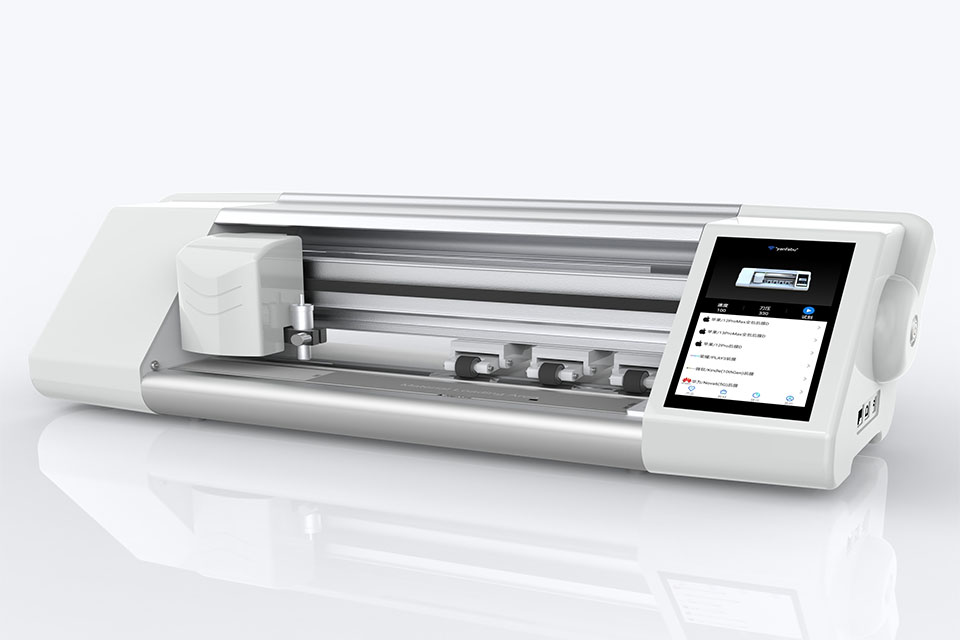
Rewolucja w ochronie urządzeń dzięki maszynie do cięcia osłon ekranu
Niezależnie od tego, czy posiadasz smartfon, tablet czy smartwatch, to wszechstronne urządzenie obsługuje szeroką gamę urządzeń. Płynnie dostosowuje się do wymiarów gadżetu, oferując niestandardowe dopasowanie, którego nie można dopasować do ogólnych ochraniaczy.
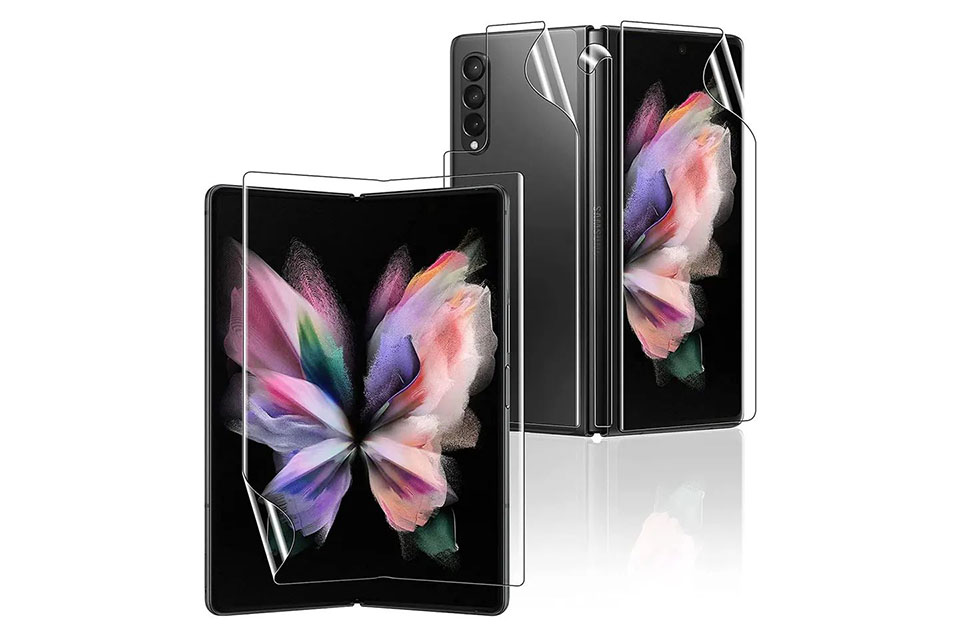
Dożywotnia gwarancja na osłonę ekranu
Dożywotnia gwarancja na ochraniacz ekranu to gwarancja udzielana przez producentów, która
obiecuje naprawę lub wymianę osłony ekranu przez cały okres użytkowania produktu, na określonych warunkach.

