How to Use Guide Stickers for Screen Protector?
Índice
Resumo
- Guide stickers are essential tools for aligning a screen protector perfectly.
- Always clean your screen thoroughly before installation.
- Work in a dust-free environment to avoid contamination.
- Take your time to ensure proper alignment and a bubble-free finish.
- If mistakes happen, use dust removal stickers or reposition the protector carefully.
1. What Are Guide Stickers for Screen Protector Installation?
Guide stickers are small adhesive tabs that come with most tempered glass screen protector kits. They help align the protector on your phone screen before you commit to sticking it down. These stickers act as a “hinge,” holding the glass in place while allowing you to make final adjustments.Features of Guide Stickers
- Typically included with premium screen protector kits.
- Made from non-damaging adhesive that won’t leave residue on your phone.
- Designed to simplify the alignment process.
Did you know? Guide stickers are especially useful for larger devices like tablets, where precise alignment is even more challenging.
2. Why Are Guide Stickers Essential for a Perfect Application?
Aplicação de um protetor de ecrã de vidro temperado manually can lead to problems like:- Misalignment
- Air bubbles
- Dust getting trapped under the glass
Benefits of Using Guide Stickers
- Precision: Ensures perfect alignment with the edges of your phone.
- Convenience: Simplifies the process, even for beginners.
- Protection: Reduces the chance of dust contamination during application.

3. Step-by-Step Guide: How to Use the Guide Stickers for Screen Protector Installation
Follow these steps for a flawless screen protector installation using guide stickers:Passo 1: Preparar o seu espaço de trabalho
- Choose a clean, dust-free area. A well-lit room is best.
- Wash your hands to avoid transferring oils or dirt to the protector.
Step 2: Clean Your Screen
- Use the provided cleaning kit (usually includes an alcohol wipe and microfiber cloth) to remove fingerprints and dust.
- Use the dust removal sticker to pick up any remaining particles.
Step 3: Position the Guide Stickers
- Peel off the guide stickers and attach them to one end of the tempered glass screen protector.
- Align the protector with your phone screen while holding the guide stickers.
Step 4: Use the Stickers as Hinges
- Once aligned, press the guide stickers onto the back of your phone. They’ll act as hinges, holding the glass in the correct position.
Step 5: Remove the Backing Film
- Lift the glass protector using the guide stickers as a hinge.
- Peel off the backing film from the adhesive side of the glass.
Step 6: Apply the Protector
- Slowly lower the glass onto the phone screen. The adhesive will begin to bond automatically.
- Gently press from the center outward to eliminate bubbles.
Step 7: Final Adjustments
- Remove the guide stickers carefully.
- Check for bubbles or dust, and use the provided tools to fix any issues.
Dica profissional: Using a credit card wrapped in a microfiber cloth can help push out stubborn bubbles.
4. Common Mistakes to Avoid When Installing a Tempered Glass Screen Protector
Even with guide stickers, mistakes can happen. Avoid these common pitfalls:Mistake 1: Skipping the Cleaning Step
Dust or fingerprints will create bubbles under the protector. Always clean the screen thoroughly.Mistake 2: Misaligning the Protector
Take your time during the alignment step. Use the guide stickers as a reference.Mistake 3: Applying Too Much Force
Pressing too hard can crack the glass or create air bubbles. Be gentle and patient.Remember: A rushed installation often leads to a poor finish. Take your time!
5. What to Do If Bubbles or Dust Appear Under the Screen Protector?
Nobody likes dealing with air bubbles or dust under their screen protector. Here’s how to fix these issues:For Bubbles:
- Use a plastic card wrapped in a soft cloth to push bubbles toward the edges.
- For small, stubborn bubbles, apply light heat using a hairdryer to soften the adhesive.
For Dust:
- Carefully lift the edge of the screen protector using a piece of tape.
- Use a dust removal sticker to pick up the particle.
- Reapply the protector.
Citar: “Patience is key when installing a screen protector. A little extra effort goes a long way.”
6. Can You Reinstall a Screen Protector If It’s Misaligned?
Yes, but only if you act quickly. Most protectores de ecrã de vidro temperado can be carefully removed and repositioned during the first few minutes of installation. Use the guide stickers to realign the protector, then press it back down.Warning: Repeated repositioning can weaken the adhesive and reduce the protector’s effectiveness.
7. Tips for Installing a Glass Screen Protector on Different Devices
Smartphones:
- Use guide stickers for precise alignment.
- Pay extra attention to curved screens, as they can be trickier to cover.
Tablets:
- Work slowly, as larger screens are more prone to bubbles.
- Consider enlisting a second person to help with alignment.
Smartwatches:
- Use a smaller version of the guide sticker method for these tiny screens.
- Ensure the protector is compatible with curved surfaces, if applicable.

8. The Role of Cleaning Kits in Screen Protector Installation
A clean screen is the foundation of a flawless protector installation. Most kits include:- Alcohol wipes to remove oils and dirt.
- Microfiber cloths to polish the screen.
- Autocolantes de remoção de pó to pick up tiny particles.
9. How to Care for Your Screen Protector After Installation?
Once your protetor de ecrã de vidro temperado is installed, take these steps to keep it in top condition:- Avoid using abrasive cleaning solutions. Stick to a microfiber cloth and water.
- Check periodically for dust buildup along the edges and clean as needed.
- Replace the protector if it cracks or chips.
10. FAQs About Using Guide Stickers for Tempered Glass Screen Protectors
Q1: Are guide stickers reusable?
No, guide stickers are designed for single use. Reusing them may reduce their adhesive strength.Q2: Can I install a screen protector without guide stickers?
Yes, but it’s more challenging. Guide stickers simplify the process and improve accuracy.Q3: How long does it take to install a screen protector?
With guide stickers, the process typically takes 5–10 minutes.Comentários
Etiquetas

How to Remove Invisible Shield Screen Protector?
By following this guide, you can confidently remove and replace your ZAGG InvisibleShield screen protector, ensuring your device stays protected and functional.
O protetor de ecrã com película PET vale a pena? Um guia completo para a proteção do ecrã
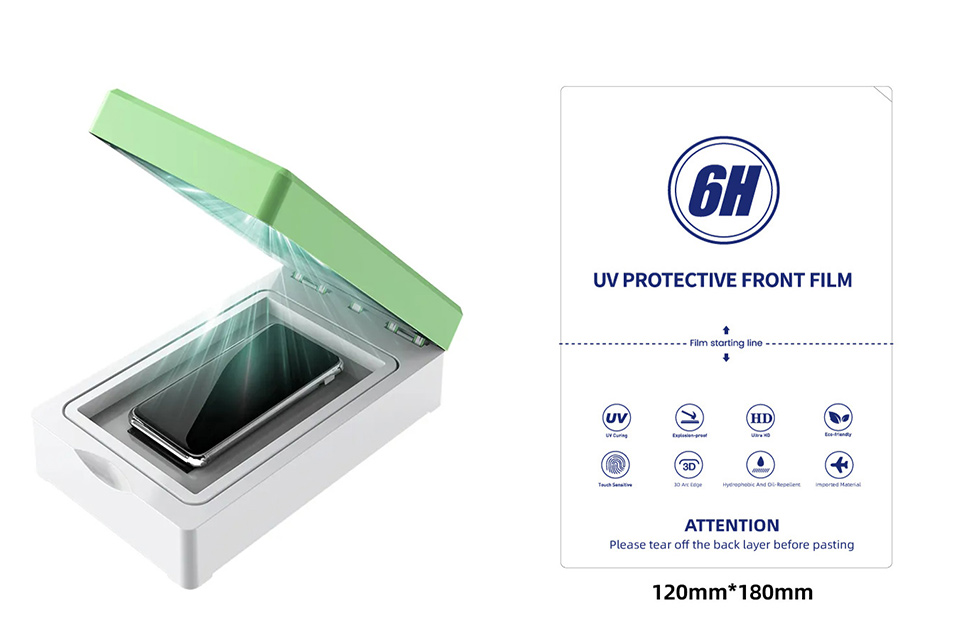
Está a pensar se um protetor de ecrã de película PET é a escolha certa para o seu dispositivo? Com tantas opções disponíveis, é essencial compreender os prós e os contras dos diferentes tipos de protectores de ecrã. Este artigo irá mergulhar profundamente no mundo dos protectores de ecrã de película PET, comparando-os com outras opções populares, como o vidro temperado e o TPU. Iremos explorar a sua durabilidade, clareza e valor global para o ajudar a tomar uma decisão informada sobre a proteção do ecrã do seu dispositivo.

How to Clean Screen Protector Sticky Side?
By following these steps, you can extend the life of your screen protector and keep your device looking brand new. Happy cleaning!
Como aplicar um protetor de ecrã sem bolhas: O guia definitivo
Está farto daquelas bolhas de ar irritantes que estragam o seu protetor de ecrã em perfeitas condições? Não é o único! Aplicar um protetor de ecrã sem bolhas pode parecer uma tarefa impossível, mas com as técnicas certas, é mais fácil do que pensa. Neste guia completo, vamos orientá-lo passo a passo no processo, partilhando dicas e truques de especialistas para o ajudar a conseguir uma aplicação perfeita e sem bolhas. Quer esteja a proteger o seu smartphone, tablet ou qualquer outro dispositivo, este artigo irá equipá-lo com os conhecimentos necessários para fazer tudo bem à primeira.

Alcançar a precisão: Melhores práticas para um ajuste confortável com cortadores de protectores de ecrã
Conseguir precisão no corte de protectores de ecrã é crucial para garantir a proteção ideal do dispositivo e a satisfação do utilizador.
Encontre todos os conhecimentos e tendências do nosso blogue, obtenha o preço por grosso e a melhor qualidade da nossa fábrica.
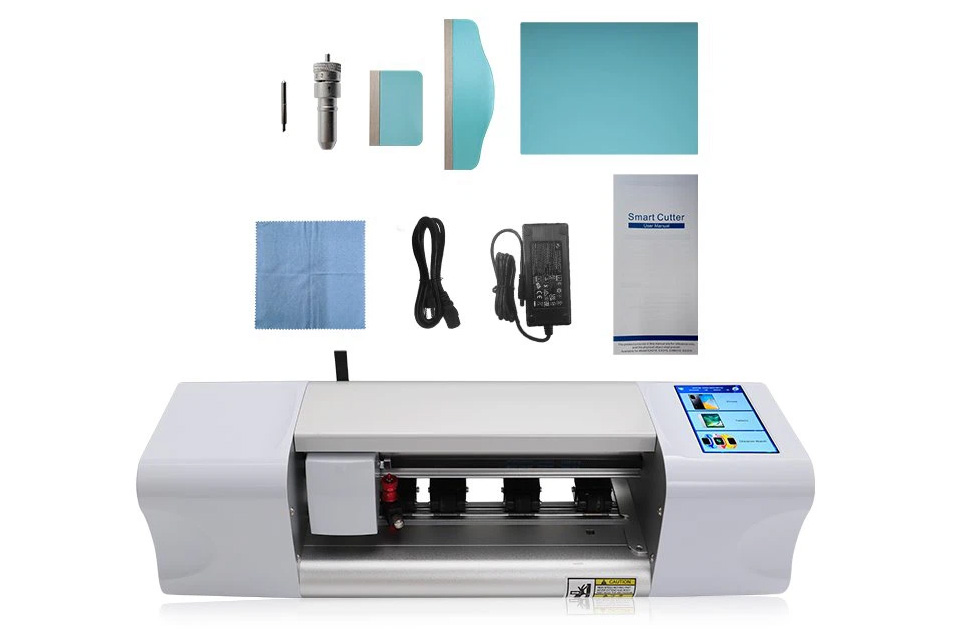
O que é a máquina de corte de película e a sua aplicação
As máquinas de corte de película têm desempenhado um papel crucial na evolução da produção cinematográfica e de vários processos industriais, permitindo o corte e a união precisos de materiais de película.
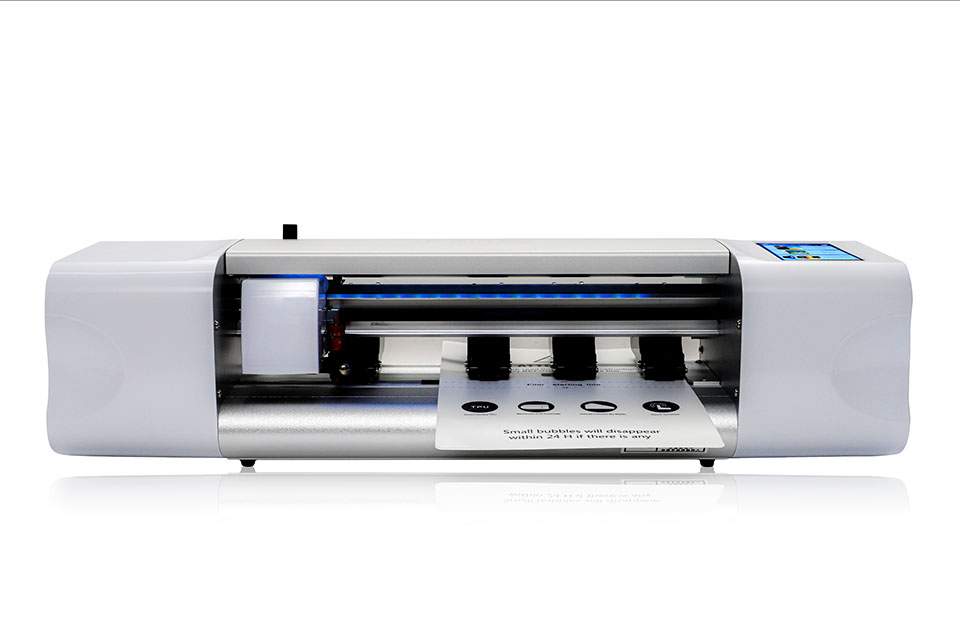
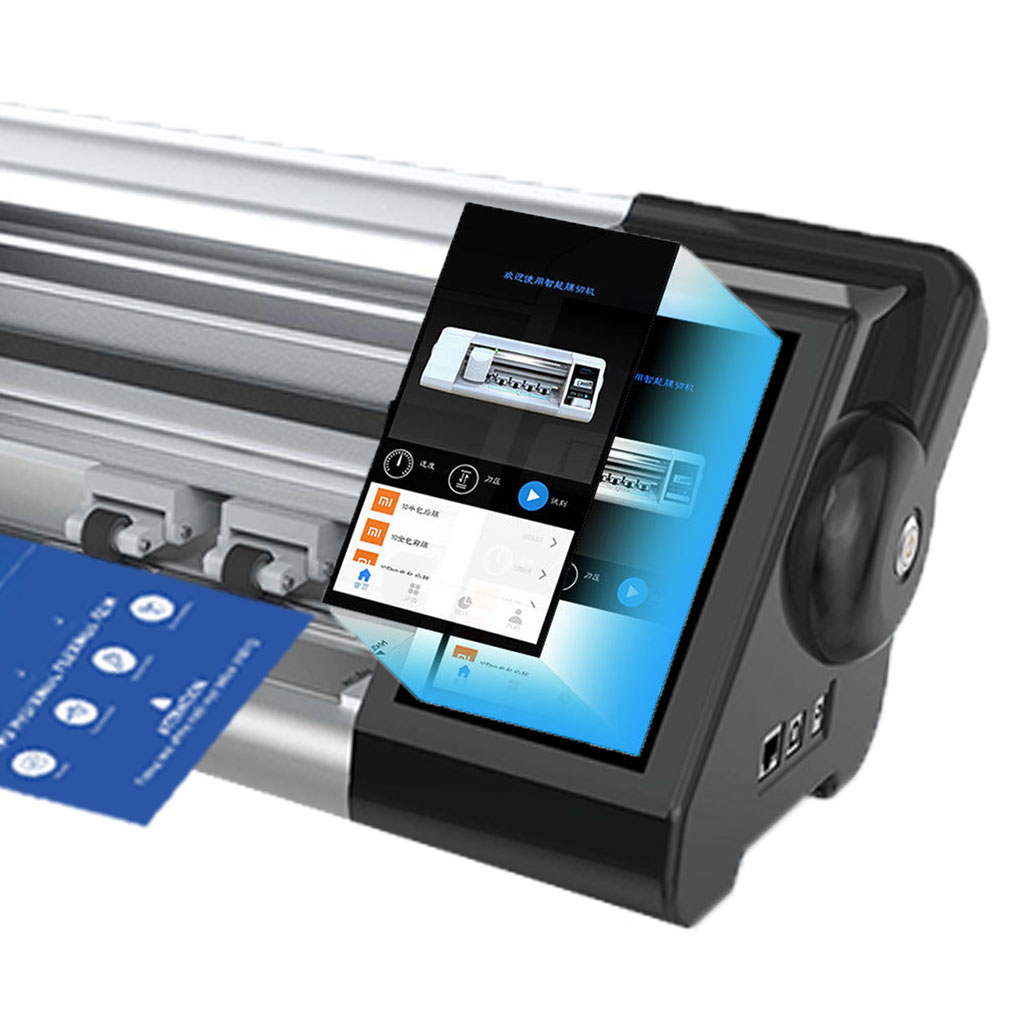
O que é uma máquina de corte de protectores de ecrã?
Uma máquina de corte de protectores de ecrã é um dispositivo especializado concebido para produzir protectores de ecrã personalizados para vários dispositivos electrónicos, incluindo smartphones, tablets, smartwatches, computadores portáteis e monitores.
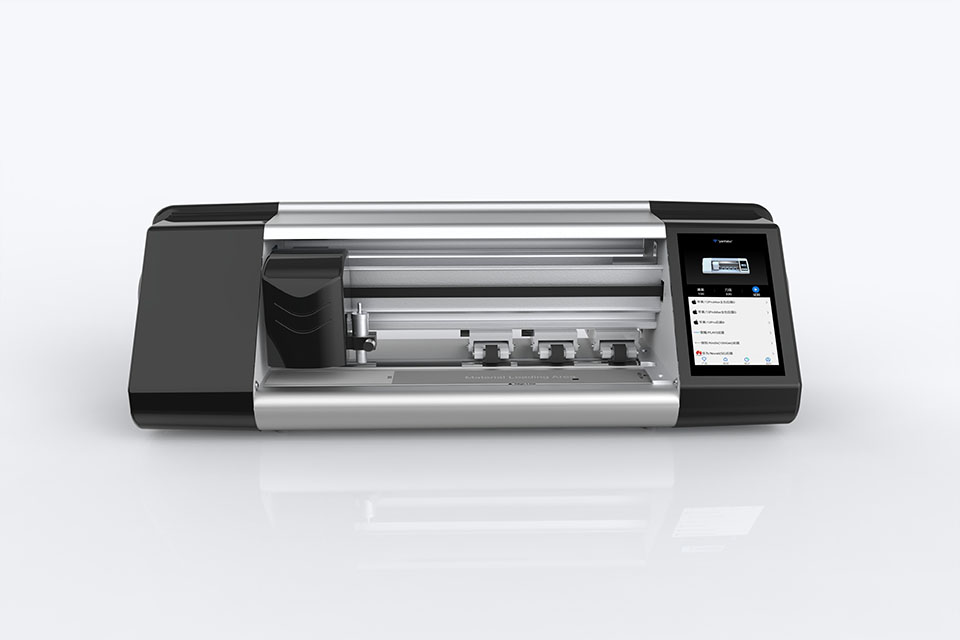
Como funciona a máquina de corte do protetor de tela do telefone móvel?
Uma máquina de corte de protectores de ecrã de telemóveis é um dispositivo sofisticado concebido
para produzir protectores de ecrã personalizados para vários dispositivos digitais com elevado preço
ção e eficiência.
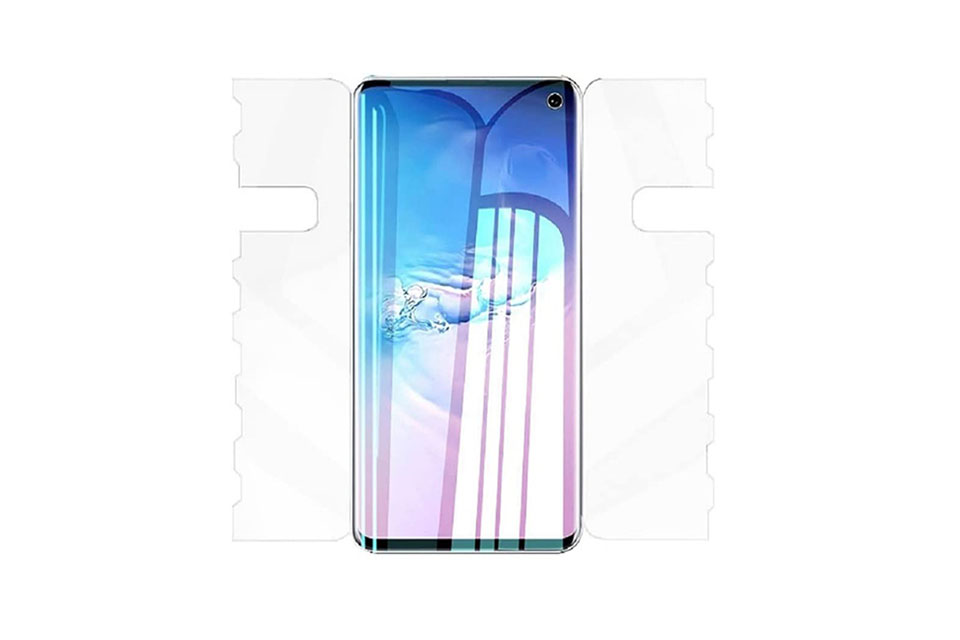
Caraterísticas do vidro temperado para telemóveis e do protetor de ecrã TPU para telemóveis
Os protectores de ecrã em poliuretano termoplástico (TPU) são flexíveis, duradouros e
películas plásticas auto-regeneráveis concebidas para proteger os ecrãs dos dispositivos electrónicos contra
riscos, impactos e outros danos potenciais.
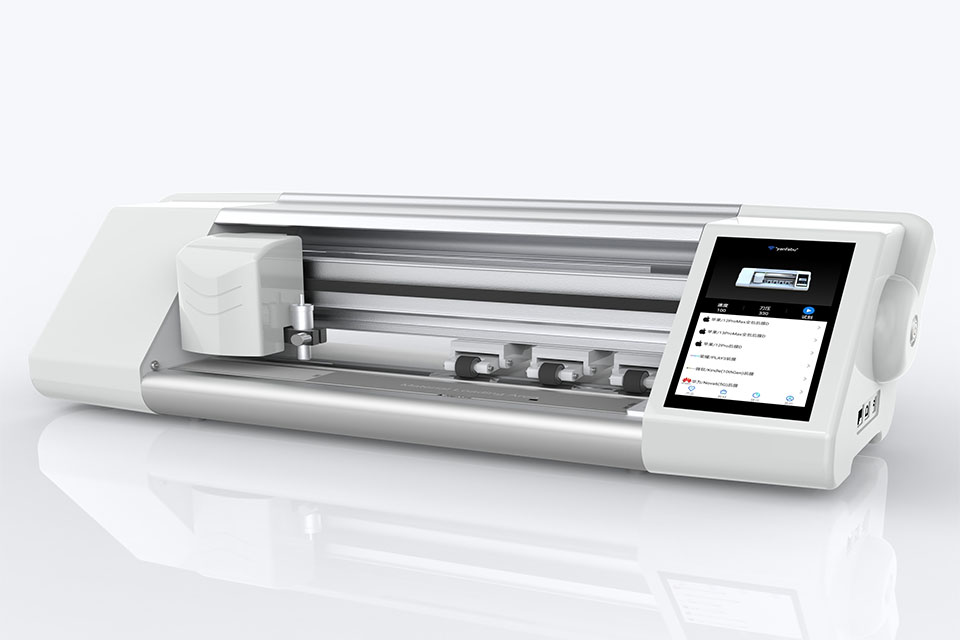
Revolucione a proteção de dispositivos com a máquina de corte de proteção de ecrã
Quer tenha um smartphone, tablet ou smartwatch, esta máquina versátil adapta-se a uma vasta gama de dispositivos. Adapta-se perfeitamente às dimensões do seu gadget, oferecendo um ajuste personalizado que os protectores genéricos não conseguem igualar.
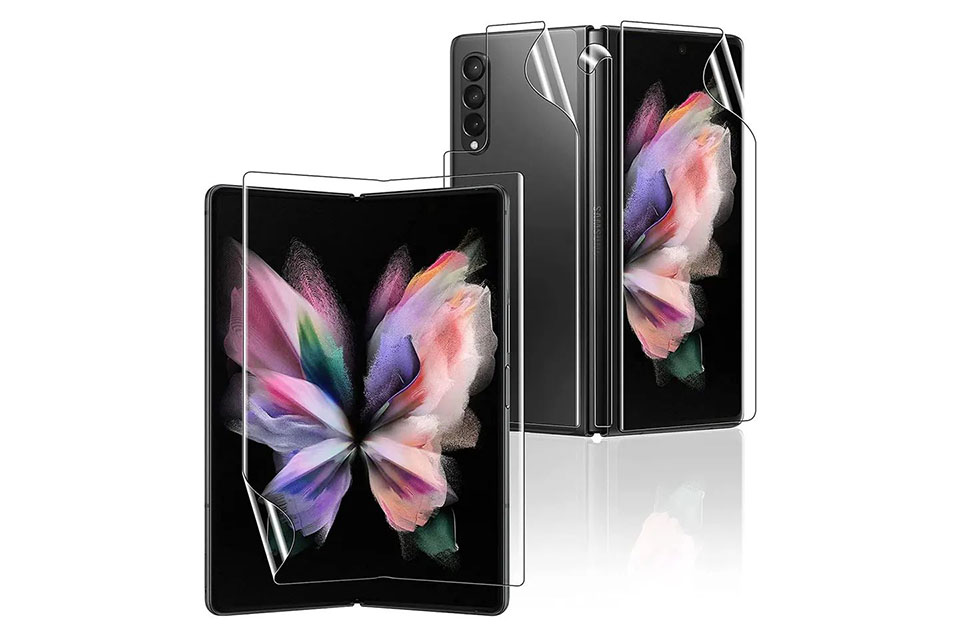
Protetor de ecrã com garantia vitalícia
A garantia vitalícia de um protetor de ecrã é uma garantia fornecida pelos fabricantes que
compromete-se a reparar ou substituir um protetor de ecrã durante o tempo de vida útil do produto, de acordo com termos e condições específicos.

