How to Use Guide Stickers for Screen Protector?
สารบัญ
สรุป
- Guide stickers are essential tools for aligning a screen protector perfectly.
- Always clean your screen thoroughly before installation.
- Work in a dust-free environment to avoid contamination.
- Take your time to ensure proper alignment and a bubble-free finish.
- If mistakes happen, use dust removal stickers or reposition the protector carefully.
1. What Are Guide Stickers for Screen Protector Installation?
Guide stickers are small adhesive tabs that come with most tempered glass screen protector kits. They help align the protector on your phone screen before you commit to sticking it down. These stickers act as a “hinge,” holding the glass in place while allowing you to make final adjustments.Features of Guide Stickers
- Typically included with premium screen protector kits.
- Made from non-damaging adhesive that won’t leave residue on your phone.
- Designed to simplify the alignment process.
คุณรู้หรือไม่? Guide stickers are especially useful for larger devices like tablets, where precise alignment is even more challenging.
2. Why Are Guide Stickers Essential for a Perfect Application?
การประยุกต์ใช้ ฟิล์มกันรอยจอกระจกนิรภัย manually can lead to problems like:- การจัดตำแหน่งที่ไม่ถูกต้อง
- Air bubbles
- Dust getting trapped under the glass
Benefits of Using Guide Stickers
- Precision: Ensures perfect alignment with the edges of your phone.
- Convenience: Simplifies the process, even for beginners.
- Protection: Reduces the chance of dust contamination during application.

3. Step-by-Step Guide: How to Use the Guide Stickers for Screen Protector Installation
Follow these steps for a flawless screen protector installation using guide stickers:ขั้นตอนที่ 1: เตรียมพื้นที่ทำงานของคุณ
- Choose a clean, dust-free area. A well-lit room is best.
- Wash your hands to avoid transferring oils or dirt to the protector.
Step 2: Clean Your Screen
- Use the provided cleaning kit (usually includes an alcohol wipe and microfiber cloth) to remove fingerprints and dust.
- Use the dust removal sticker to pick up any remaining particles.
Step 3: Position the Guide Stickers
- Peel off the guide stickers and attach them to one end of the tempered glass screen protector.
- Align the protector with your phone screen while holding the guide stickers.
Step 4: Use the Stickers as Hinges
- Once aligned, press the guide stickers onto the back of your phone. They’ll act as hinges, holding the glass in the correct position.
Step 5: Remove the Backing Film
- Lift the glass protector using the guide stickers as a hinge.
- Peel off the backing film from the adhesive side of the glass.
Step 6: Apply the Protector
- Slowly lower the glass onto the phone screen. The adhesive will begin to bond automatically.
- Gently press from the center outward to eliminate bubbles.
Step 7: Final Adjustments
- Remove the guide stickers carefully.
- Check for bubbles or dust, and use the provided tools to fix any issues.
เคล็ดลับจากมืออาชีพ: Using a credit card wrapped in a microfiber cloth can help push out stubborn bubbles.
4. Common Mistakes to Avoid When Installing a Tempered Glass Screen Protector
Even with guide stickers, mistakes can happen. Avoid these common pitfalls:Mistake 1: Skipping the Cleaning Step
Dust or fingerprints will create bubbles under the protector. Always clean the screen thoroughly.Mistake 2: Misaligning the Protector
Take your time during the alignment step. Use the guide stickers as a reference.Mistake 3: Applying Too Much Force
Pressing too hard can crack the glass or create air bubbles. Be gentle and patient.จดจำ: A rushed installation often leads to a poor finish. Take your time!
5. What to Do If Bubbles or Dust Appear Under the Screen Protector?
Nobody likes dealing with air bubbles or dust under their screen protector. Here’s how to fix these issues:For Bubbles:
- Use a plastic card wrapped in a soft cloth to push bubbles toward the edges.
- For small, stubborn bubbles, apply light heat using a hairdryer to soften the adhesive.
For Dust:
- Carefully lift the edge of the screen protector using a piece of tape.
- Use a dust removal sticker to pick up the particle.
- Reapply the protector.
Quote: “Patience is key when installing a screen protector. A little extra effort goes a long way.”
6. Can You Reinstall a Screen Protector If It’s Misaligned?
Yes, but only if you act quickly. Most ฟิล์มกันรอยจอกระจกนิรภัย can be carefully removed and repositioned during the first few minutes of installation. Use the guide stickers to realign the protector, then press it back down.Warning: Repeated repositioning can weaken the adhesive and reduce the protector’s effectiveness.
7. Tips for Installing a Glass Screen Protector on Different Devices
Smartphones:
- Use guide stickers for precise alignment.
- Pay extra attention to curved screens, as they can be trickier to cover.
Tablets:
- Work slowly, as larger screens are more prone to bubbles.
- Consider enlisting a second person to help with alignment.
Smartwatches:
- Use a smaller version of the guide sticker method for these tiny screens.
- Ensure the protector is compatible with curved surfaces, if applicable.
8. The Role of Cleaning Kits in Screen Protector Installation
A clean screen is the foundation of a flawless protector installation. Most kits include:- Alcohol wipes to remove oils and dirt.
- Microfiber cloths to polish the screen.
- สติ๊กเกอร์ลอกฝุ่น to pick up tiny particles.
9. How to Care for Your Screen Protector After Installation?
Once your ฟิล์มกันรอยจอกระจกนิรภัย is installed, take these steps to keep it in top condition:- Avoid using abrasive cleaning solutions. Stick to a microfiber cloth and water.
- Check periodically for dust buildup along the edges and clean as needed.
- Replace the protector if it cracks or chips.
10. FAQs About Using Guide Stickers for Tempered Glass Screen Protectors
Q1: Are guide stickers reusable?
No, guide stickers are designed for single use. Reusing them may reduce their adhesive strength.Q2: Can I install a screen protector without guide stickers?
Yes, but it’s more challenging. Guide stickers simplify the process and improve accuracy.Q3: How long does it take to install a screen protector?
With guide stickers, the process typically takes 5–10 minutes.ความคิดเห็น
แท็ก
ฟิล์มกันรอยหน้าจอ PET คุ้มค่าหรือไม่? คู่มือการป้องกันหน้าจอแบบครอบคลุม
คุณกำลังสงสัยอยู่หรือไม่ว่าฟิล์มกันรอยหน้าจอแบบ PET เป็นตัวเลือกที่ถูกต้องสำหรับอุปกรณ์ของคุณหรือไม่ เนื่องจากมีตัวเลือกมากมาย จึงจำเป็นอย่างยิ่งที่จะต้องทำความเข้าใจข้อดีและข้อเสียของฟิล์มกันรอยหน้าจอประเภทต่างๆ บทความนี้จะเจาะลึกเข้าไปในโลกของฟิล์มกันรอยหน้าจอแบบ PET โดยเปรียบเทียบกับตัวเลือกยอดนิยมอื่นๆ เช่น กระจกนิรภัยและ TPU เราจะสำรวจความทนทาน ความใส และมูลค่าโดยรวมของฟิล์มกันรอยเหล่านี้ เพื่อช่วยให้คุณตัดสินใจเลือกปกป้องหน้าจออุปกรณ์ของคุณได้อย่างถูกต้อง

วิธีการถอดฟิล์มกันรอยหน้าจอ: คำแนะนำทีละขั้นตอนสำหรับผู้ใช้ iPhone
คุณกำลังประสบปัญหาเกี่ยวกับฟิล์มกันรอยหน้าจอ iPhone ที่เป็นรอยขีดข่วน เป็นฟอง หรือเสื่อมสภาพหรือไม่? ไม่ต้องกังวล! คู่มือฉบับสมบูรณ์นี้จะแนะนำคุณตลอดกระบวนการถอดฟิล์มกันรอยหน้าจอเก่าออกอย่างปลอดภัย ไม่ว่าจะเป็นฟิล์มธรรมดาหรือกระจกนิรภัย เราจะครอบคลุมทุกอย่างตั้งแต่การเตรียมพื้นที่ทำงานของคุณไปจนถึงการติดฟิล์มกันรอยใหม่ เพื่อให้แน่ใจว่าหน้าจอ iPhone ของคุณจะยังคงสวยงามไร้ที่ติ อ่านต่อไปเพื่อค้นพบเคล็ดลับจากผู้เชี่ยวชาญ ข้อผิดพลาดทั่วไปที่ควรหลีกเลี่ยง และเหตุใดการถอดฟิล์มกันรอยออกอย่างถูกต้องจึงมีความสำคัญต่ออายุการใช้งานของอุปกรณ์ของคุณ

การได้ขนาดที่พอดีอย่างสมบูรณ์แบบ: เคล็ดลับในการใช้เครื่องตัดฟิล์มกันรอยหน้าจอ
“การได้พอดีอย่างสมบูรณ์แบบ: เคล็ดลับการใช้เครื่องตัดฟิล์มกันรอย” เป็นคู่มือที่ครอบคลุมซึ่งออกแบบมาเพื่อช่วยให้ผู้ใช้เข้าใจความแตกต่างและแนวทางปฏิบัติที่ดีที่สุดที่เกี่ยวข้องกับการใช้เครื่องตัดฟิล์มกันรอย
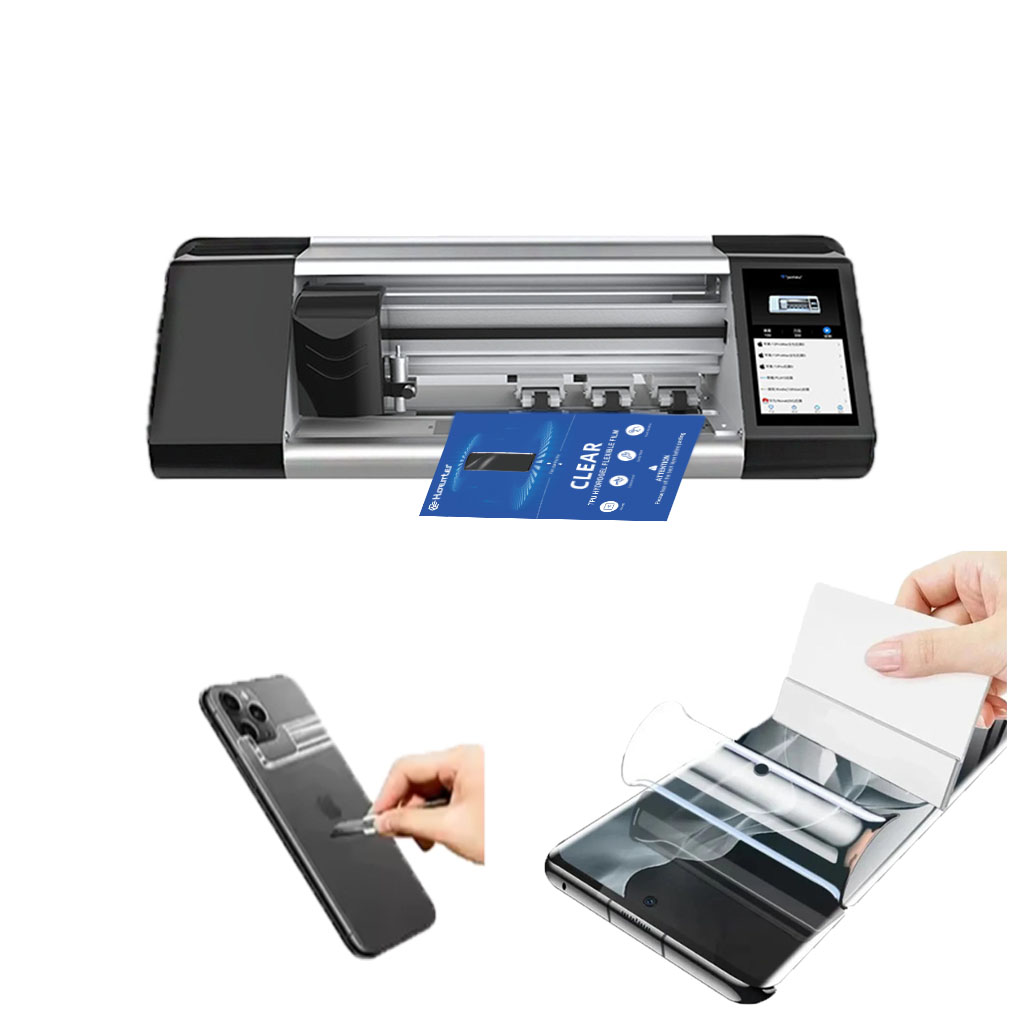
เครื่องสกรีนฟิล์ม
เครื่องตัดไฮโดรเจลมีความโดดเด่นในการจัดการวัสดุที่อ่อนและยืดหยุ่น และโดยทั่วไปจะคุ้มต้นทุนมากกว่าสำหรับการออกแบบที่เรียบง่าย
เครื่องตัดเลเซอร์ให้ความแม่นยำที่เหนือชั้น โดยเฉพาะอย่างยิ่งสำหรับการตัดที่ซับซ้อน และความหลากหลายของวัสดุที่มากขึ้น
การเลือกใช้ระหว่างการตัดด้วยไฮโดรเจลและเลเซอร์ขึ้นอยู่กับปัจจัยต่างๆ เช่น ปริมาณการผลิต ประเภทของวัสดุ และความซับซ้อนของการออกแบบ
พิจารณาต้นทุนในระยะยาว รวมถึงการบำรุงรักษาและการใช้พลังงาน เมื่อตัดสินใจ
เทคโนโลยีทั้งสองยังคงมีการพัฒนาอย่างต่อเนื่อง โดยแนวโน้มในอนาคตจะมุ่งเน้นไปที่การผสานรวม AI และโซลูชันที่เป็นมิตรต่อสิ่งแวดล้อม

ผลกระทบของฟิล์มกันรอยต่อความไวในการสัมผัสและความชัดเจนของหน้าจอ
ผลกระทบของฟิล์มกันรอยหน้าจอต่อความไวในการสัมผัสและความคมชัดของจอภาพเป็นหัวข้อที่มีความเกี่ยวข้องอย่างมากในยุคดิจิทัล เนื่องจากฟิล์มกันรอยหน้าจอได้พัฒนาจากที่เป็นเพียงแผ่นป้องกันรอยขีดข่วนไปเป็นอุปกรณ์เสริมขั้นสูงที่มีฟังก์ชันการใช้งานอื่นๆ มากมายนอกเหนือจากการปกป้องเพียงอย่างเดียว
ค้นหาความรู้และแนวโน้มทั้งหมดจากบล็อกของเรา รับราคาขายส่งและคุณภาพดีที่สุดจากโรงงานของเรา
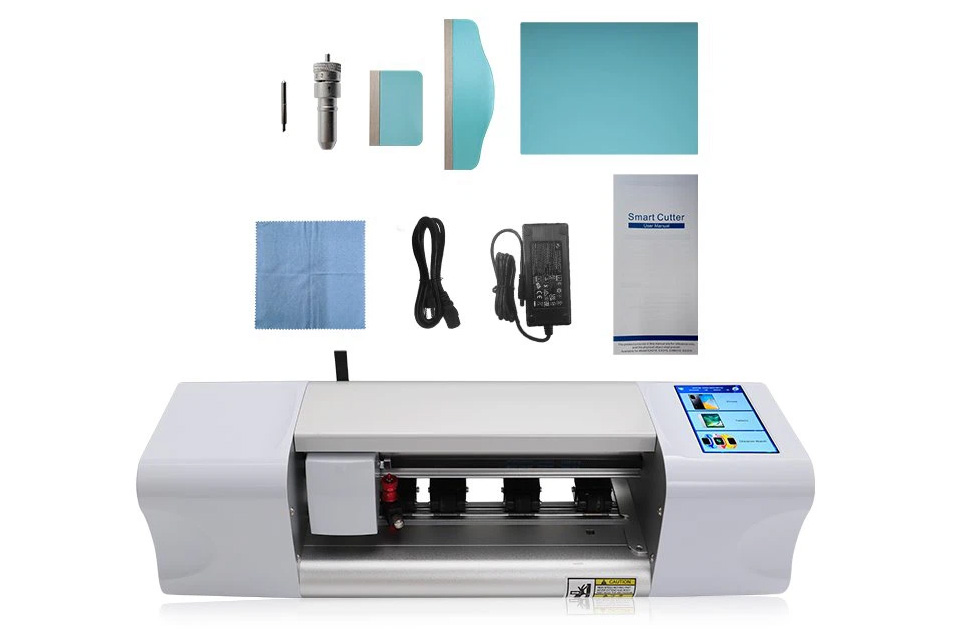
เครื่องตัดฟิล์มคืออะไรและการใช้งานของมัน
เครื่องตัดฟิล์มมีบทบาทสำคัญในวิวัฒนาการของการผลิตภาพยนตร์และกระบวนการอุตสาหกรรมต่างๆ ด้วยการช่วยให้สามารถตัดและต่อวัสดุฟิล์มได้อย่างแม่นยำ
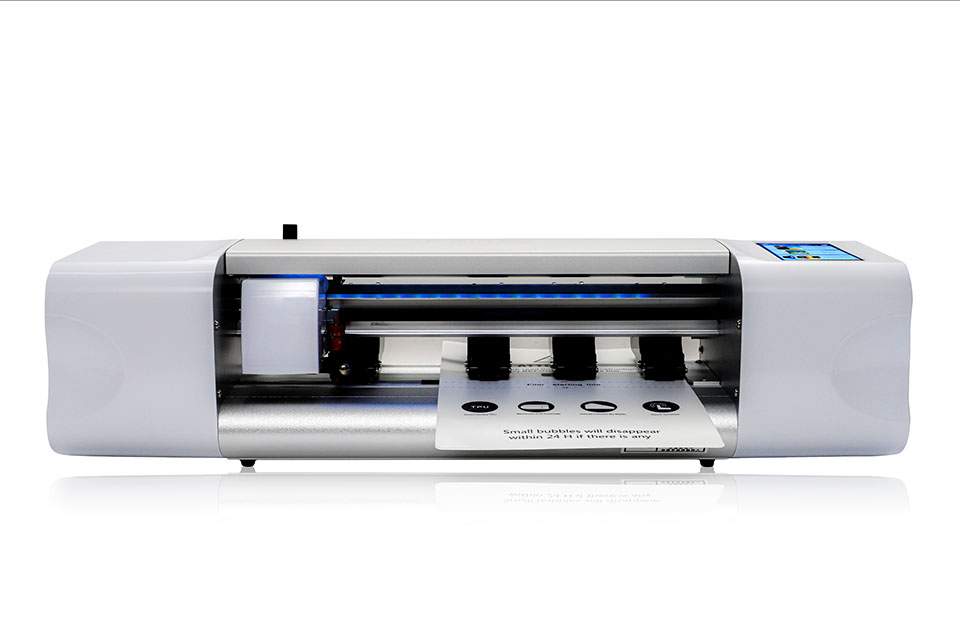
เครื่องตัดฟิล์มกันรอยคืออะไร?
เครื่องตัดฟิล์มกันรอยหน้าจอเป็นอุปกรณ์พิเศษที่ออกแบบมาเพื่อผลิตฟิล์มกันรอยหน้าจอให้พอดีกับอุปกรณ์อิเล็กทรอนิกส์ต่างๆ รวมถึงสมาร์ทโฟน แท็บเล็ต สมาร์ทวอทช์ แล็ปท็อป และจอภาพ
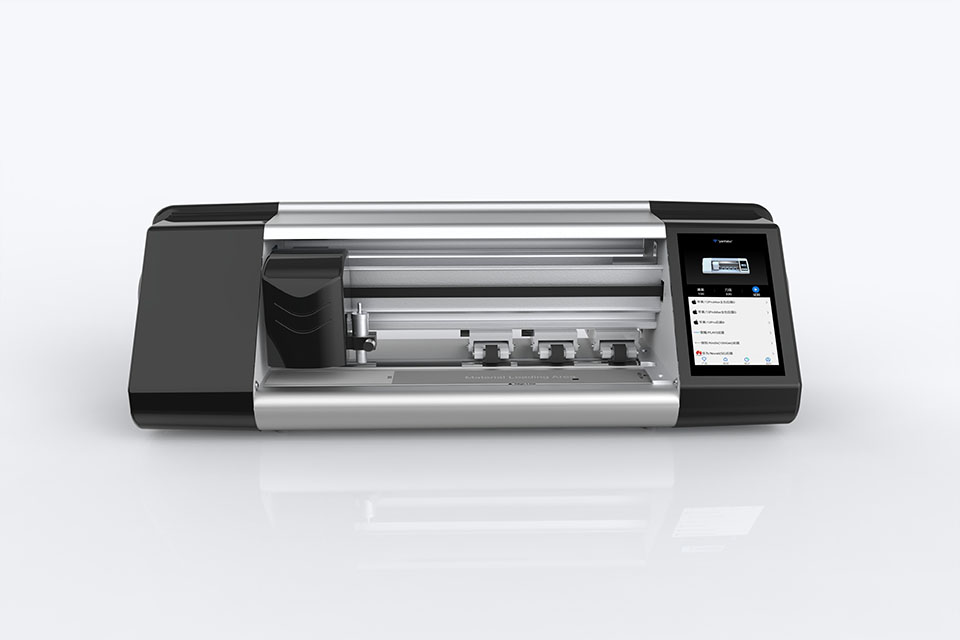
เครื่องตัดฟิล์มกันรอยหน้าจอโทรศัพท์มือถือทำงานอย่างไร?
เครื่องตัดฟิล์มกันรอยหน้าจอโทรศัพท์มือถือเป็นอุปกรณ์ที่ออกแบบมาอย่างซับซ้อน
เพื่อผลิตฟิล์มกันรอยหน้าจอแบบกำหนดเองสำหรับอุปกรณ์ดิจิตอลต่างๆ ด้วยความแม่นยำสูง
และความมีประสิทธิภาพ
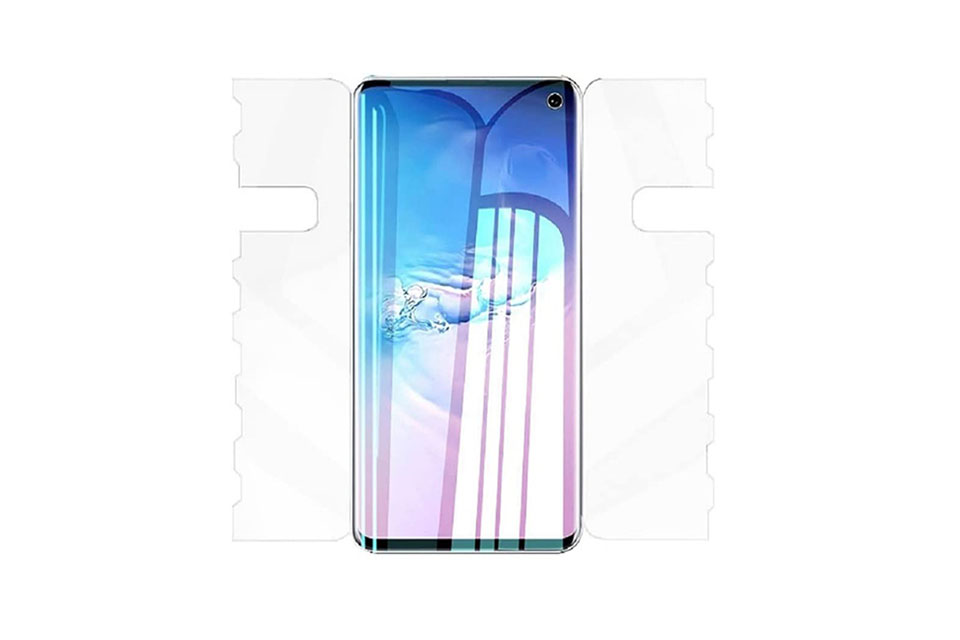
คุณสมบัติของกระจกนิรภัยสำหรับโทรศัพท์มือถือและฟิล์มกันรอยหน้าจอ TPU สำหรับโทรศัพท์มือถือ
ฟิล์มกันรอยหน้าจอเทอร์โมพลาสติกโพลียูรีเทน (TPU) มีความยืดหยุ่น ทนทาน และ
ฟิล์มพลาสติกซ่อมแซมตัวเองที่ออกแบบมาเพื่อปกป้องหน้าจออุปกรณ์อิเล็กทรอนิกส์จาก
รอยขีดข่วน การกระแทก และความเสียหายที่อาจเกิดขึ้นอื่นๆ
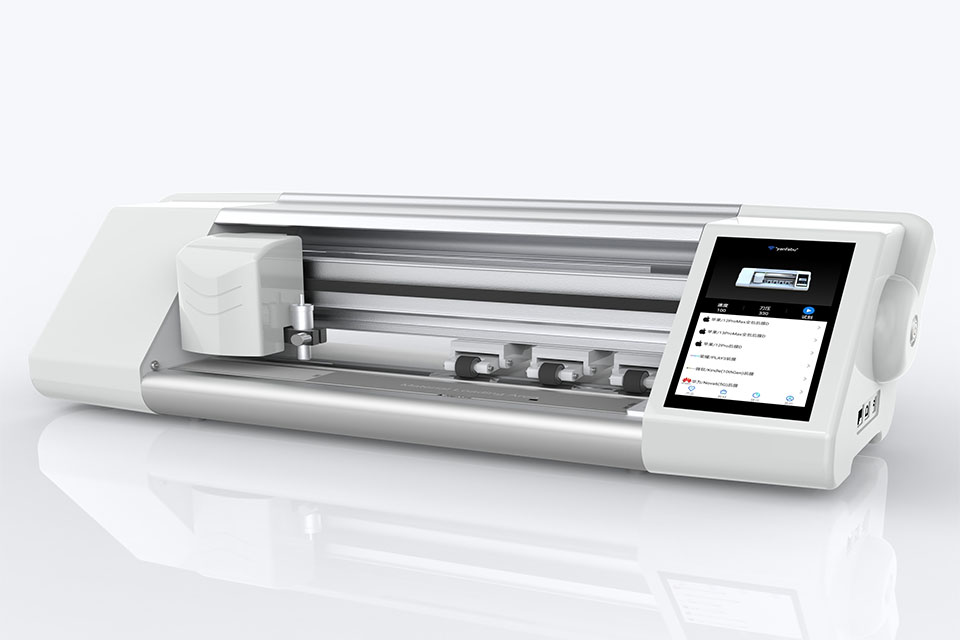
ปฏิวัติการปกป้องอุปกรณ์ด้วยเครื่องตัดการ์ดหน้าจอ
ไม่ว่าคุณจะมีสมาร์ทโฟน แท็บเล็ต หรือสมาร์ทวอทช์ อุปกรณ์อเนกประสงค์นี้สามารถรองรับอุปกรณ์ได้หลากหลายประเภท โดยสามารถปรับให้เข้ากับขนาดของอุปกรณ์ของคุณได้อย่างลงตัว จึงให้ขนาดที่พอดีซึ่งอุปกรณ์ป้องกันทั่วไปไม่สามารถเทียบได้
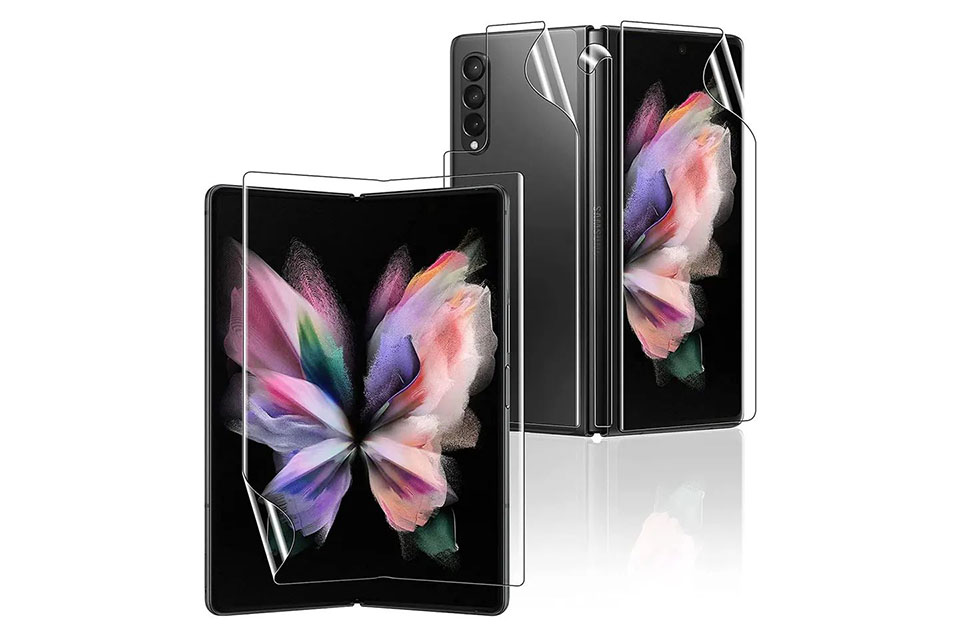
ฟิล์มกันรอยรับประกันตลอดอายุการใช้งาน
การรับประกันฟิล์มกันรอยตลอดอายุการใช้งานเป็นการรับประกันที่ให้โดยผู้ผลิตว่า
สัญญาว่าจะซ่อมแซมหรือเปลี่ยนฟิล์มกันรอยหน้าจอตลอดอายุการใช้งานของผลิตภัณฑ์ ภายใต้ข้อกำหนดและเงื่อนไขเฉพาะ


