
1. What Is a Screen Protector and Why Remove It?
A screen protector is a thin layer of material, often tempered glass or plastic, designed to shield your iPad’s screen from scratches, smudges, and cracks. While screen protectors are essential accessories for many users, there are times when you might need to remove them.
Why Remove It?
- Cracks or Damage: A cracked screen protector can obstruct your view and even pose a safety risk with sharp edges.
- Upgrading: You might want to replace your current protector with a newer, more advanced one.
- Usure et détérioration: Over time, protectors can accumulate scratches or lose their adhesive properties, reducing their effectiveness.
2. How to Know When It’s Time to Remove Your iPad Screen Protector
Not sure if it’s time to remove your screen protector? Here are some signs to look out for:- Visible Cracks: If your tempered glass screen protector is cracked, it’s time to replace it to avoid further damage.
- Reduced Sensitivity: If your iPad’s touch screen isn’t as responsive as it used to be, the protector might be interfering.
- Scratches and Smudges: Excessive wear can make your screen look dull and dirty, even after cleaning.
- Peeling Edges: If the edges of your screen protector are lifting, it’s no longer providing full protection.
3. Tools You’ll Need to Safely Remove a Screen Protector
Before you start, gather the following tools to make the process smooth and safe:ToolPurposePlastic Card (e.g., credit card)To gently lift the edges of the screen protector without scratching the screen.Microfiber ClothTo clean the screen after removing the protector.Hairdryer (optional)To loosen adhesive on tempered glass protectors.Masking TapeTo remove any leftover adhesive residue.
Having these tools on hand will make the process easier and reduce the risk of damaging your iPad.
4. Step-by-Step Guide: How to Remove a Screen Protector from Your iPad
Follow these steps to safely remove your screen protector:- Start at the Corner: Use a plastic card or your fingernail to gently lift one corner of the screen protector. Be careful not to scratch the screen.
- Peel Slowly: Once the corner is lifted, slowly peel the protector away from the screen. Pull at a low angle to avoid cracking the protector.
- Use Heat if Necessary: For tempered glass protectors, use a hairdryer on low heat to soften the adhesive. Hold it about 6 inches away from the screen for 15-20 seconds.
- Nettoyer l'écran: After removing the protector, use a microfiber cloth to wipe away any dust or adhesive residue.
5. What to Do If Your Screen Protector Is Cracked
Removing a cracked screen protector requires extra care to avoid injury or damage to your iPad.- Wear Gloves: Protect your hands from sharp edges.
- Tape the Cracks: Use masking tape to cover the cracks and prevent shards from falling during removal.
- Peel Slowly: Follow the same steps as above, but go even slower to avoid breaking the protector further.
6. How to Remove a Tempered Glass Screen Protector Without Damaging Your iPad
Tempered glass protectors are more durable but can be trickier to remove. Here’s how to do it:- Loosen the Adhesive: Use a hairdryer to warm the edges of the protector.
- Lift the Edge: Insert a plastic card under one corner and gently lift.
- Peel Off Slowly: Pull the protector away from the screen at a low angle.
7. Can You Reuse a Screen Protector After Removing It?
In most cases, screen protectors are not reusable. Once removed, the adhesive layer is often compromised, making it difficult to reapply without bubbles or reduced effectiveness.However, if the protector is still in good condition and you’re careful during removal, you might be able to reuse it temporarily. Just ensure the adhesive side is clean and free of dust.
8. How to Clean Your iPad Screen After Removing the Protector
After removing the screen protector, it’s essential to clean your iPad’s screen to prepare it for a new protector or to use it bare.Steps to Clean Your Screen
- Wipe with a Microfiber Cloth: Remove dust and fingerprints.
- Use a Screen Cleaner: Apply a small amount of alcohol-free screen cleaner to the cloth (not directly on the screen).
- Buff the Screen: Gently buff the screen until it’s clean and streak-free.
9. Tips for Installing a New Screen Protector on Your iPad
If you’re replacing your old screen protector, follow these tips for a flawless installation:- Nettoyer soigneusement l'écran: Any dust or smudges will create bubbles under the new protector.
- Align Carefully: Take your time to align the protector with your iPad’s edges and camera cutouts.
- Use a Squeegee: Smooth out bubbles as you apply the protector.
10. Common Mistakes to Avoid When Removing a Screen Protector
Avoid these common pitfalls to ensure a smooth removal process:- Using Sharp Tools: Metal tools can scratch your screen or damage the edges.
- Pulling Too Hard: Forcing the protector off can crack it or damage your iPad.
- Skipping the Cleaning Step: Residue left on the screen can interfere with a new protector.
Should I Use a Cell Phone Screen Tempered Glass Protector?
Durability: Tempered glass offers superior protection.
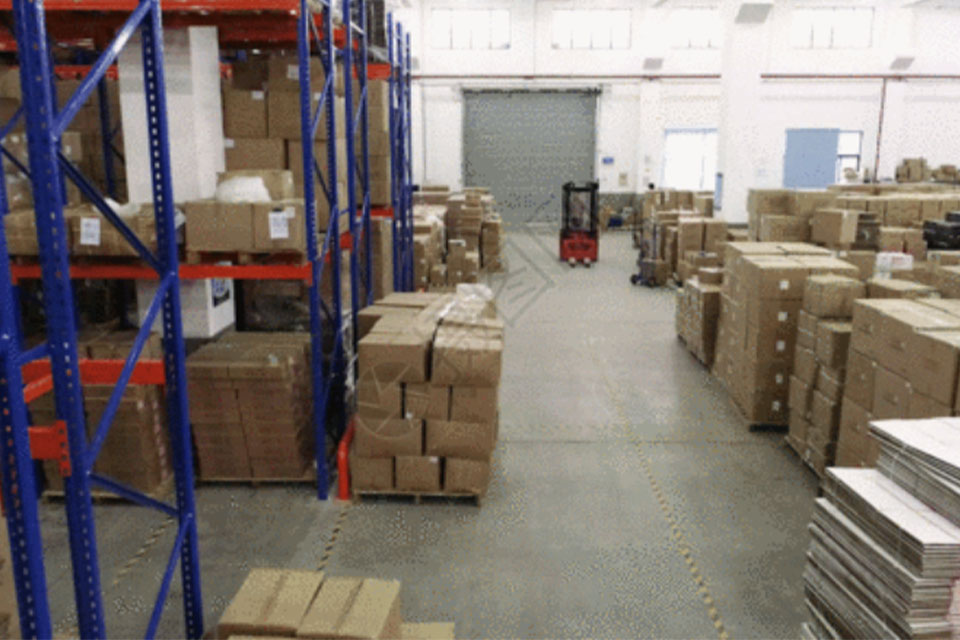
Comment choisir le film d'hydrogel flexible adapté à votre produit ?
Les films souples d'hydrogel sont des matériaux polyvalents caractérisés par leur teneur élevée en eau et leur élasticité, ce qui permet de les utiliser dans divers domaines, notamment la médecine, l'électronique et la détection environnementale.

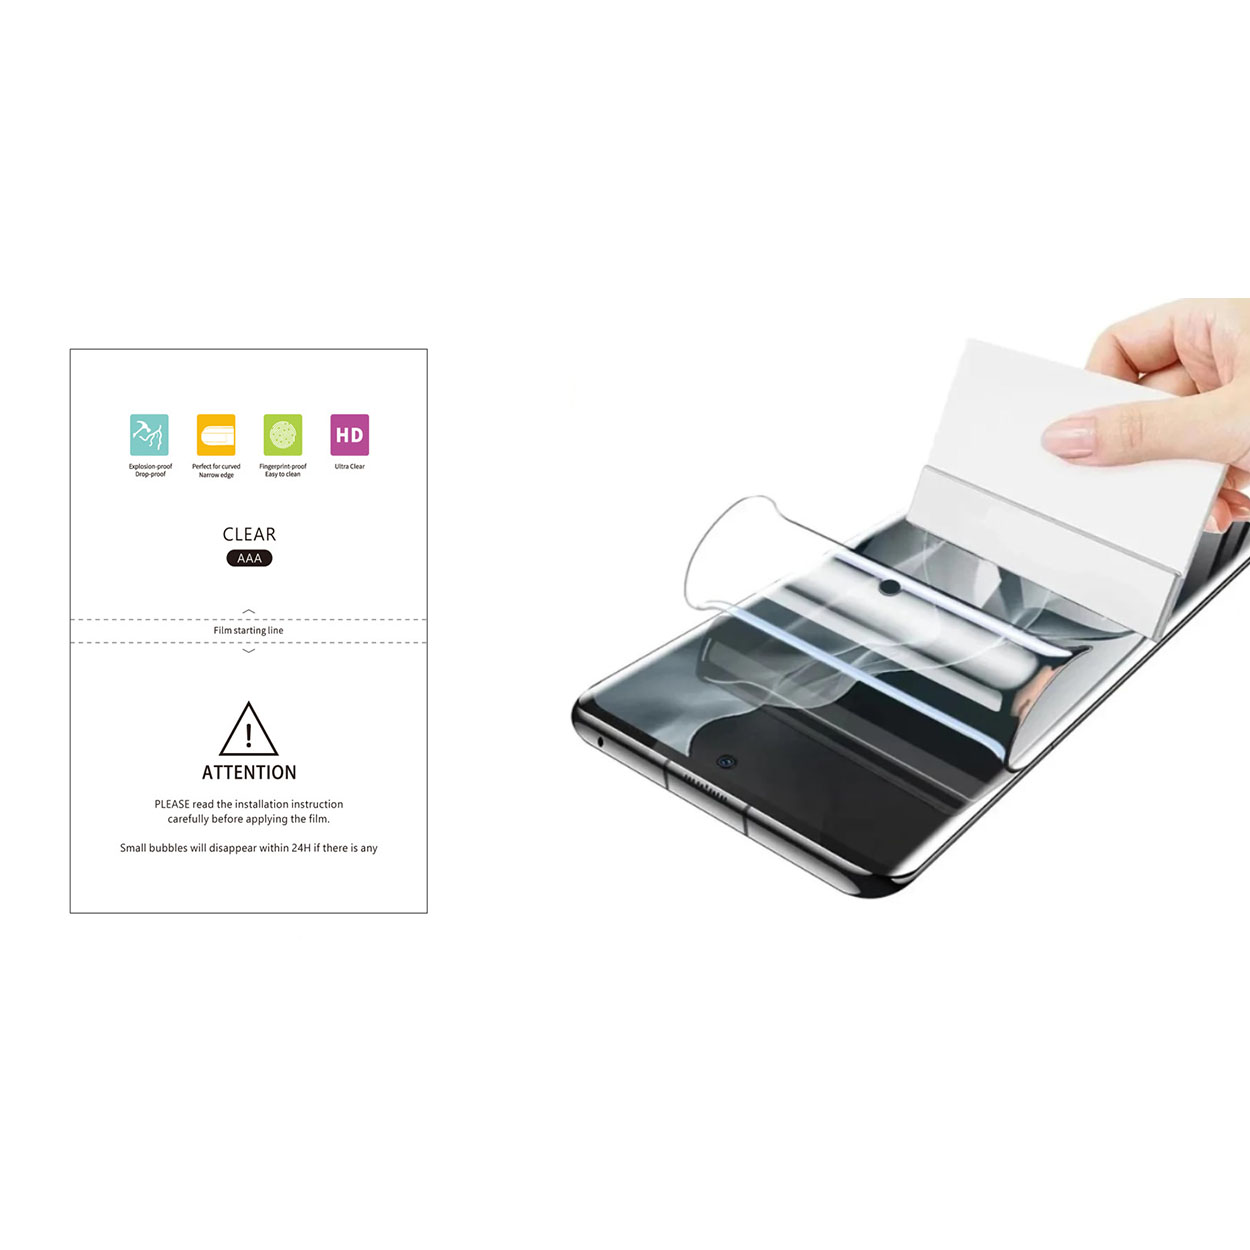
How to Stick Screen Protector Without Bubbles?
By following these steps and tips, you can apply a screen protector like a pro, keeping your smartphone safe and functional.
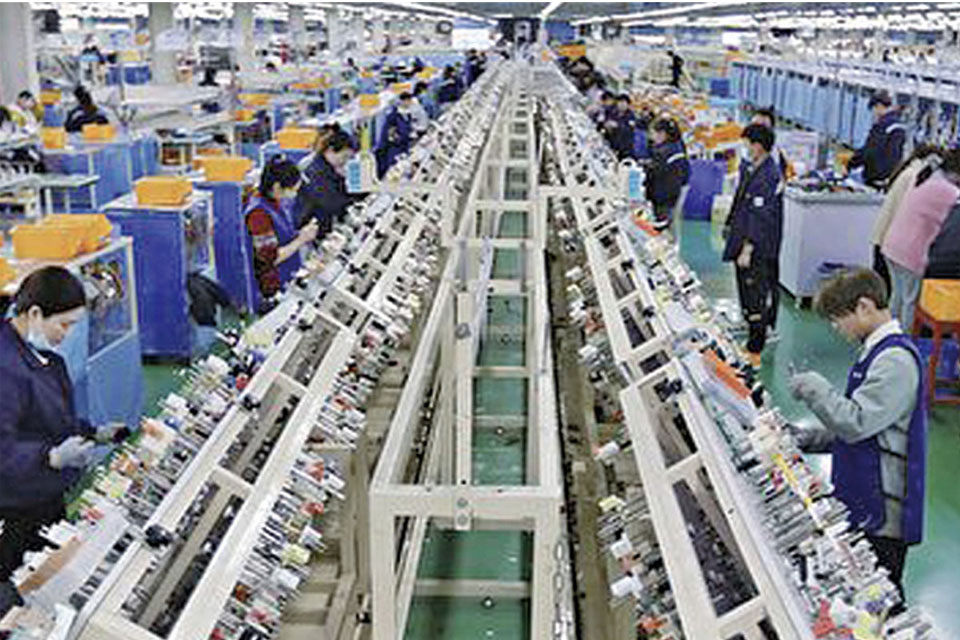
Comment les fabricants de protecteurs d'écran garantissent-ils la qualité et la durabilité de leurs produits ?
L'usine de protecteurs d'écran garantit la qualité et la durabilité de ses produits grâce à des processus de fabrication avancés et à des mesures strictes de contrôle de la qualité, afin de répondre à la demande des consommateurs en matière de protection d'écran pour les téléphones portables et autres appareils.
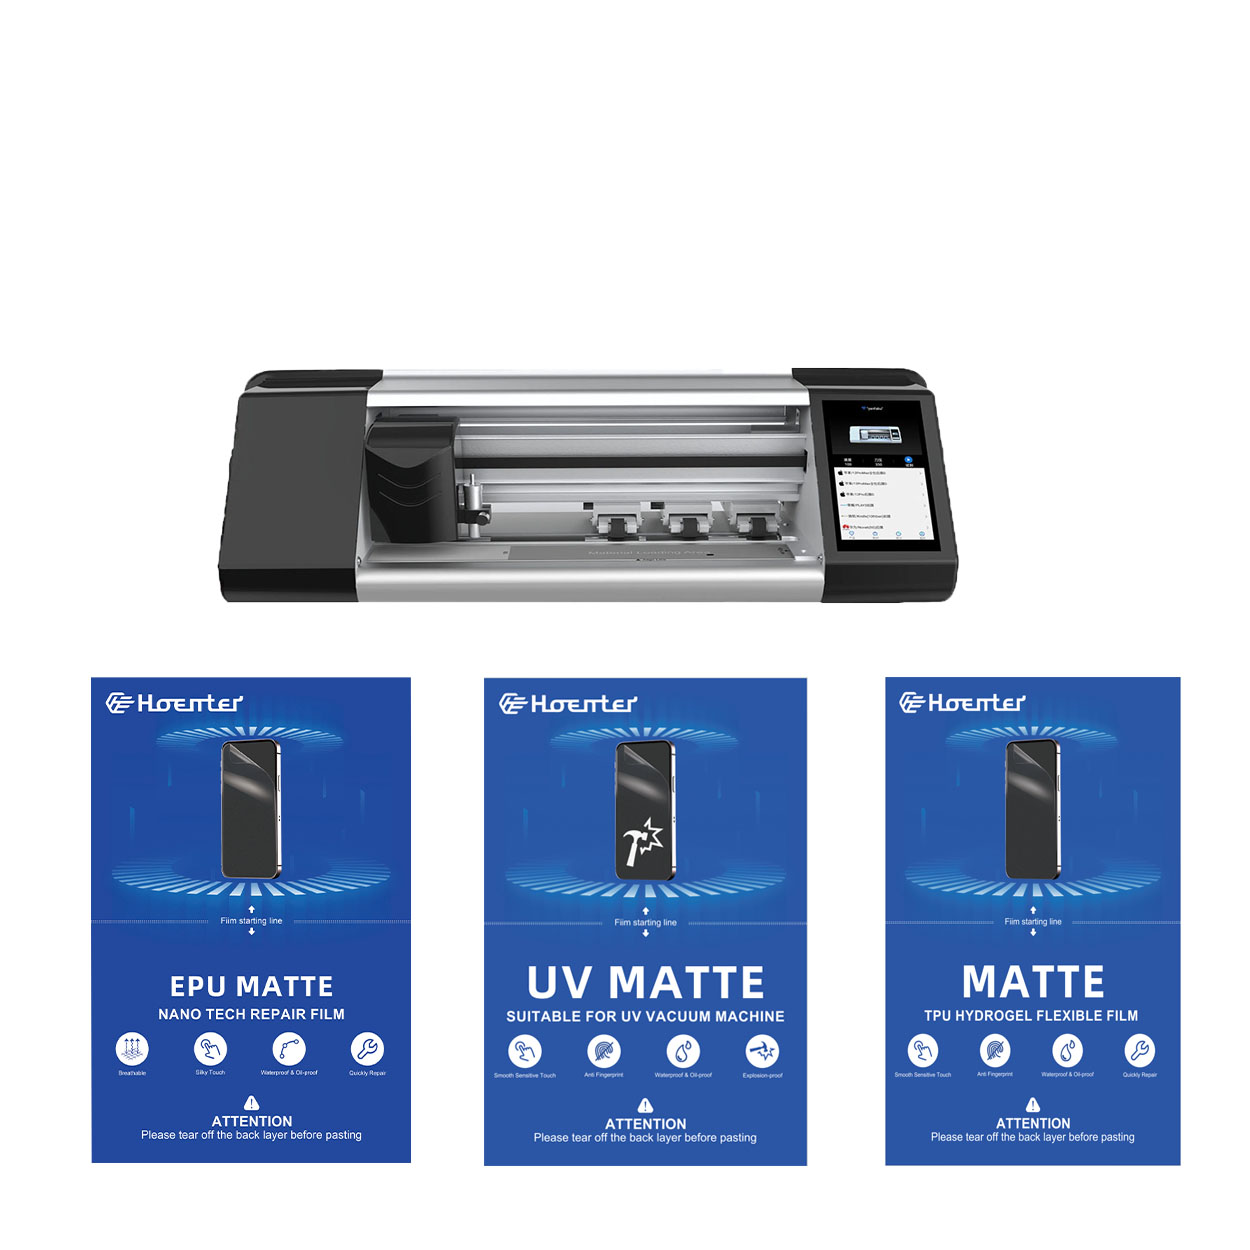
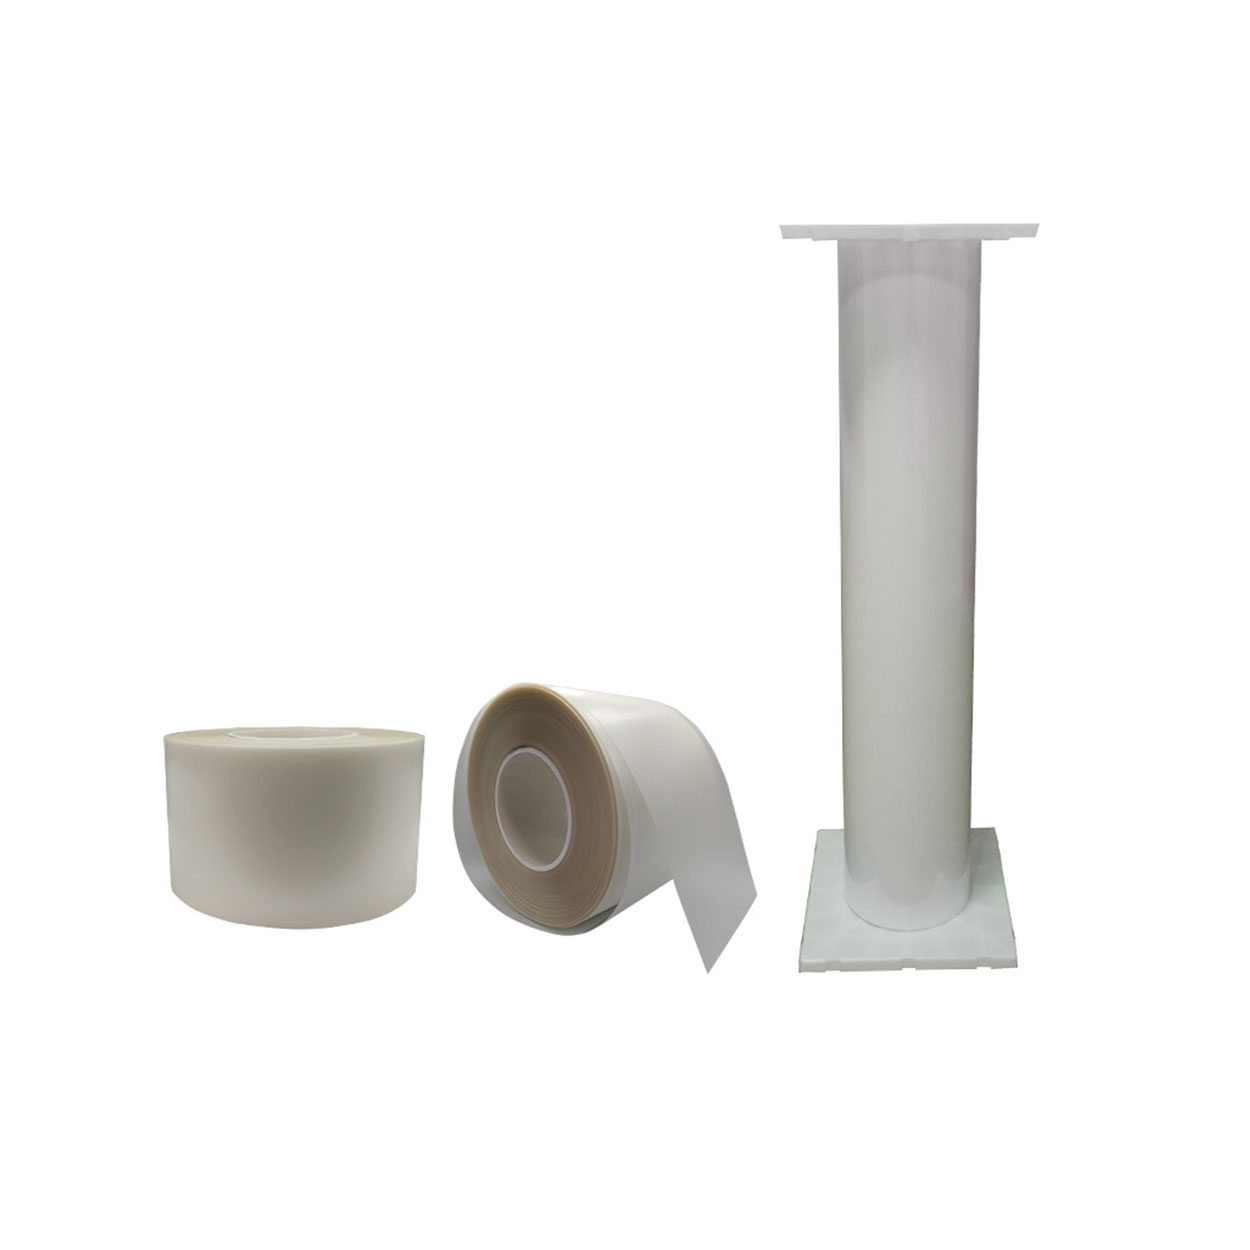
EPU Matte Anti Fingerprint Screen Protector Hydrogel Film
Le film protecteur d'écran EPU Hydrogel offre une protection polyvalente et performante pour une large gamme d'appareils, notamment les smartphones, les tablettes et les smartwatches. Sa compatibilité universelle avec les machines de découpe de films pour téléphones en fait un choix idéal pour différents modèles, garantissant une application sans faille et une couverture complète des bords. Grâce à des fonctionnalités avancées telles que la protection contre les empreintes digitales, la résistance à l'eau et la technologie d'auto-guérison, ce protecteur d'écran permet non seulement de conserver un affichage impeccable, mais offre également une protection durable contre les rayures, l'éblouissement et l'usure quotidienne. Que ce soit pour un usage personnel ou pour des machines à découper professionnelles, ce film hydrogel offre des performances fiables et une clarté d'écran durable.
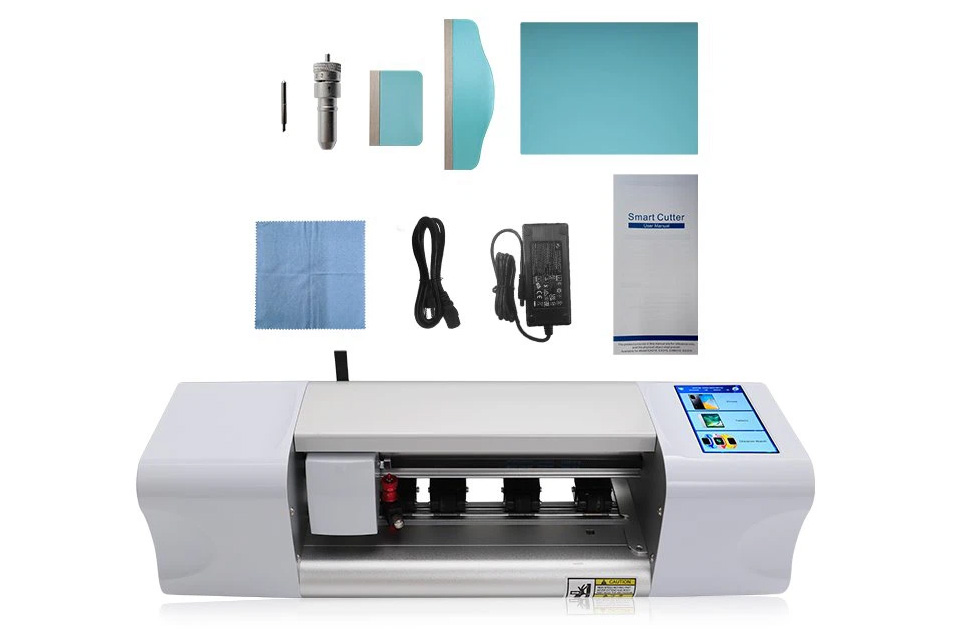
Quelles sont les machines de découpe de films et leurs applications ?
Les machines de découpe de films ont joué un rôle crucial dans l'évolution de la production cinématographique et de divers processus industriels en permettant une découpe et une jonction précises des matériaux cinématographiques.
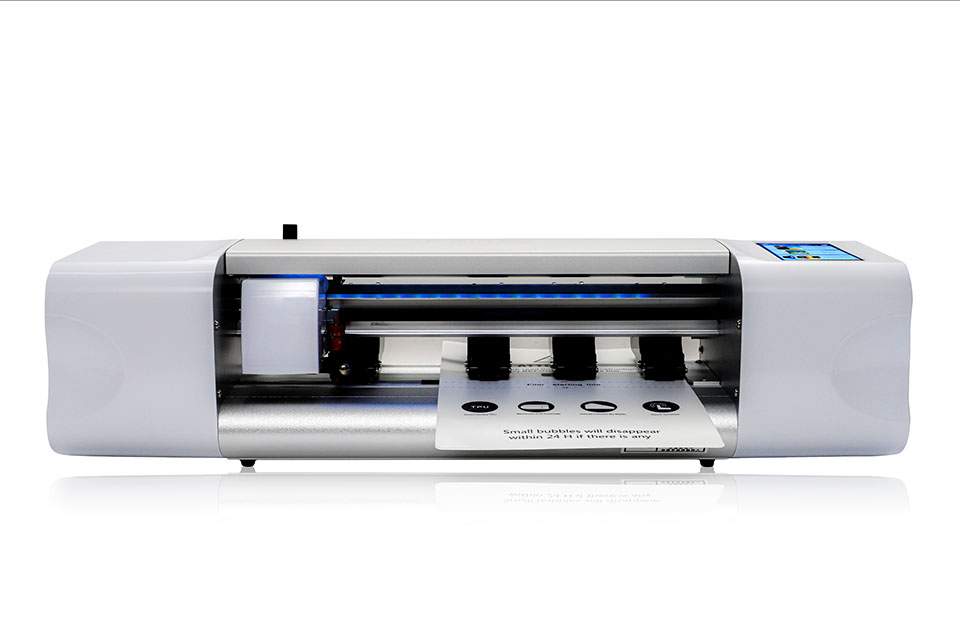
Qu'est-ce qu'une machine à découper les protections d'écran ?
Une machine à découper les protections d'écran est un appareil spécialisé conçu pour produire des protections d'écran sur mesure pour divers appareils électroniques, notamment les smartphones, les tablettes, les smartwatches, les ordinateurs portables et les moniteurs.
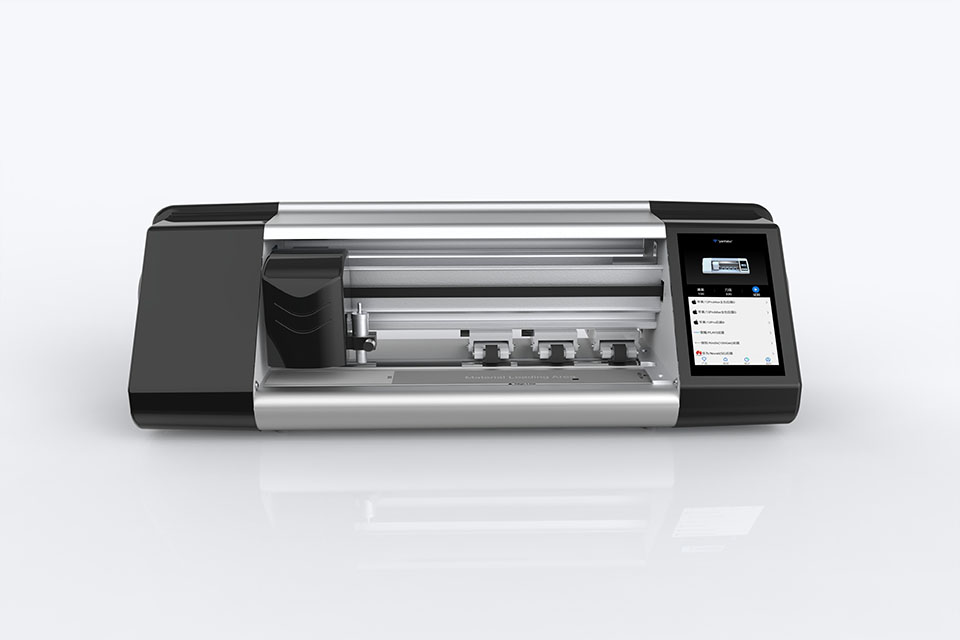
Comment fonctionne la machine à découper les protections d'écran de téléphone portable?
Une machine à découper les protections d'écran de téléphone portable est un appareil sophistiqué conçu pour
produire des protections d'écran personnalisées pour divers appareils numériques avec un haut degré de précision.
et l'efficacité.
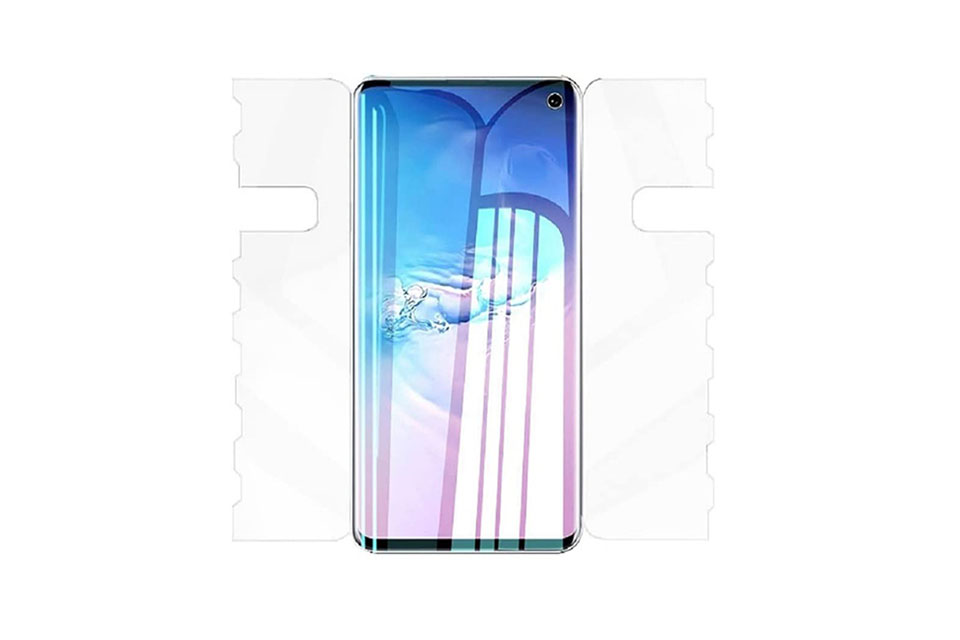
Caractéristiques du verre trempé et du protecteur d'écran TPU pour téléphones portables
Les protections d'écran en polyuréthane thermoplastique (TPU) sont flexibles, durables et
films plastiques auto-cicatrisants conçus pour protéger les écrans d'appareils électroniques contre la corrosion.
les rayures, les impacts et autres dommages potentiels.
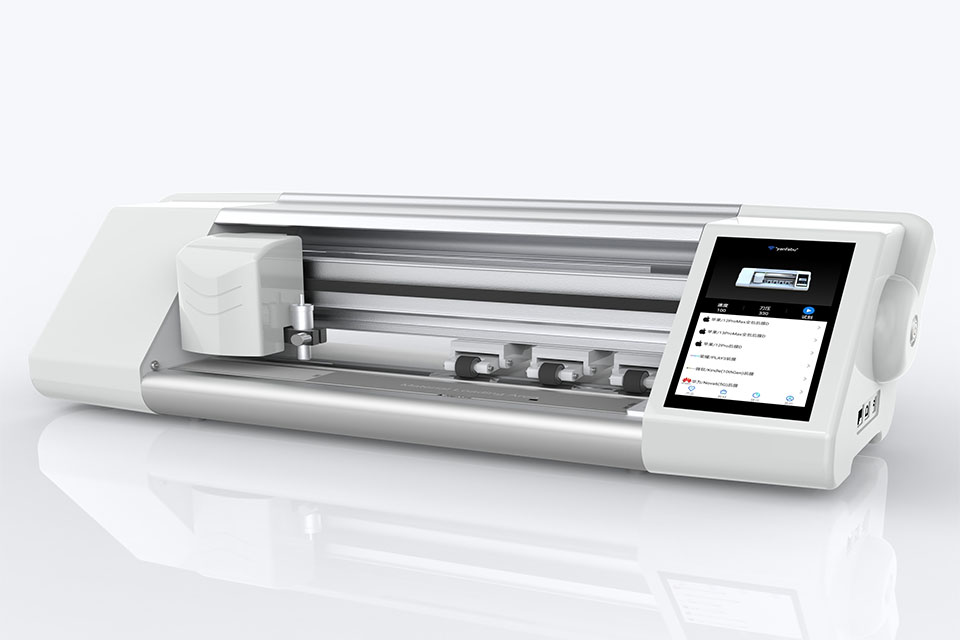
Révolutionner la protection des appareils grâce à la machine à découper les écrans de protection
Que vous possédiez un smartphone, une tablette ou une smartwatch, cette machine polyvalente s'adapte à un large éventail d'appareils. Il s'adapte parfaitement aux dimensions de votre gadget, offrant un ajustement personnalisé que les protecteurs génériques ne peuvent égaler.
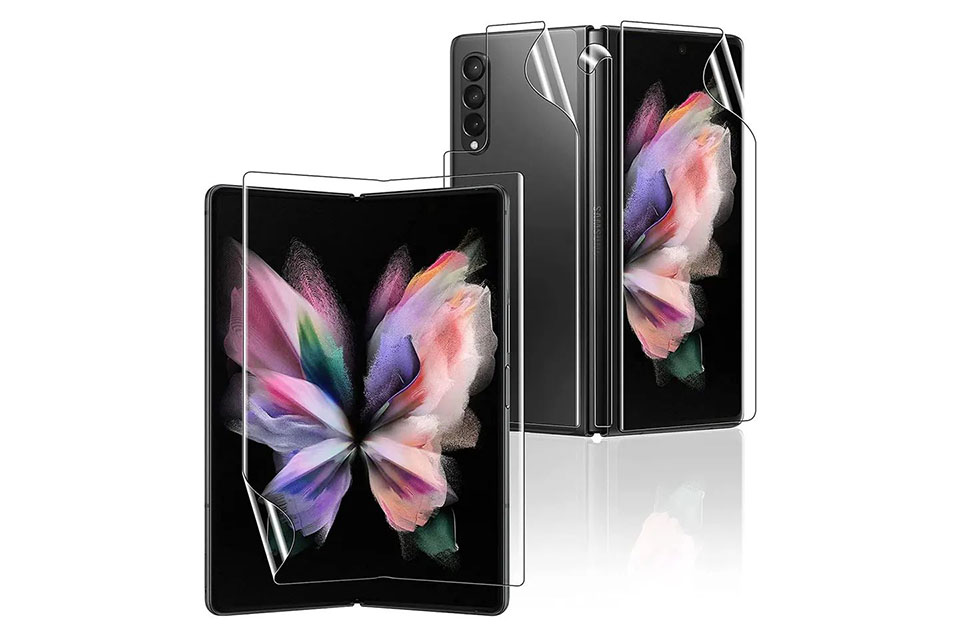
Garantie à vie du protecteur d'écran
La garantie à vie d'un protecteur d'écran est une garantie fournie par les fabricants.
s'engage à réparer ou à remplacer un protecteur d'écran pendant toute la durée de vie du produit, selon des conditions spécifiques.